I by no means consider myself to be an advanced astronomer and I especially don’t have ANY woodworking skills, as I’m sure you’ll see in my project here. But, I do have a passion for the night sky and hopefully through this project I can explore more of the sky than I ever have before! I have learned so much by building this telescope and now I’d like to share it in hopes that others may learn from my accomplishments… and my mistakes.
I remember when my Dad used to read me a book called “Rockets and Satellites” while growing up and some of my favorite times were when my Dad and I would look at the stars. I inherited a lot of my scientific ways of thinking from him.
Now a days, I have a better appreciation for the night sky and about eight years ago my Uncle Glenn let me borrow his telescope. I don’t remember the exact size but I believe it was somewhere around a 4 1/2” inch reflector. I was blown away that you could actually see the rings of Saturn! Ever since then, I’ve wanted one for my self. The 4 1/2” was nice but the scopes I’ve really wanted have always been way out of my price range.
One day, my dad, wife and I were running some errands and I had a telescope catalog with me. I was trying to find one that would allow me to see some amazing things (galaxies, nebula, etc…) but that I could still afford. The thing was, they were still just a little too high for me being a newly-wed and all. My dad then brought up the idea of purchasing a kit and making my own. I thought this was a reasonable track to pursue.
I started my searching on the Internet. I started to see a lot of people building their own and not necessarily from kits but from scratch! I had to learn more! The more I learned, the more I was intrigued. Even though I have absolutely no wood working skills I thought to myself that I just might be able to do this!
I came across a couple of different publications that I based my design on. The first one that I found was written by The San Francisco Sidewalk Astronomers. The design I found walked you through building everything from the reflector tube to the Dobsonian mount. Following this design, I went to purchase my Sonotube but was pretty discouraged by how flimsy the tube was. Perhaps it was the brand I found but I decided I didn’t want a tube made of cardboard.
The next publication I found was Richard Berry’s “Build Your Own Telescope” which I based most of my design on. I found this book to be really informative. What I didn’t like is the book didn’t give you a set list of materials needed. As I read, items kept showing up in the directions that was never mentioned. Therefore, if you were to base your design off this book, I would highly recommend reading through the entire directions before getting started.
After some consideration I decided to aim high and build the tube into an octagon instead of a square. Biggest reason… I think it’ll look cooler. Also, I’m using solid oak instead of plywood. My father and mother-in-law talked me into this because they thought I’d be disappointed with the look of the plywood edges. They also thought that this could end up becoming a family heirloom that is passed down to generations (LOL! We’ll see ‘eh?) and that I should be proud of this when it’s finished.
Some of the materials: 4 - 1/2” x 6” x 8’ Solid Oak Boards (Menards) $95.00 1 - 8” f/6 Mirror Set, Includes Secondary (Coulter Optical) $239.95 + $20 Shipping 1 - 2” Crayford Focuser, 2 inch travel, 1.25” adapter, zero backlash (MoonLight Telescope Accessories) $165.00 + $10 Shipping 1 - 12 piece Plössl Eyepiece Set w/ Filters and Barlow Lens (Anttlers Optics - Out of Business?) $135.00 1 - Acrylic Primer (From my Father-in-Law) Free! :) 1 - Quart TrueValue WeatherAll Flat Black (TrueValue) $9.00 1 - 3/4” Oak Veneer Plywood Scrap (Friend) Free
Construction of the OTA (aka. Tube or Optical Tube Assembly):
| 1. (3/19/2007) I started by cutting the four 8 foot boards into eight 4 foot boards. It's actually going to be a little less than four feet because of the width of the blade. | |
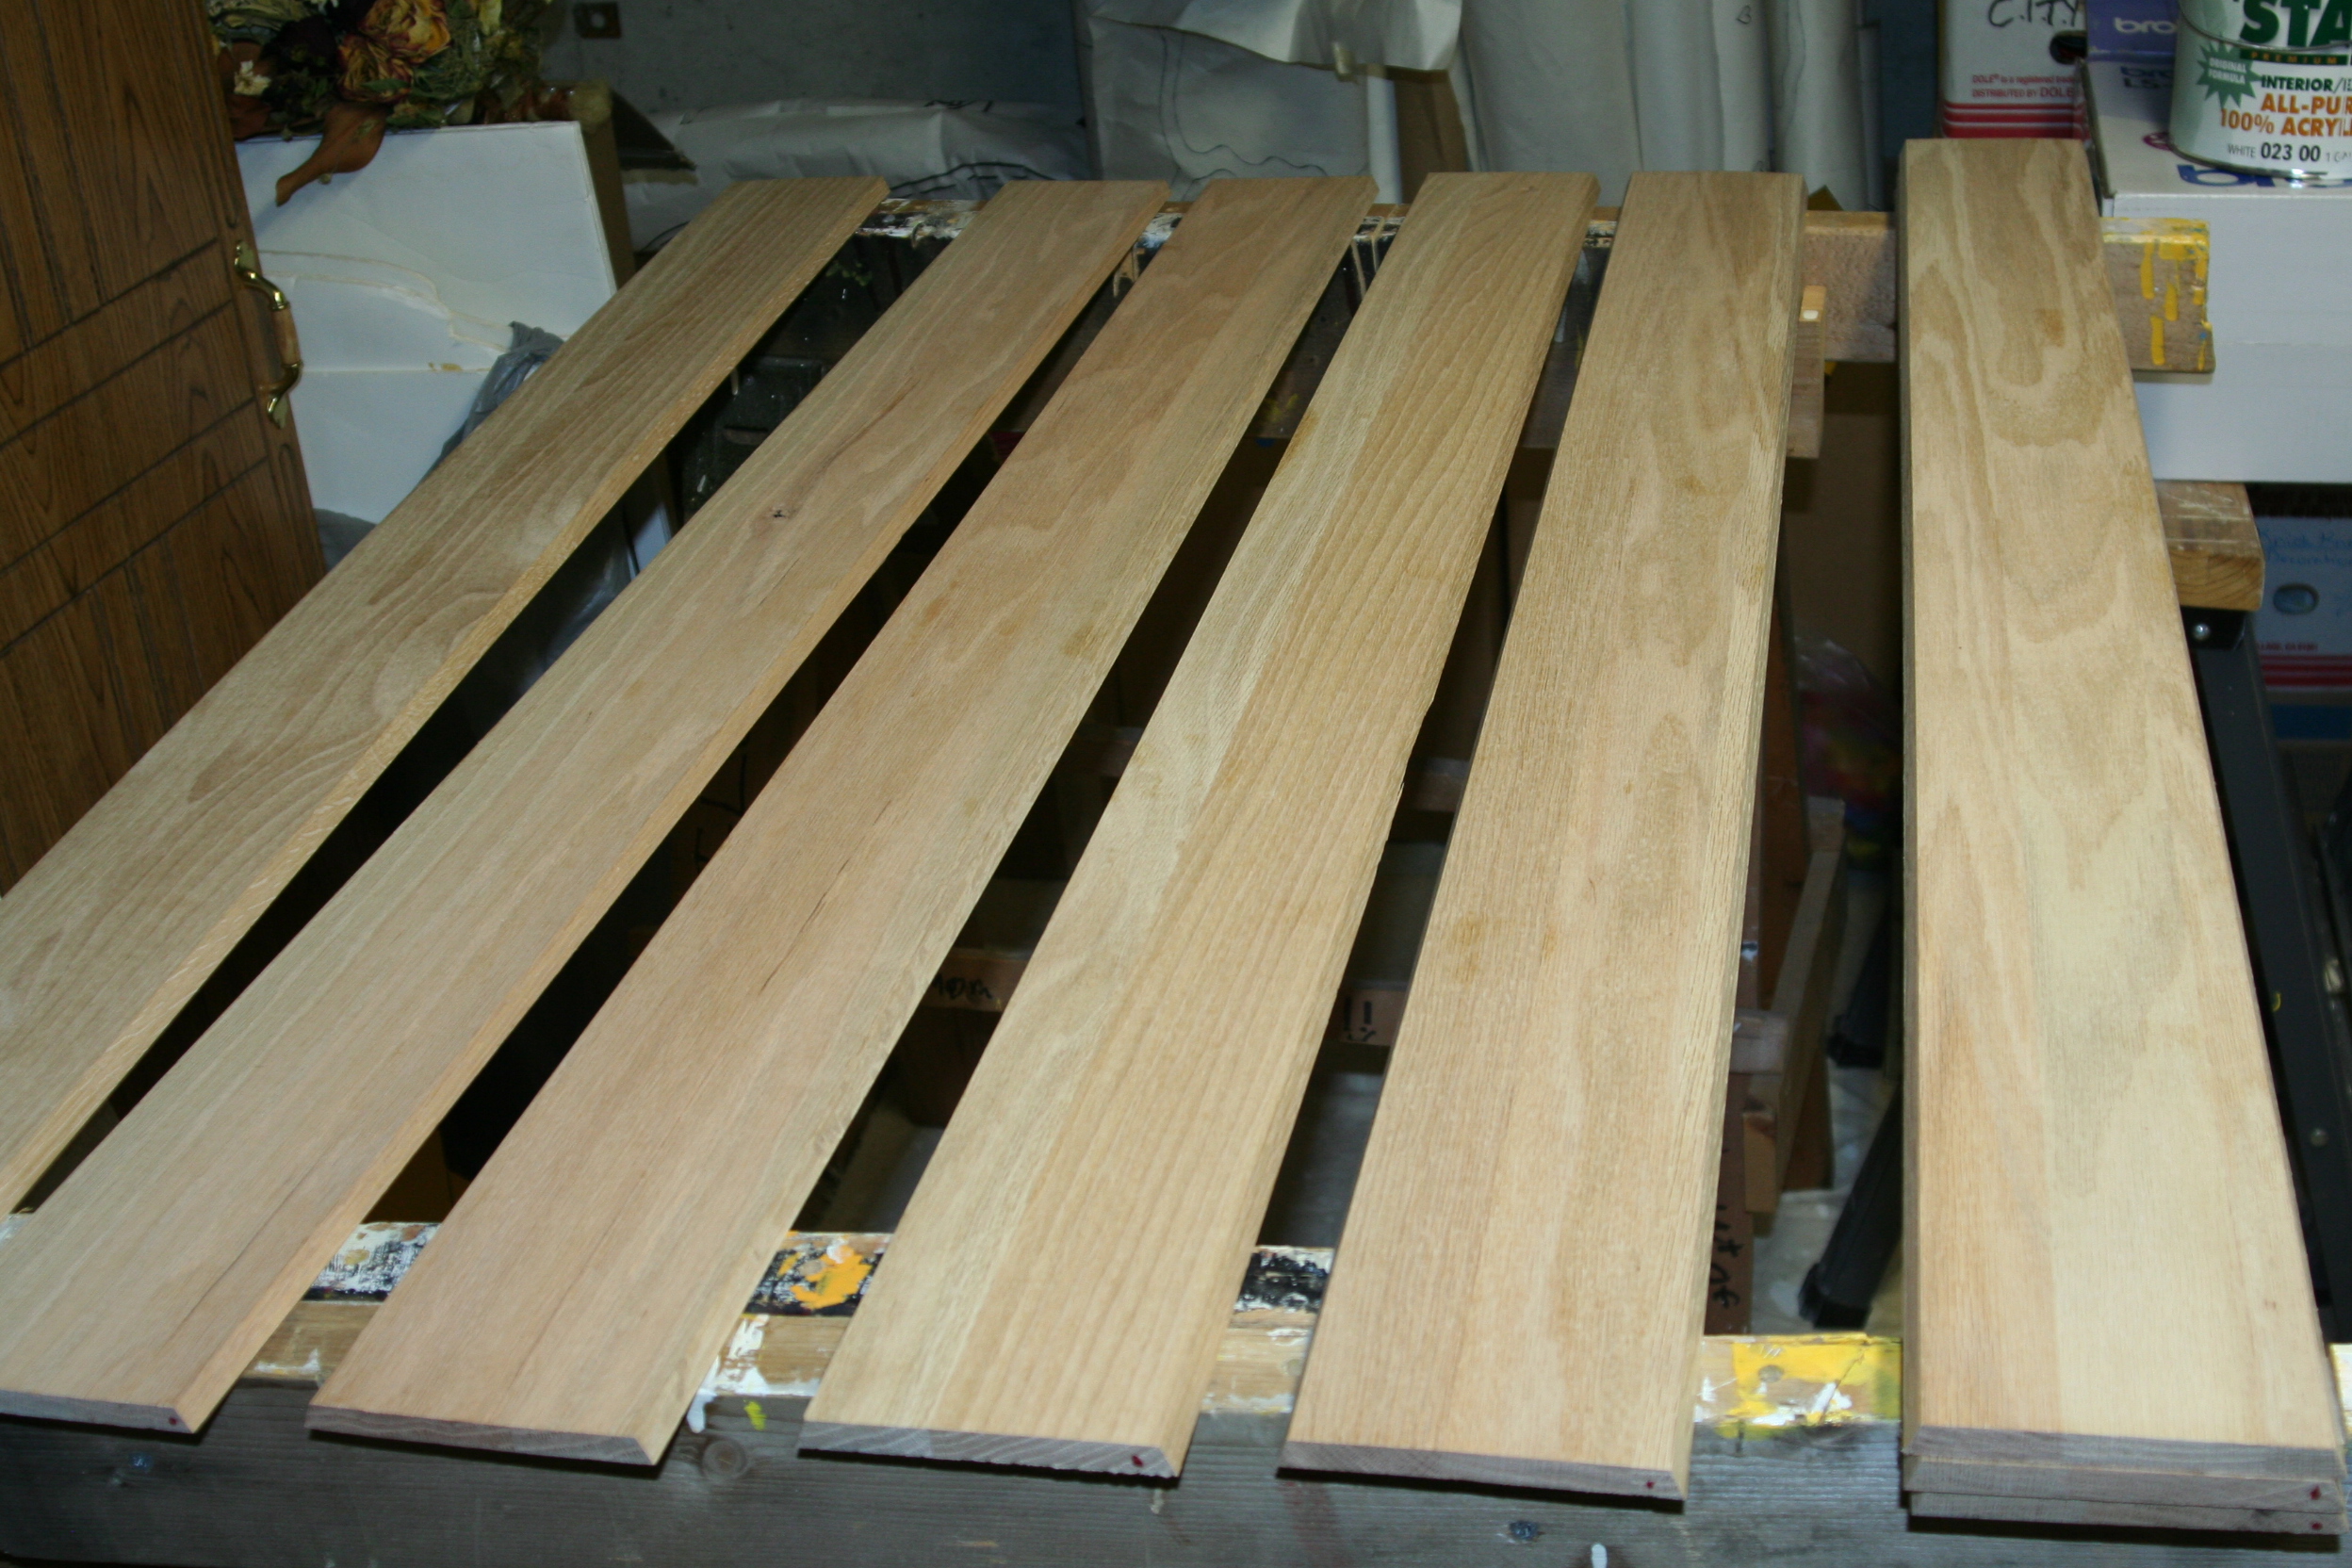
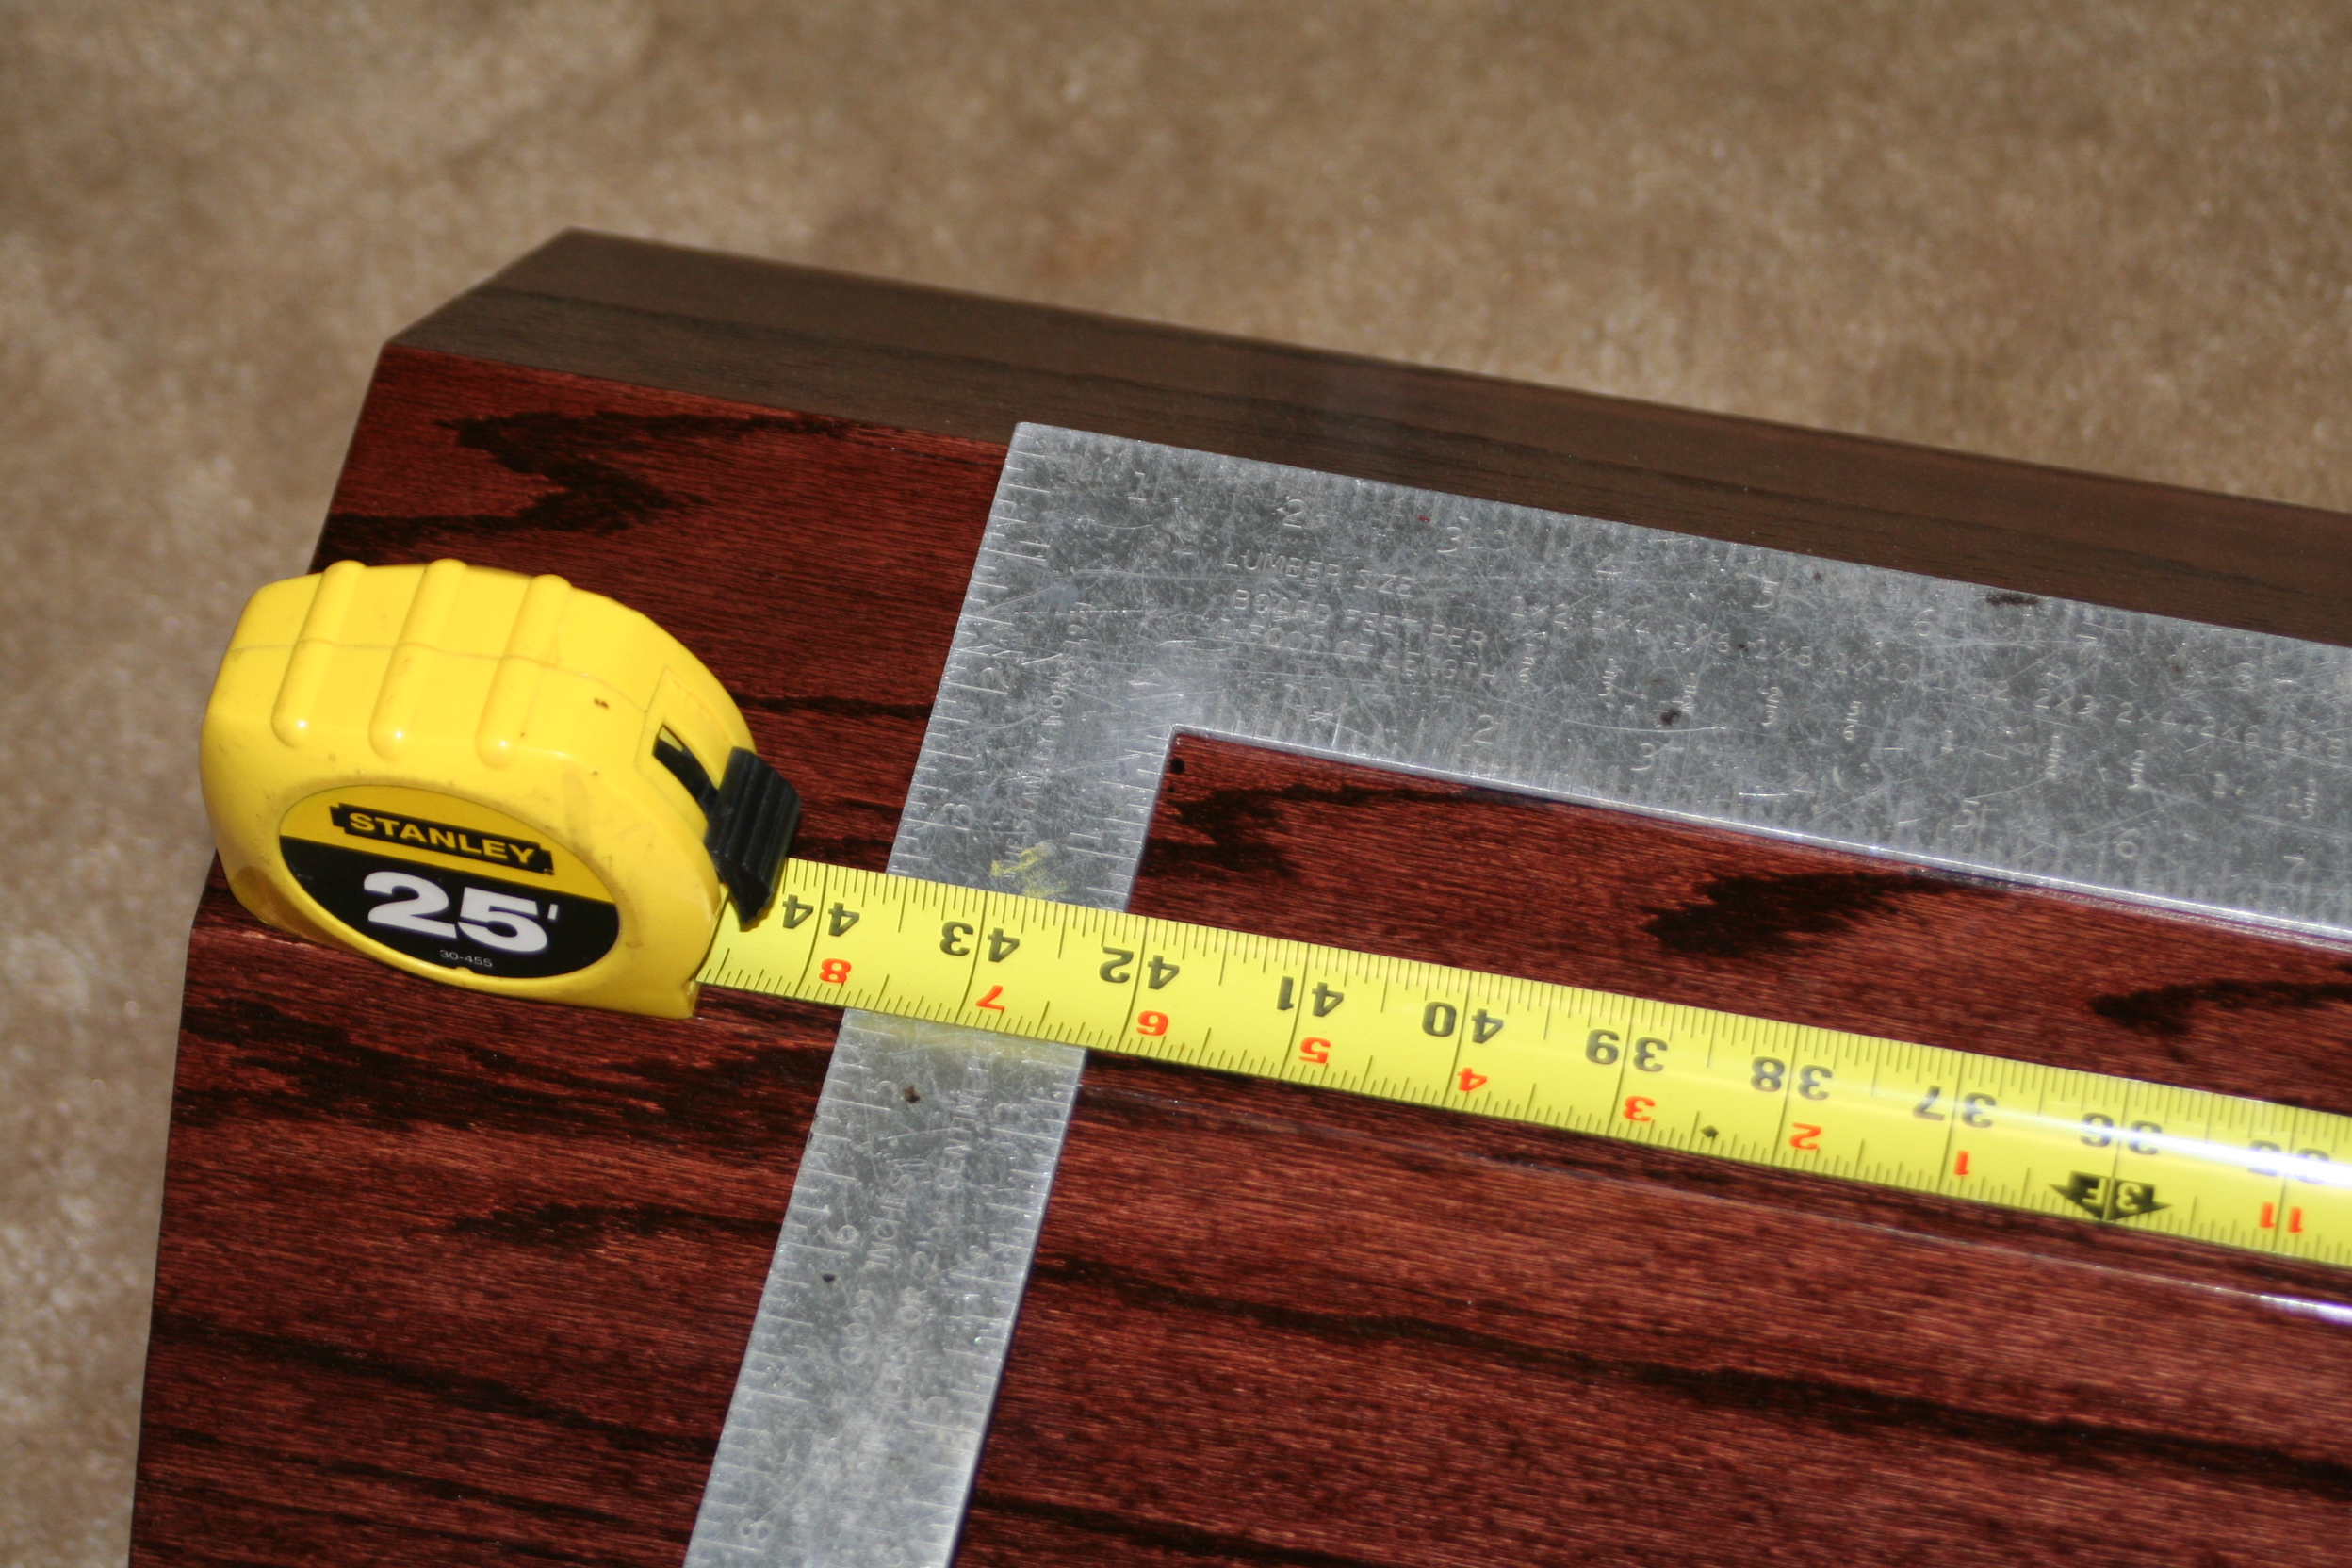
| 2. (3/19/2007) I ran the boards through the a table saw that was set to as close to 22.5 degrees as possible. It took some time to get try and get the angle. Unfortunately, this did not work. When I tried to put the pieces together they did not line up properly. With a total of 16 angles (8 x 2) there is no room for error and I needed to take another approach. | |
| 3. (3/19/2007) After talking it over with some friends I decided that locating a 22.5 degree chamfer router bit and routing out the angles would be better. It was pretty difficult for me to locate the router bit, your general home improvement store is almost guaranteed to not carry it. Trust me. I've looked! I ended up having to go to a store that specializes in wood working. I found mine at Woodcraft. I found their employees to be very knowledgeable and friendly. | |
| 4. (4/9/2007) Using the router turned out easier than I thought. We cut piece of lumber to be used as a template. The width of the template had to be as wide as the widest side we needed. We routed all the boards and now I know they are all the same and at exactly 22.5 degrees! We're going to keep the template around in case there are any boards that are going to give us problems and they need to be recreated. There is one board that is warped and the edges didn't cut very well. If anything, we'll have to replace that one, but we'll see as the project continues. | |
| 5. (4/9/2007) After taping I put on a layer of primer. You could still see the wood grain, which I thought was good because if the inside of the octagon is a little rough it will help with making sure any stray light does not reflect on to the mirror causing it to affect the image. But, who knows... I let the primer dry for about 1.5 hours as stated on the primer can. | 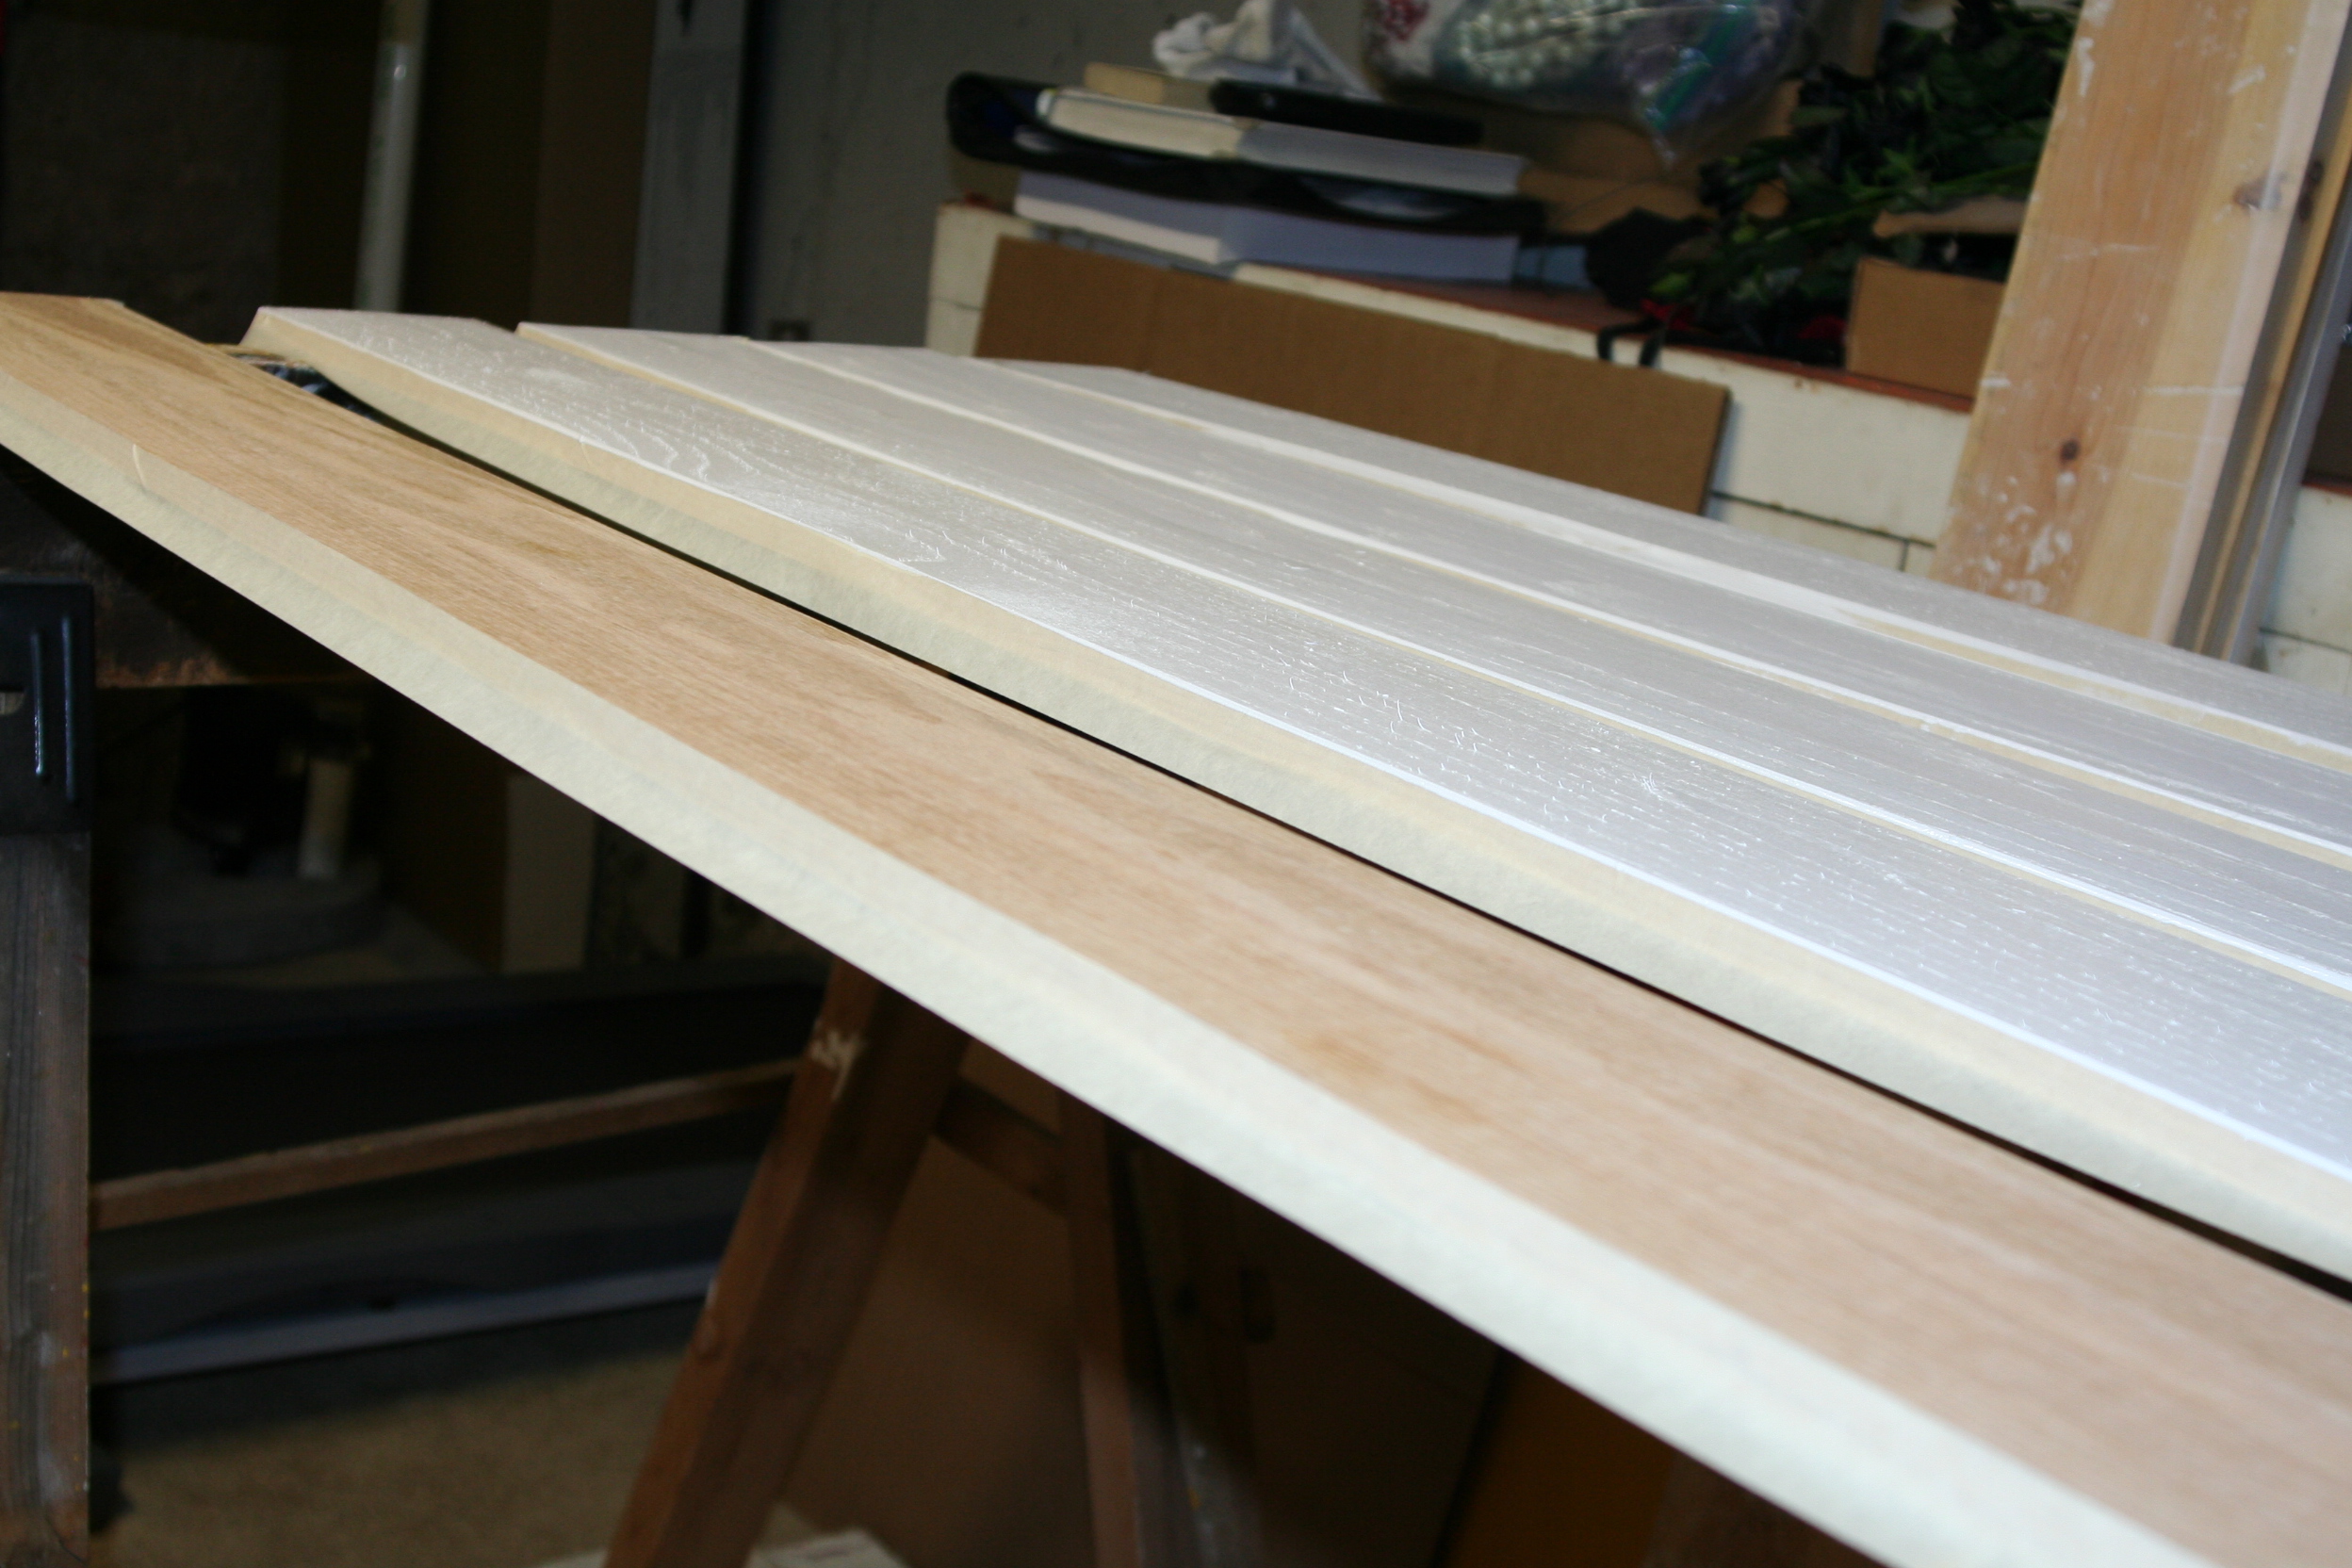 |
| 6. (4/9/2007) The next step is to paint the sides of the boards that will be on the inside of the octagon painted with flat black. This is important as black absorbs light. So the blacker the better! We don't want any stray light reflecting off the sides. I choose flat black because it seems to have less reflective properties than eggshell and it is definitely less reflective than glossy. The first step to doing this was to tape off the edges so I wouldn't get any primer or paint on the surfaces that I'm gluing. I used TrueValue WeatherAll paint. It was only about $0.50 more and it was made for outside. I thought a little more protection couldn't hurt. I then let them sit overnight and put a 2nd coat on the day after. | 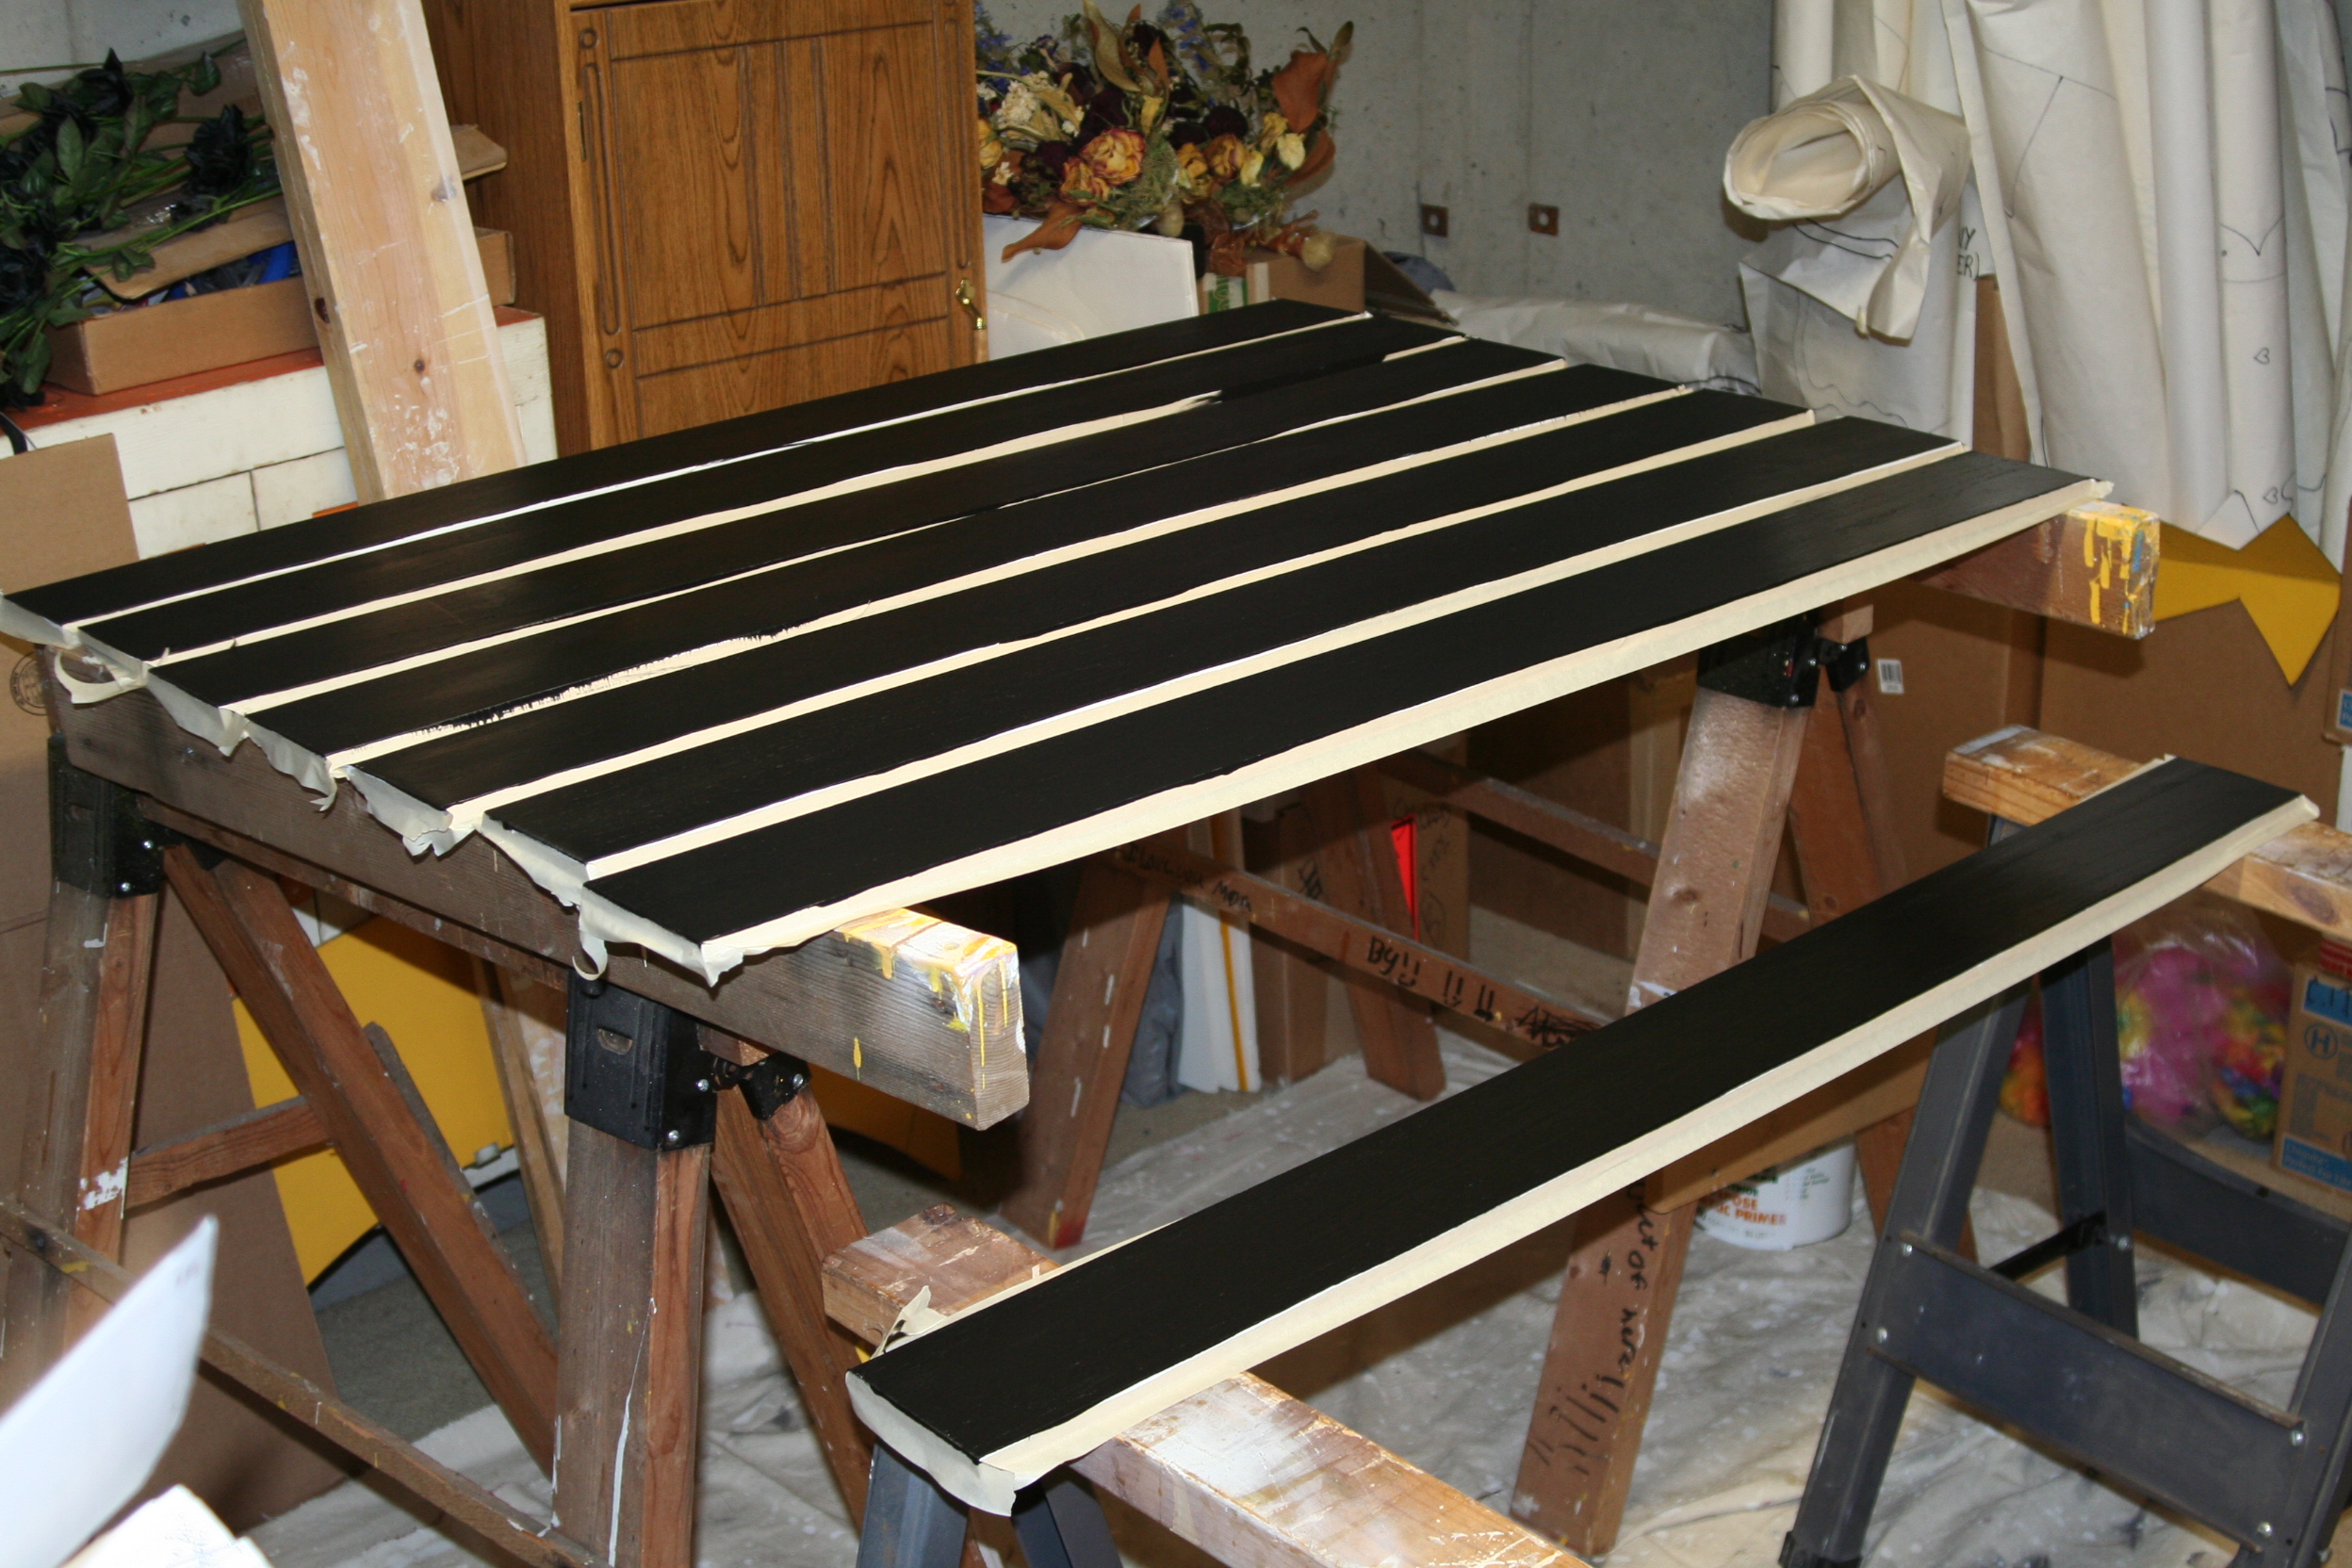 |
| 7. (4/13/2007) The next step was to glue the boards together. Because I have no experience in wood working I had to do some research on the type of glue to use. I chose Gorilla Glue for a couple of reasons: a. It had longer "work time" or "open time" than the other glues (white, yellow, etc...). Since I've never done this before, I felt I needed the extra time to work with getting the wood set correctly. b. It is 100% waterproof. So when condensation builds on on the scope the Gorilla Glue should hold up fine. | |
| 8. (4/13/2007) I also read that this glue foams up when you use it. It had me a little worried so I wanted to see how much it foamed. I also thought this would give me a good idea as to how much I should use. I used VERY little and this little test held up just fine, with very little "foam-age". | 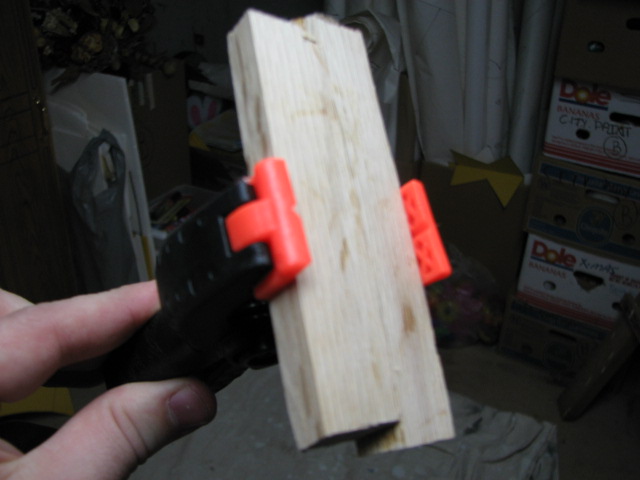 |
| 9. (4/13/2007) Now the time has come to get these boards glued together. I laid the boards inside-down (black side down) and pushed them up against another straight board to make sure the ends were flush and then taped them up with duct tape. The tape acts as a temporary hinge and also keeps the glue from foaming too much to the outside of the tube and if the ends of the boards are not perfectly flush against the other board, I figured the ends could be sanded until they were even. | 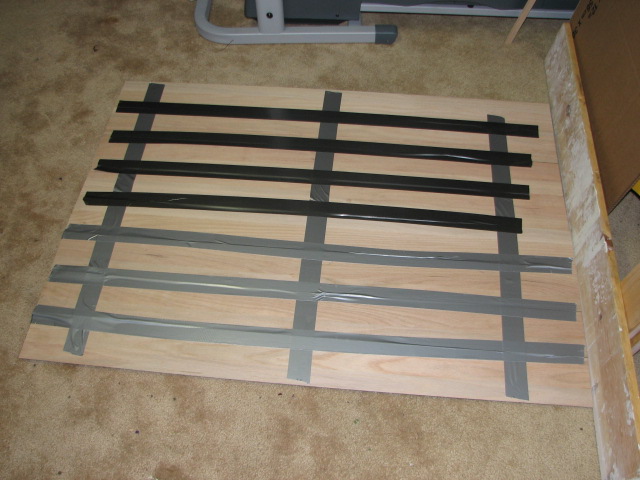 |
| 10. (4/13/2007) I picked the boards up and found that the boards were not held together well enough by the tape... need more duct tape! | 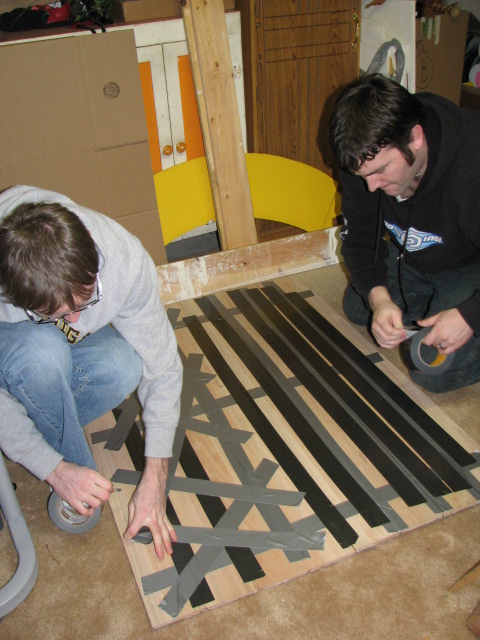
|
| 11. (4/13/2007) I then sanded the joints with rough sand paper to clean off any primer or paint that may have got on the joints. I wanted the glue to bond wood-to-wood. If the glue were to bond to the paint, your bond is now only as strong as the bond the paint has on the wood. | 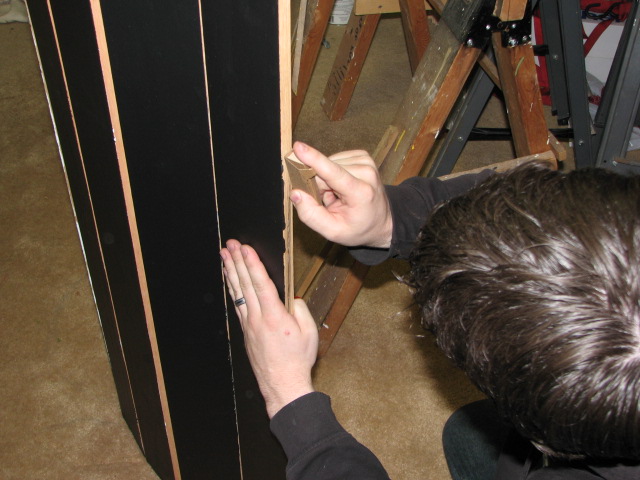 |
| 12. (4/13/2007) The Gorilla Glue instructions say that you should dampen one side of the joint and glue the other. I ran a paper towel under the sink and dampened one side of the joint and glued the other. Then closed up the tube and used some ratcheting straps to hold the octagon together as the glue set. I let it sit overnight. | 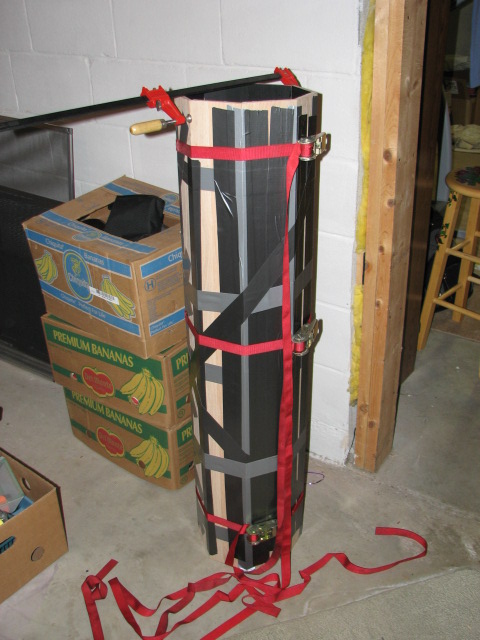 |
| 13. (4/14/2007) The next day I removed the straps and tape and the tube was finally revealed! | 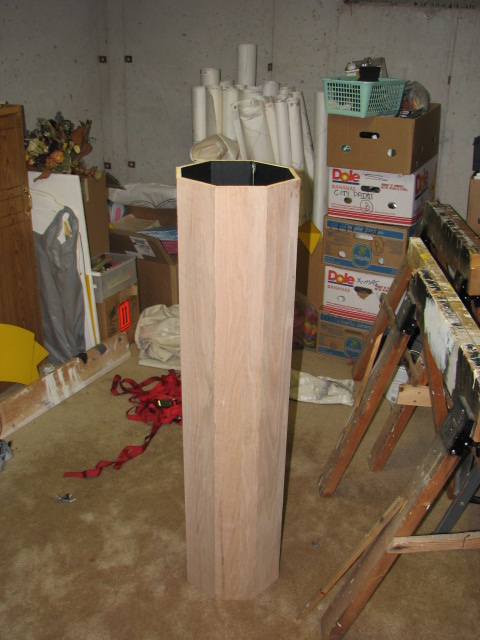 |
| 14. (4/15/2007) The next step was to sand the tube down and make her nice and smooth in preparation for the stain. | 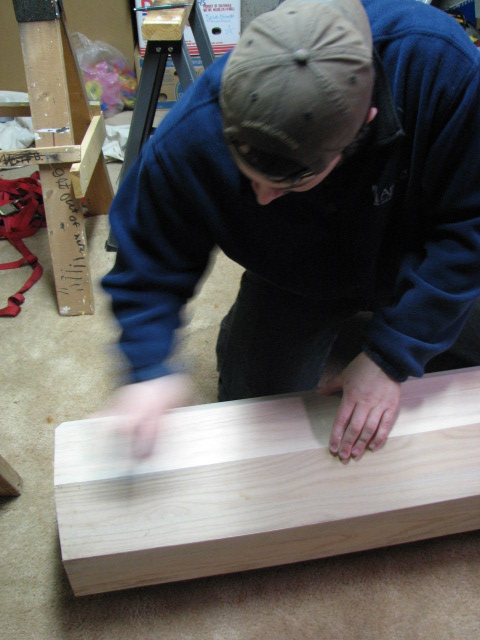 |
| 15. (4/16/2007) I also had to sand down the ends of the tube. I used a belt sander to do this. | 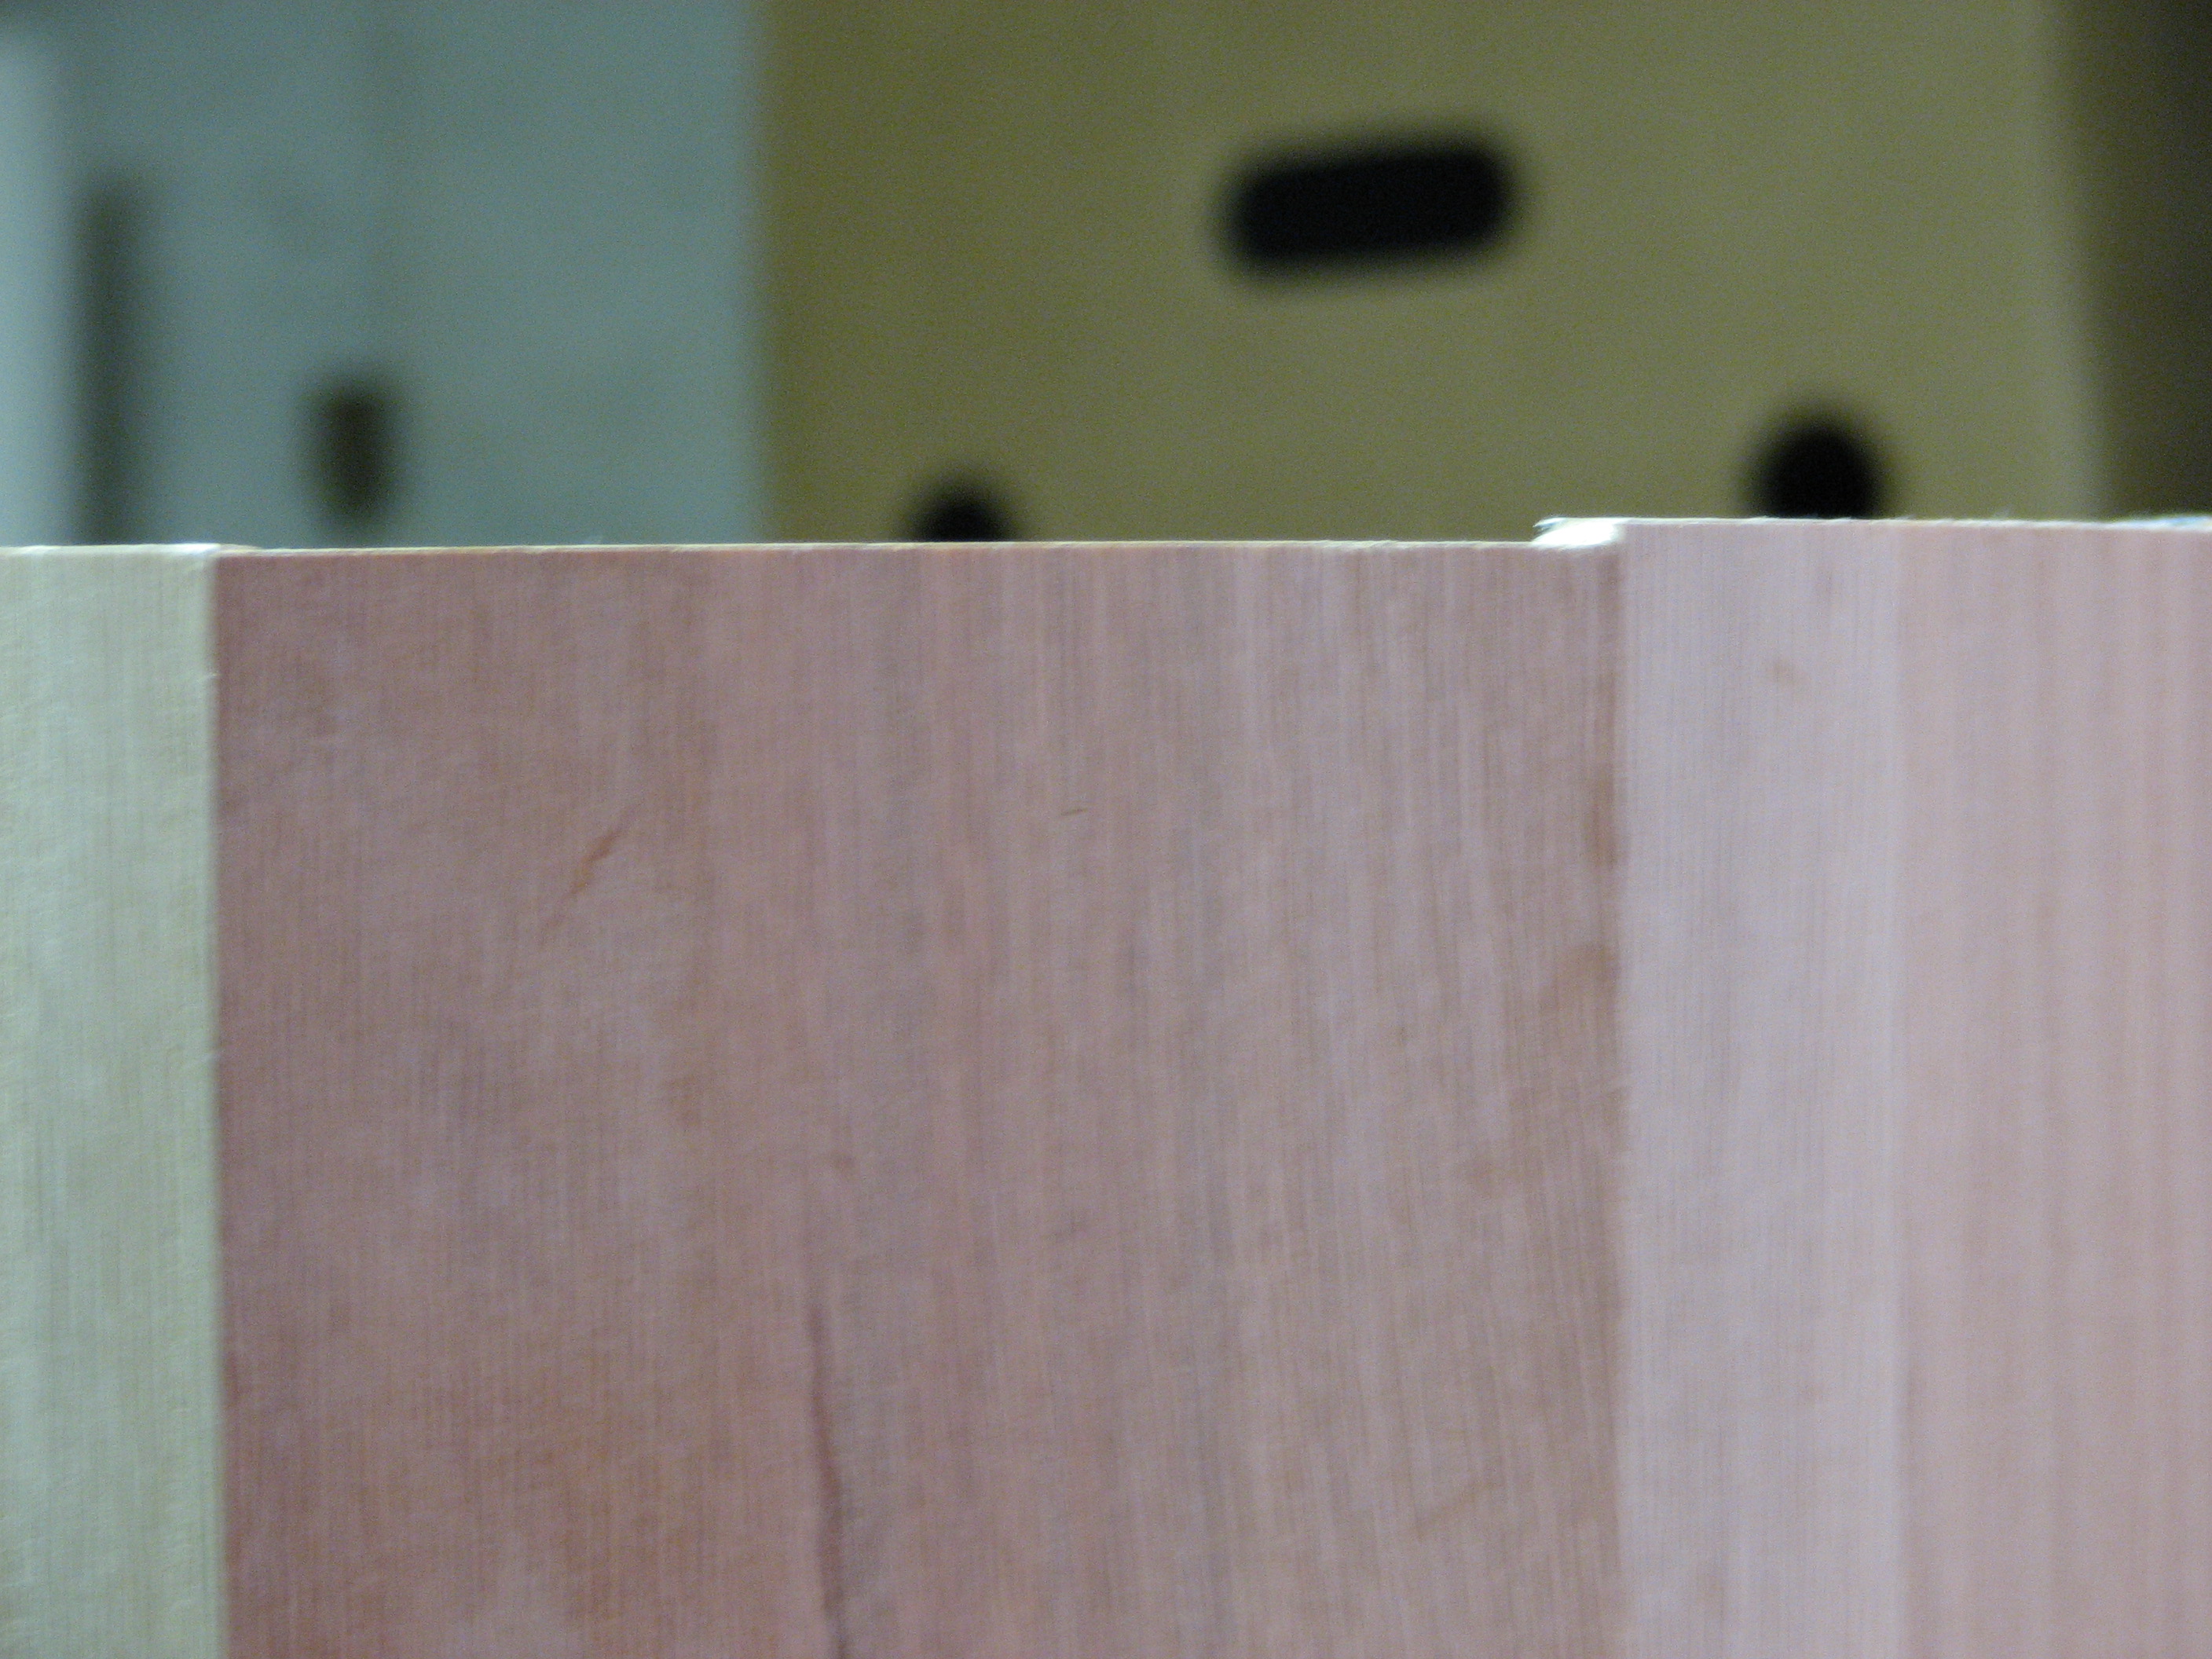 |
| 16. (4/16/2007) Before staining, I ran a "tack" cloth over the wood to remove any saw dust left over from the sanding. Man, after doing this, I rubbed my hands over the newly sanded surface and it was awesome feeling! | 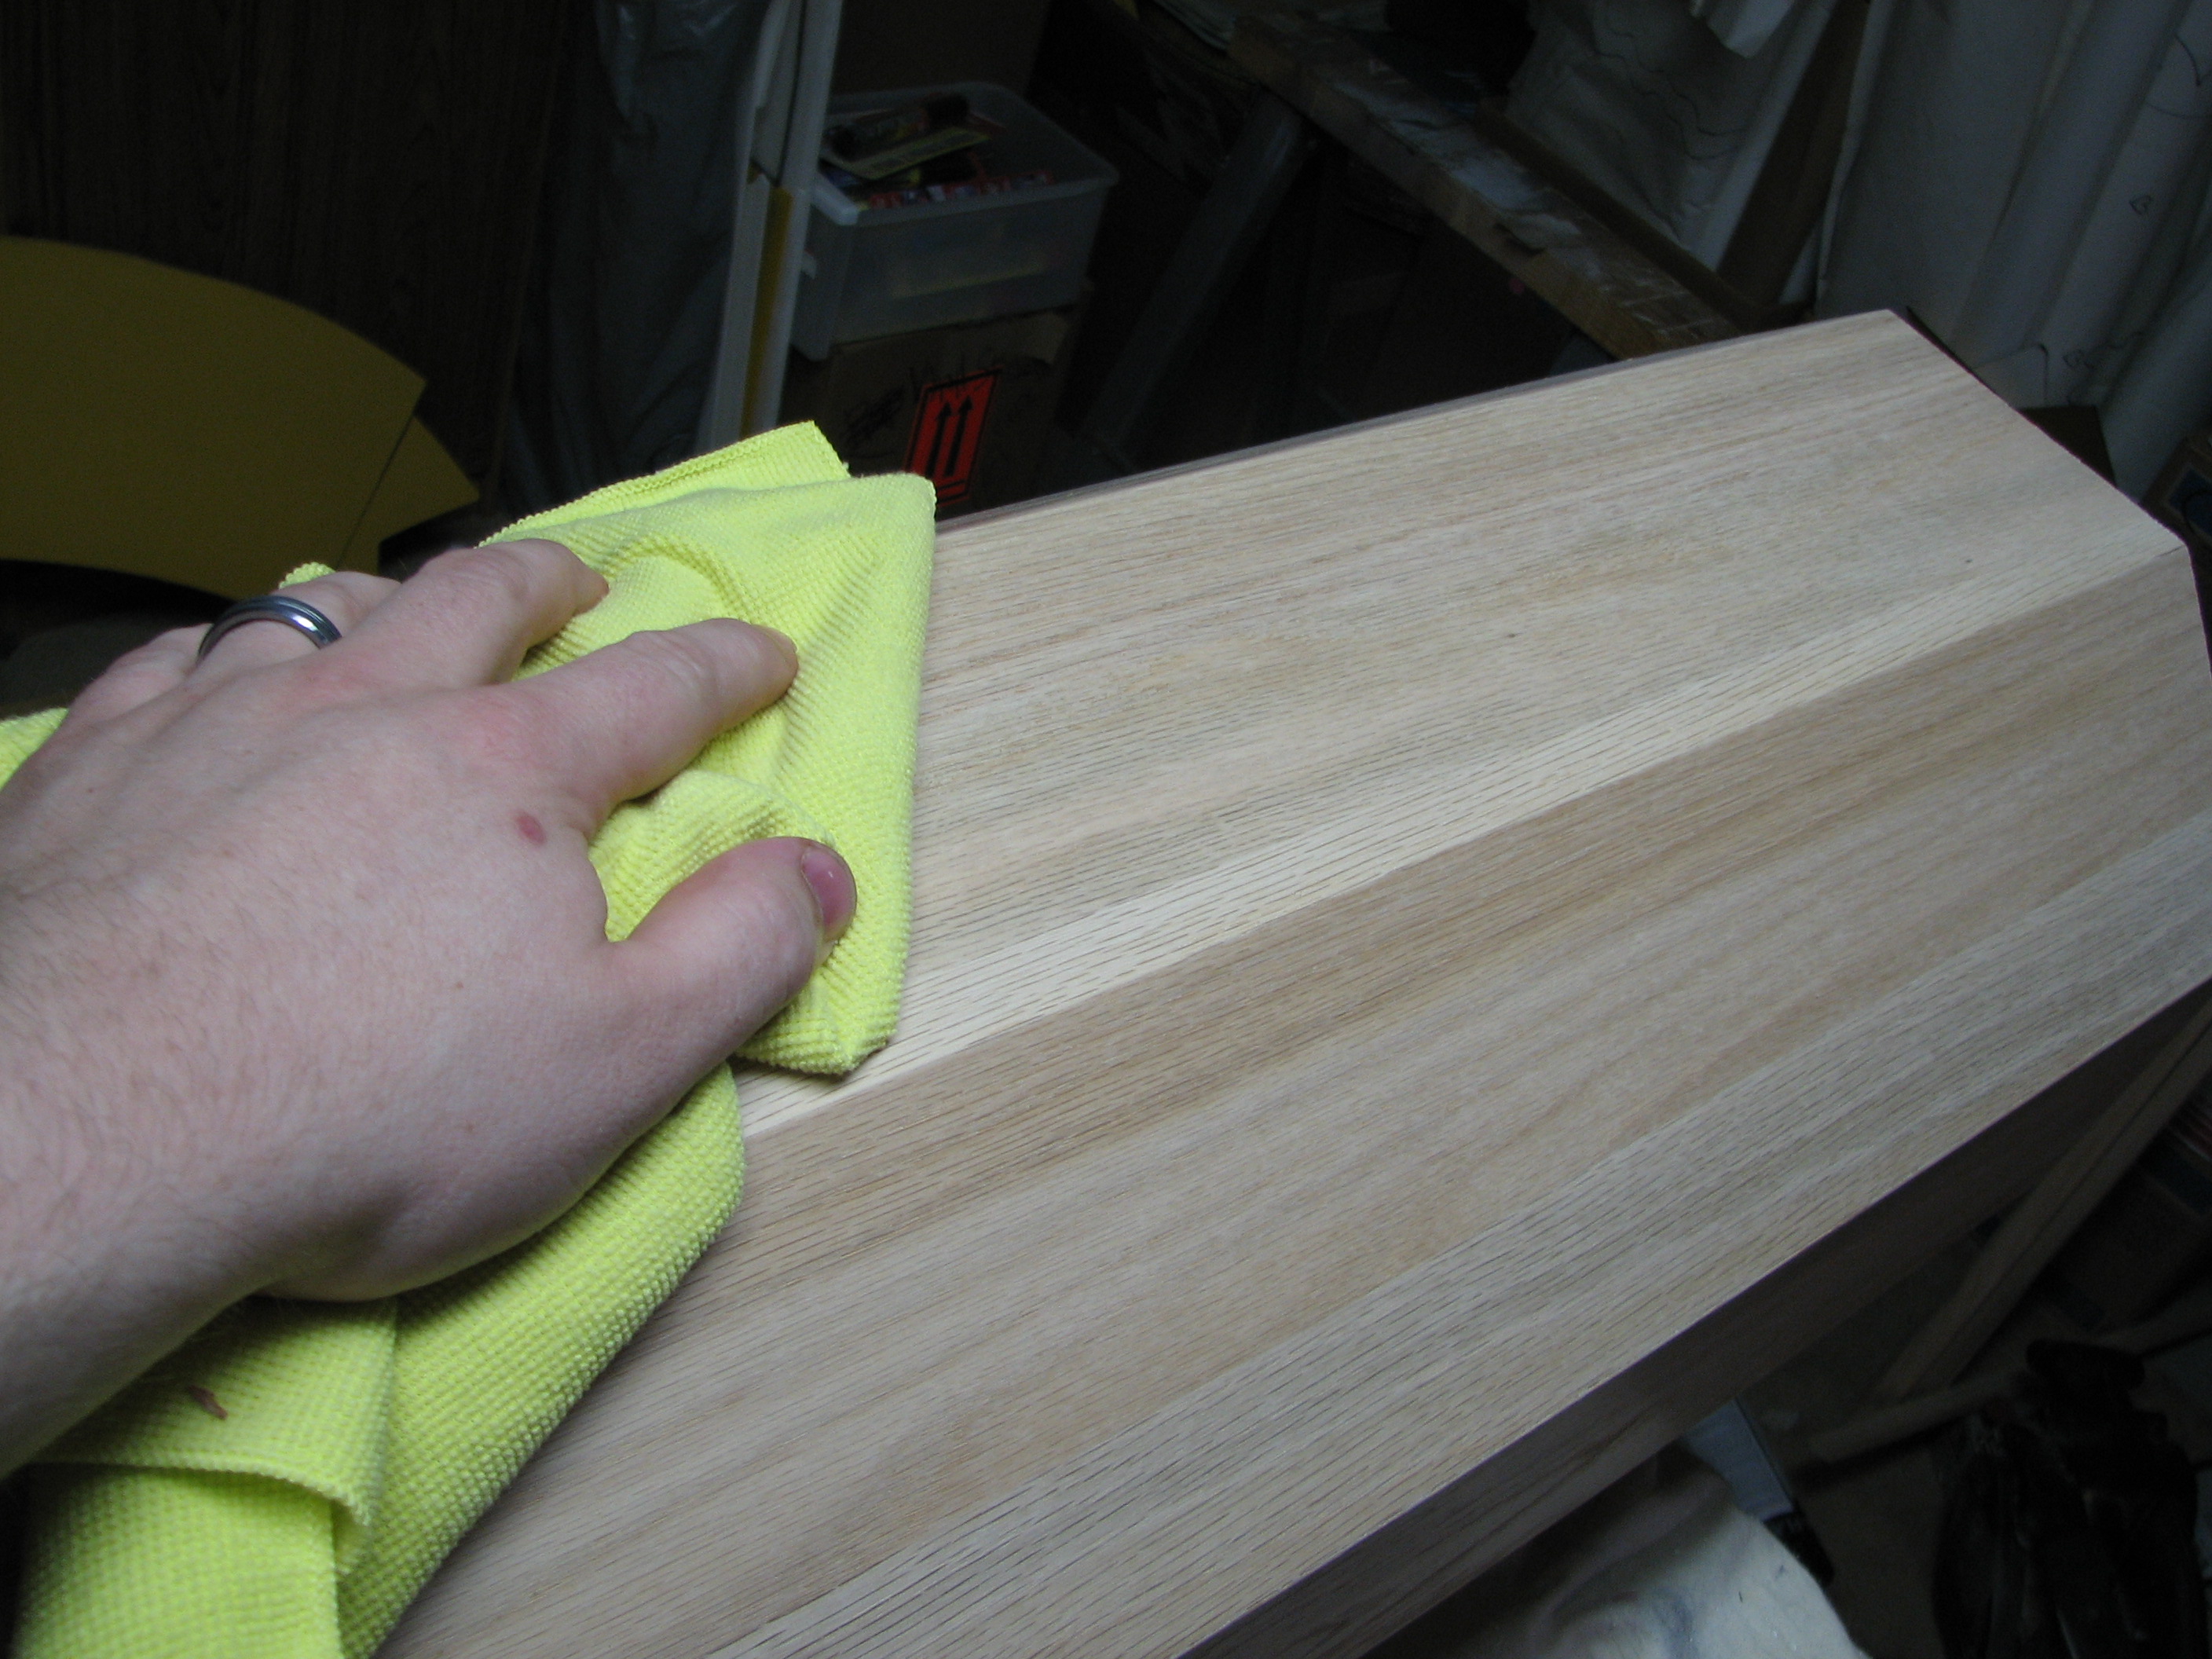 |
| 17. (4/16/2007) It was finally time to stain. I put the stain on pretty thick. I wanted to make sure the red got into the oak. I ended up doing this a couple times to make sure I got a color close to what I was looking for. This picture shows the color a lot darker than what I wanted but that's because the stain is on so thick. I found that generously applying the stain and lightly wiping it away helped allowing the left over stain to penetrate into the wood. It took a couple days to fully dry. I tested the dryness by using a white paper towel and rubbing it over it, if any pigment came off, it was not time to apply the poly. | 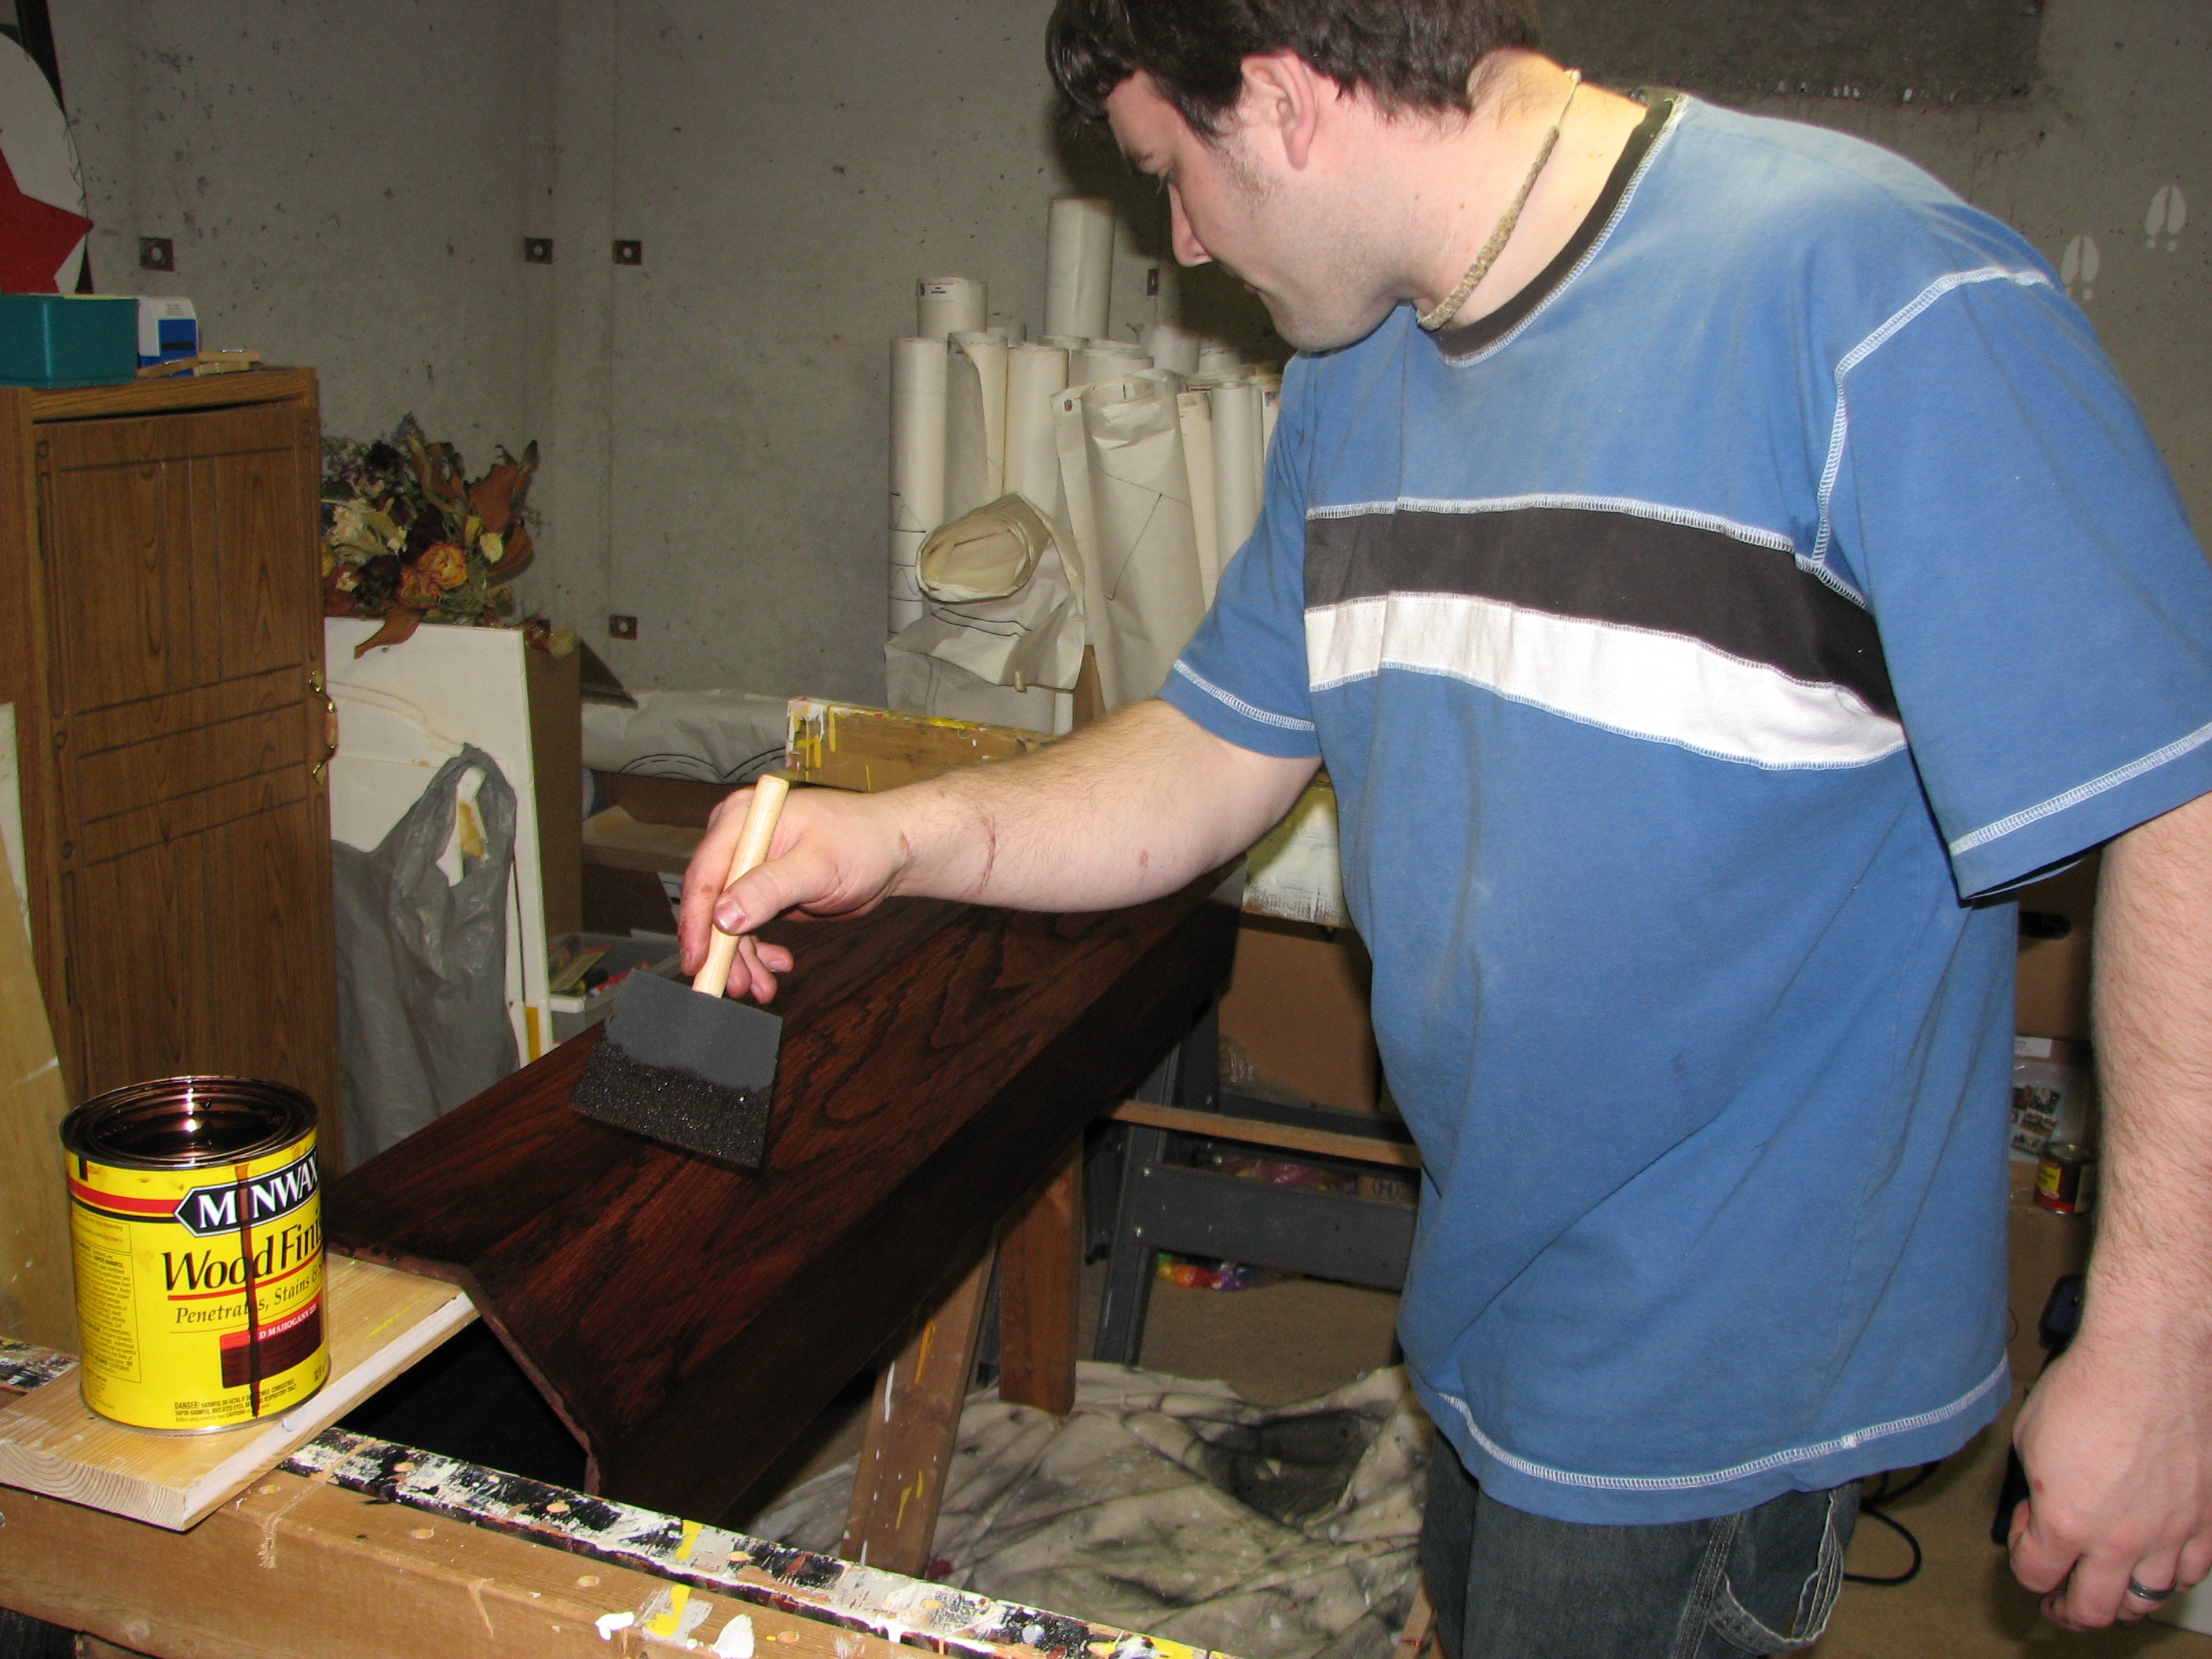 |
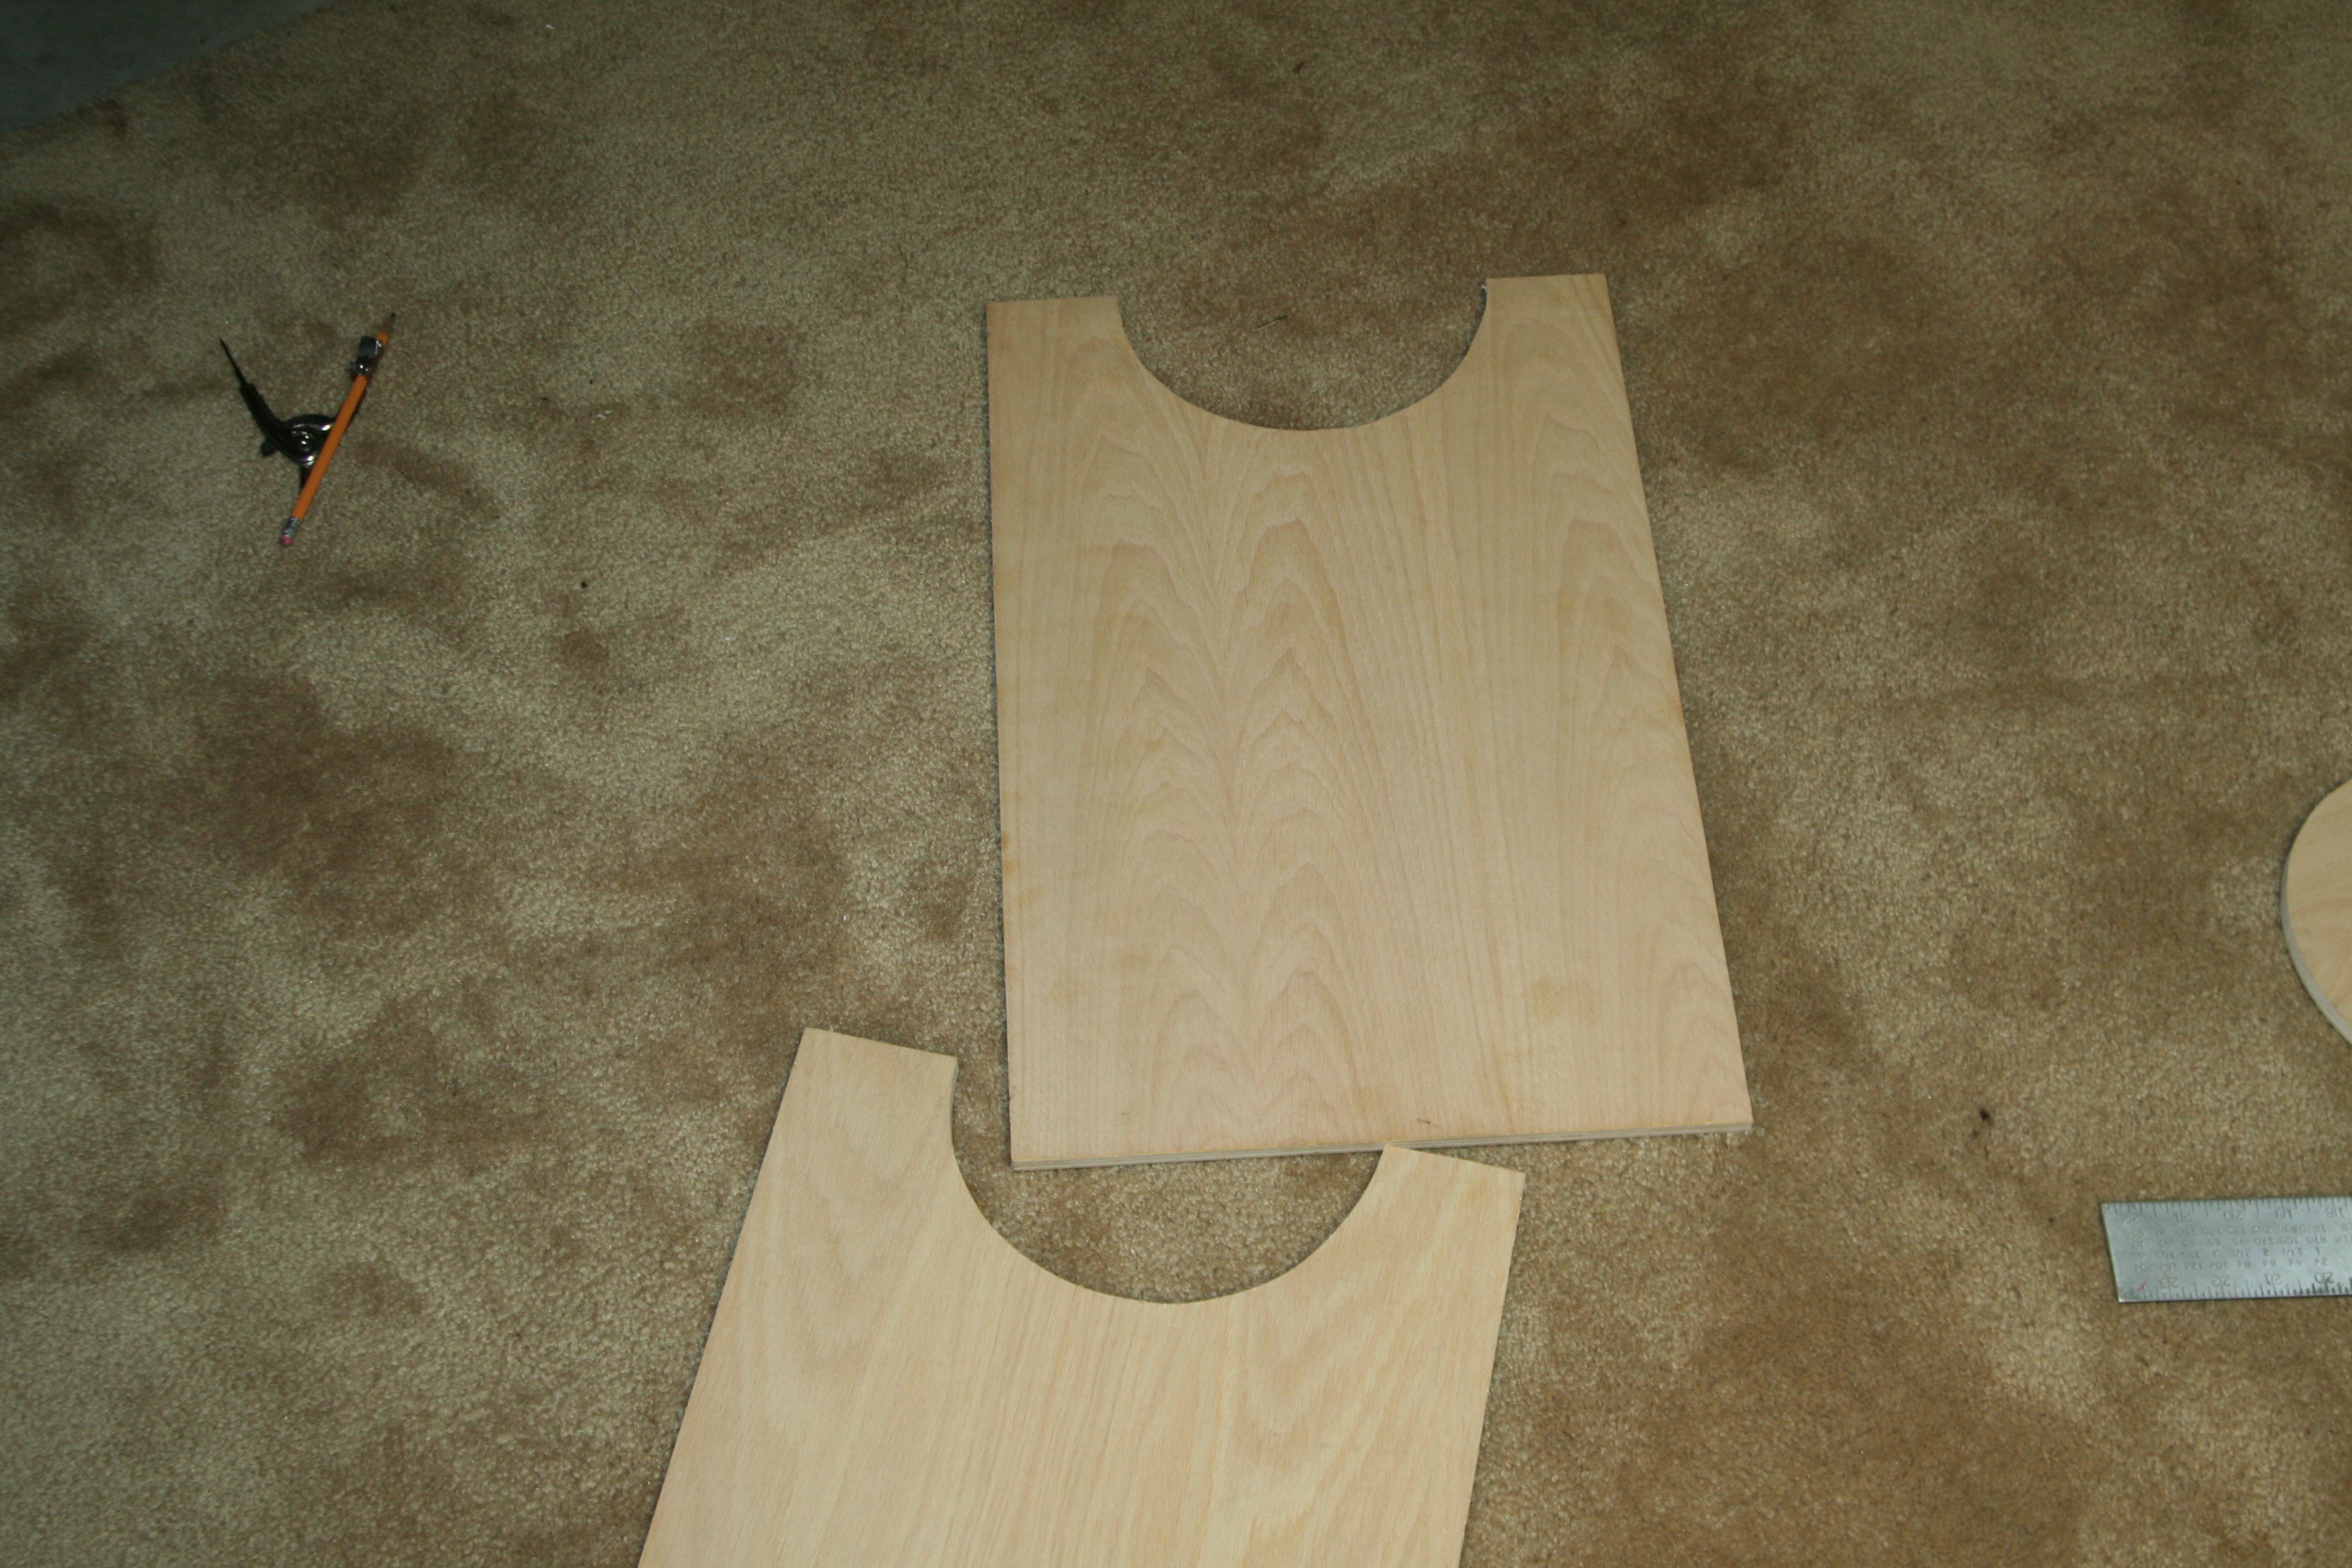
| 18. (4/29/2007) Started working on the primary mirror cell today. I didn't have any wood wide enough to act as the base for the mirror cell so I had to glue to pieces together. I got this scrap from a friend. It's 3/4" oak veneer plywood. | 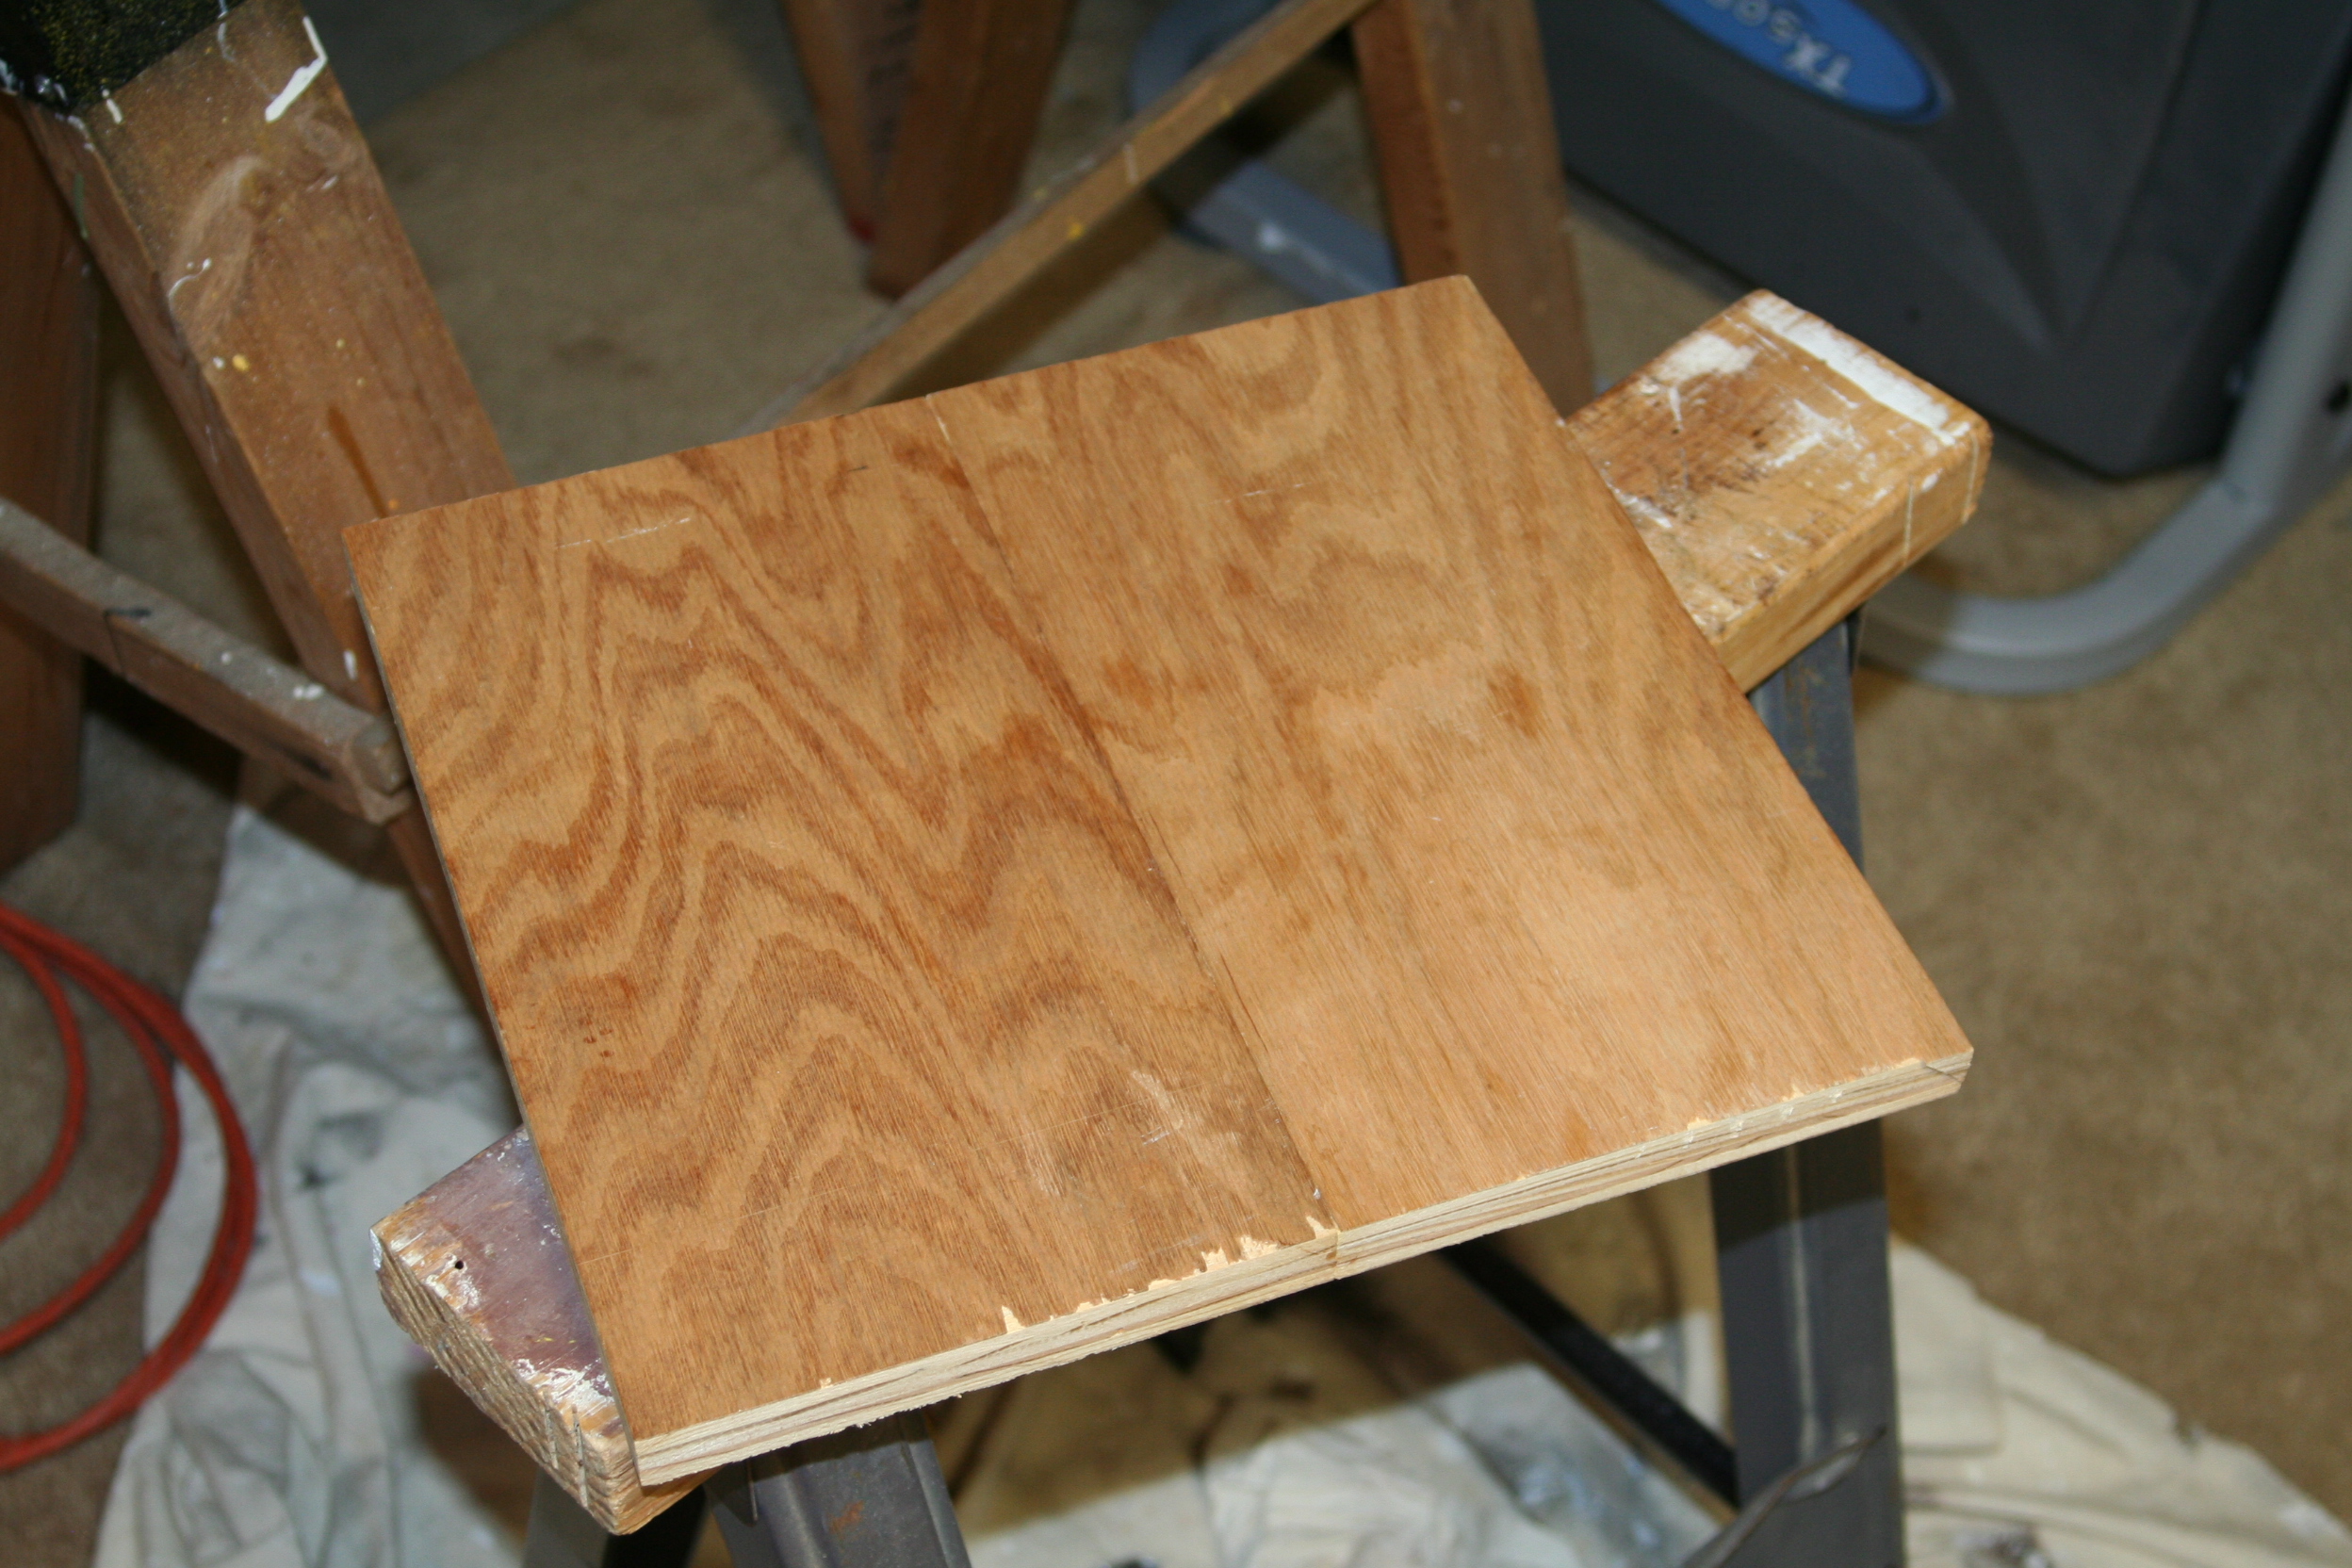 |
| 19. (4/29/2007) I noticed as I was cutting the plywood that there was chipping. This isn't too important because I would be cutting this stuff off, however, I wanted to make sure that my final cuts didn't produce the same kinds of results. After some research, I found that my hypothesis was correct and that I needed to use a blade with more teeth. My father-in-law has a band saw that I'm planning on using to cut this stuff now. | 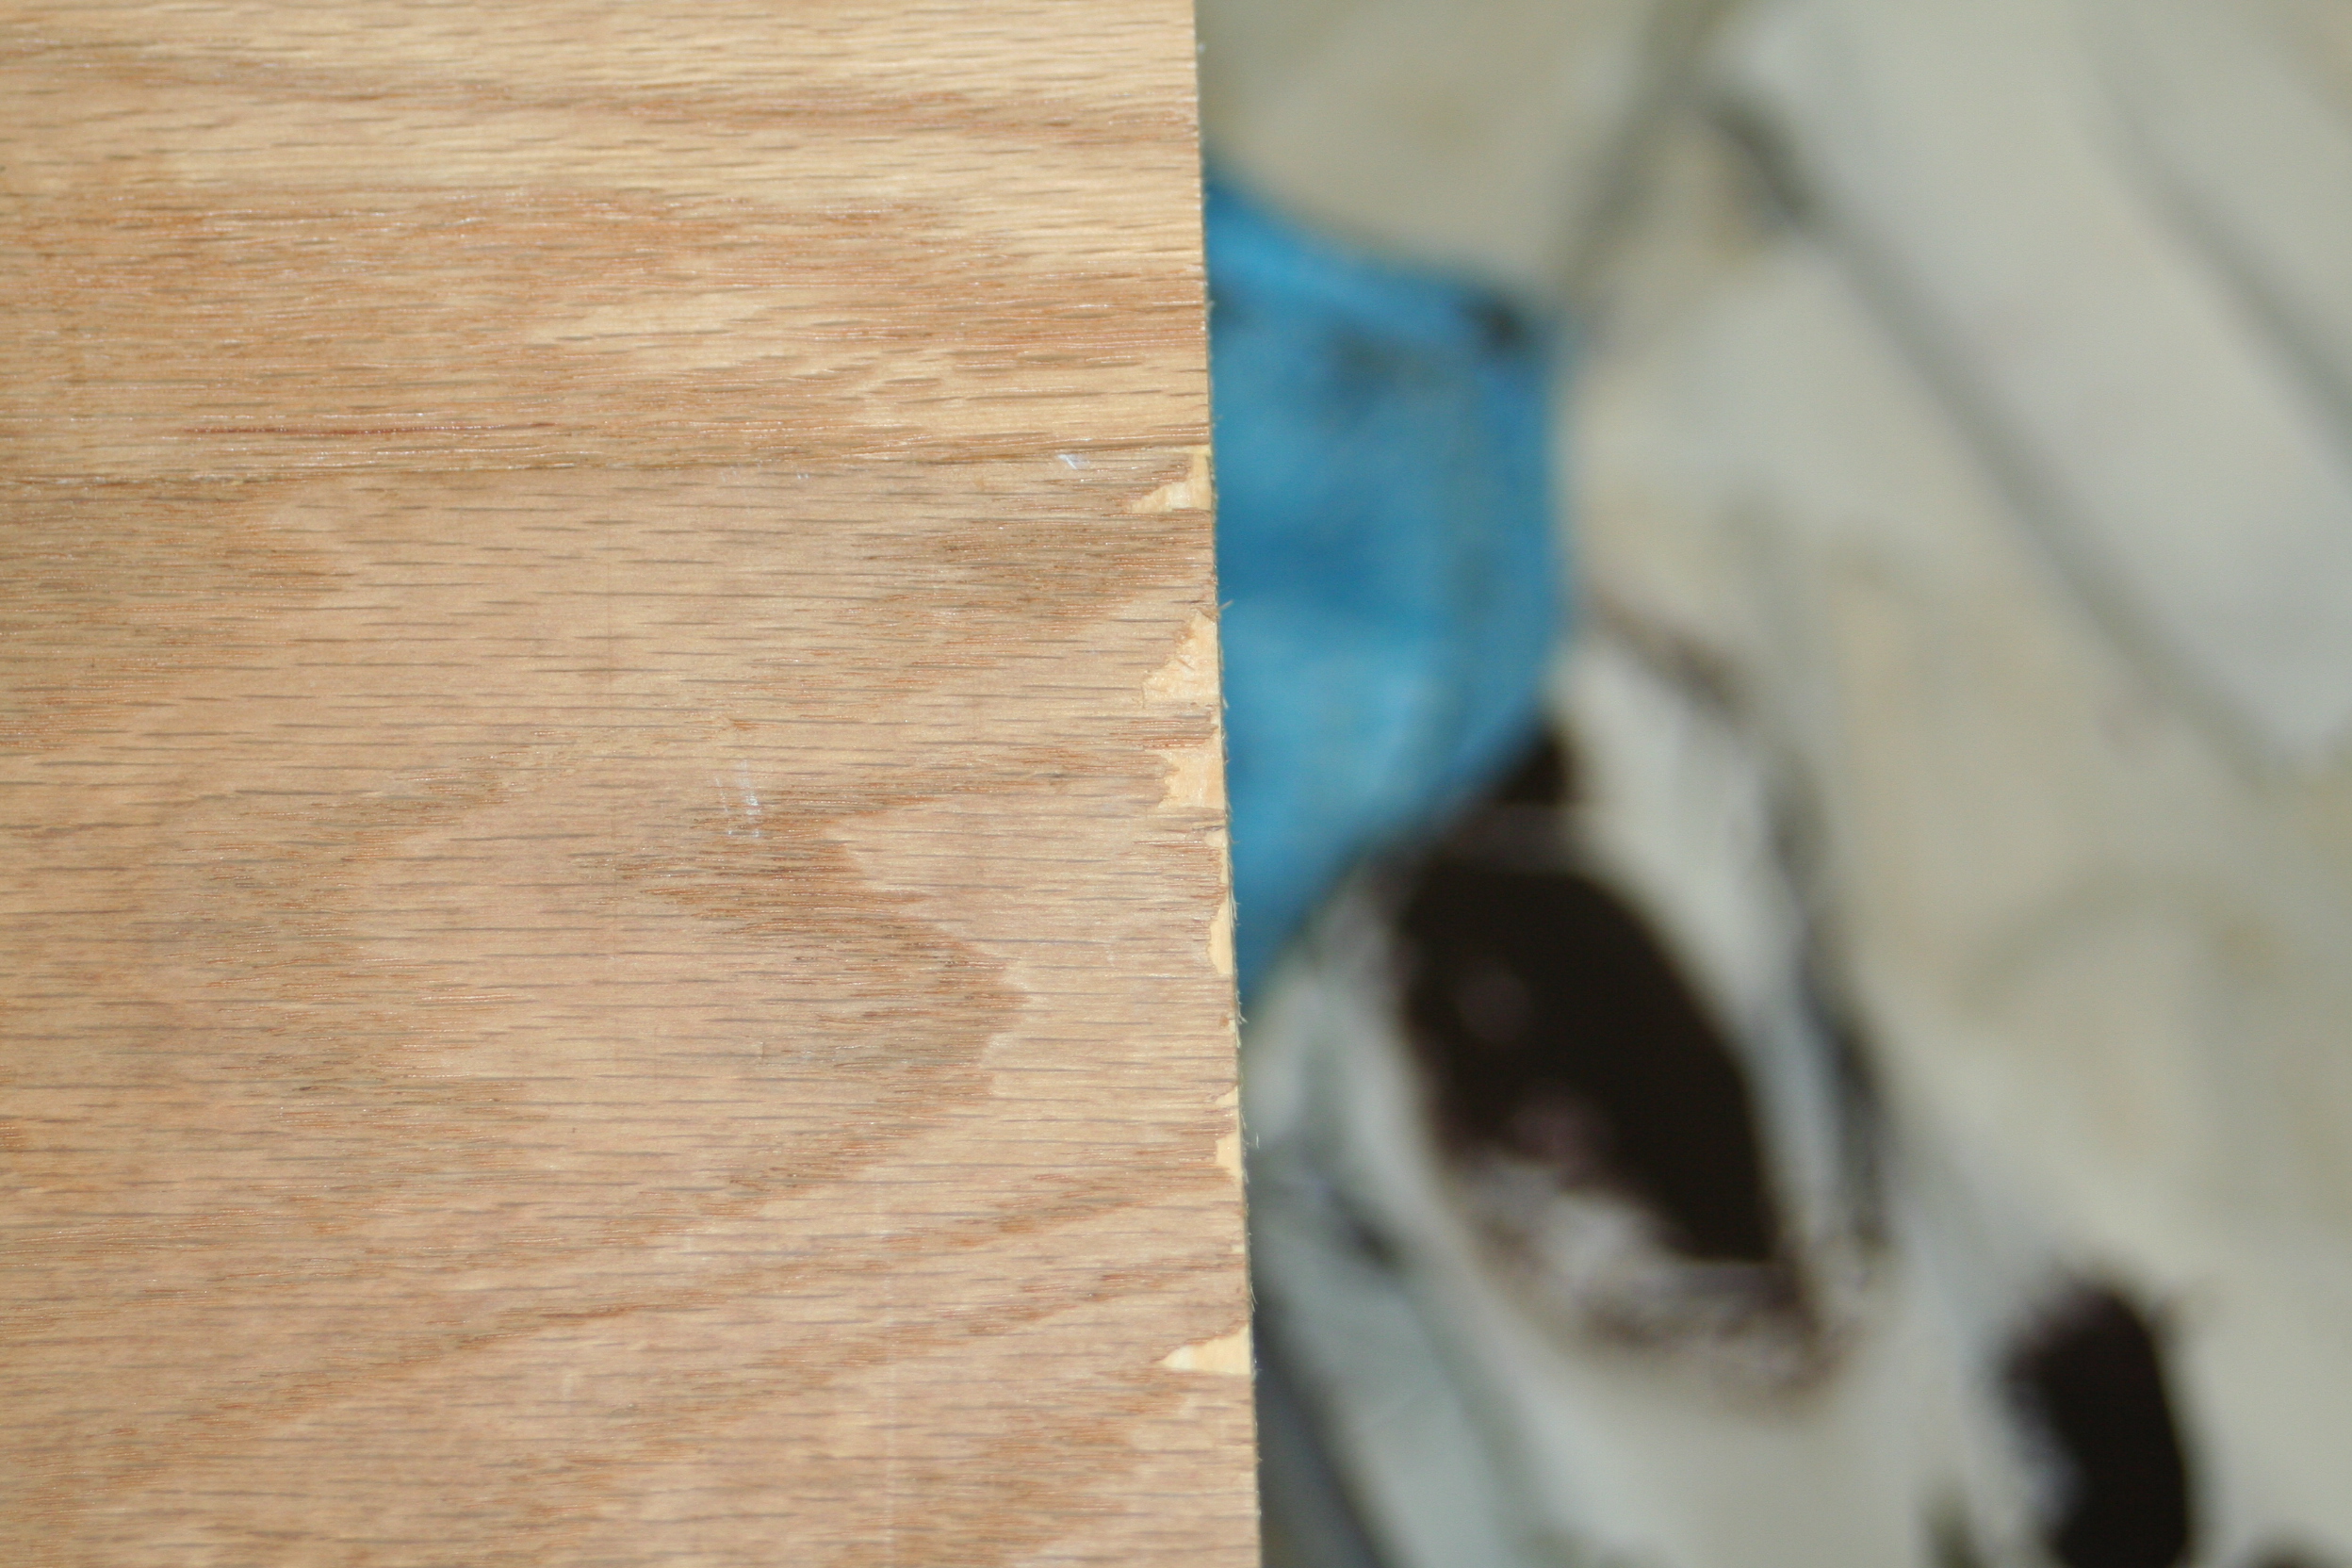 |
| 20. (4/29/2007) But before cutting, I needed to draw my lines so I knew what to cut. I placed the tube on the base and traced the inside diameter by taping a Sharpie marker to some scrap wood. Unfortunately, the marker was too wide and I couldn't get right up next to the wood so cutting it is going to be a little guess work. I'll sand down any edges that don't fit. Note: This turned out to be a bad way to do this. My cuts were not precise because I didn't have precise lines. If I end up doing this over, I'll get a solid piece of oak and use the outside diameter of the tube. This would mean that the base of the mirror cell would sit outside the tube rather than inside. We'll see if I'll be happy with this, if it looks stupid or doesn't work well, I'll be re-cutting this piece. | 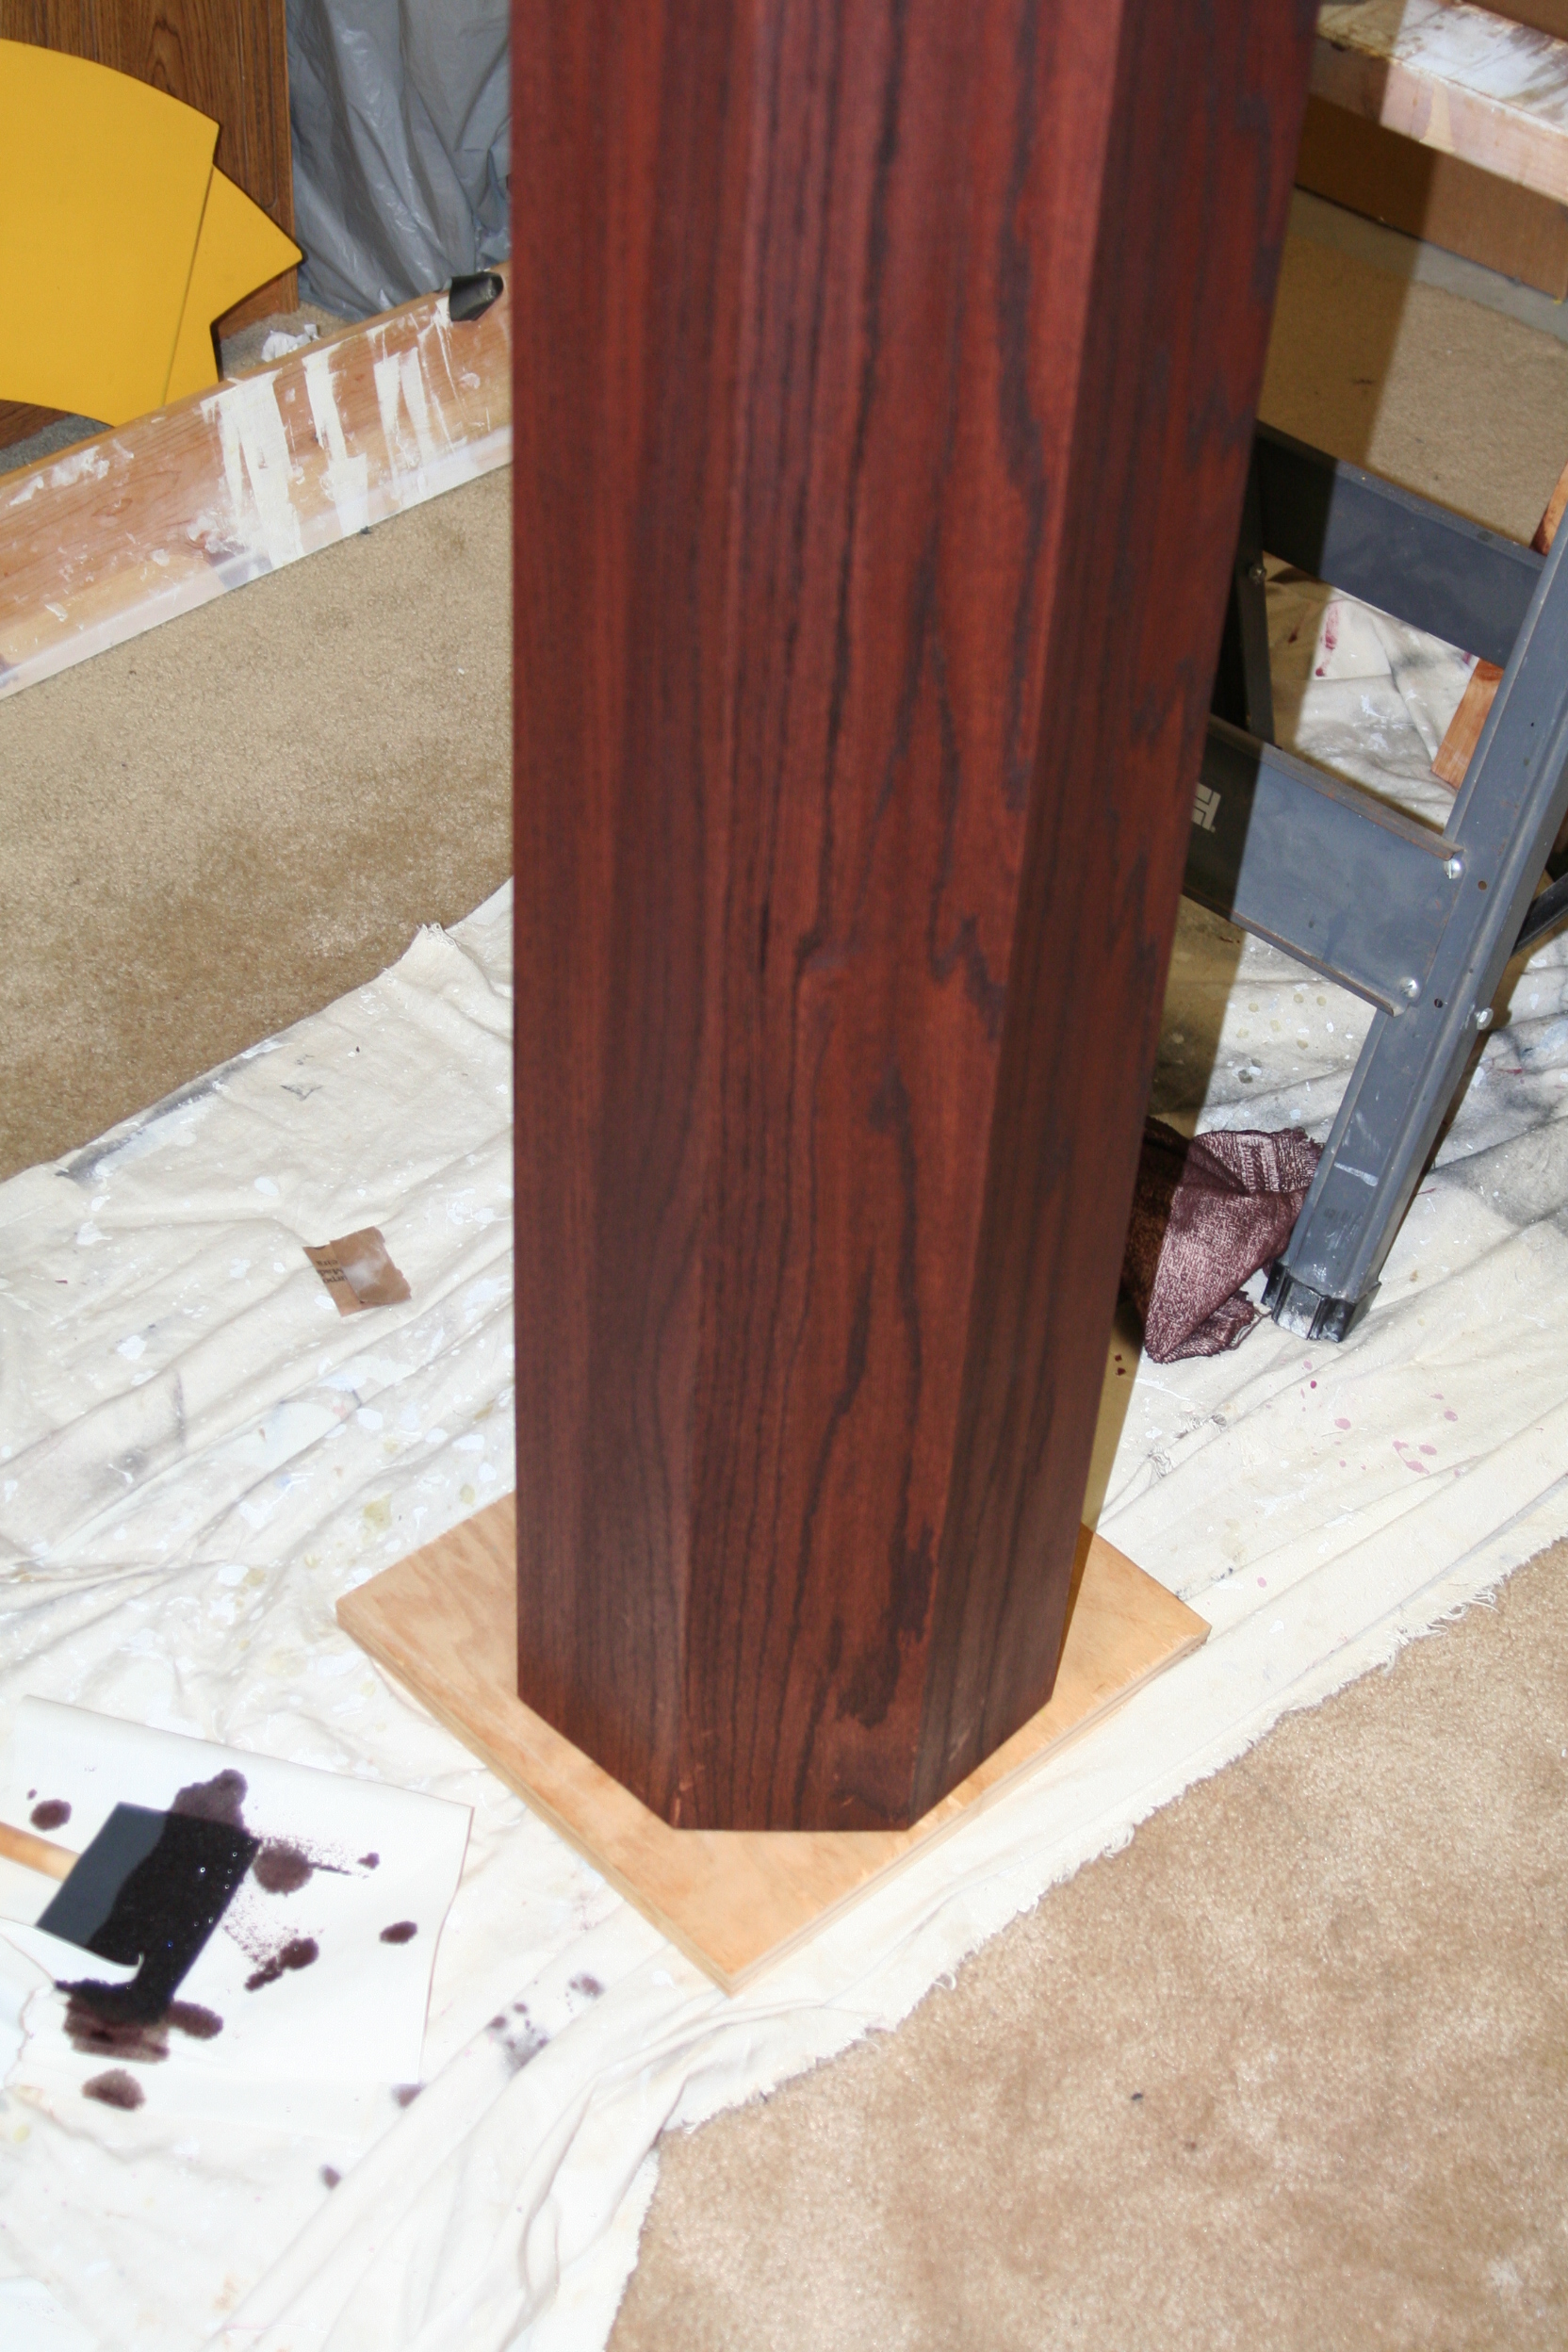 |
| 21. (4/30/2007) I now applied my first coat of gloss polyurethane. I was told that the coats should be really thin. Sanding in between each coat with about a 600 grade grain sand paper. |  |
Construction of the Primary Mirror Cell:
| 22.(4/30/2007) With the first coat of polyurethane applied it was time to put some more work on the primary mirror cell. I traced out the primary mirror on some more of the scrap oak veneer I acquired. | 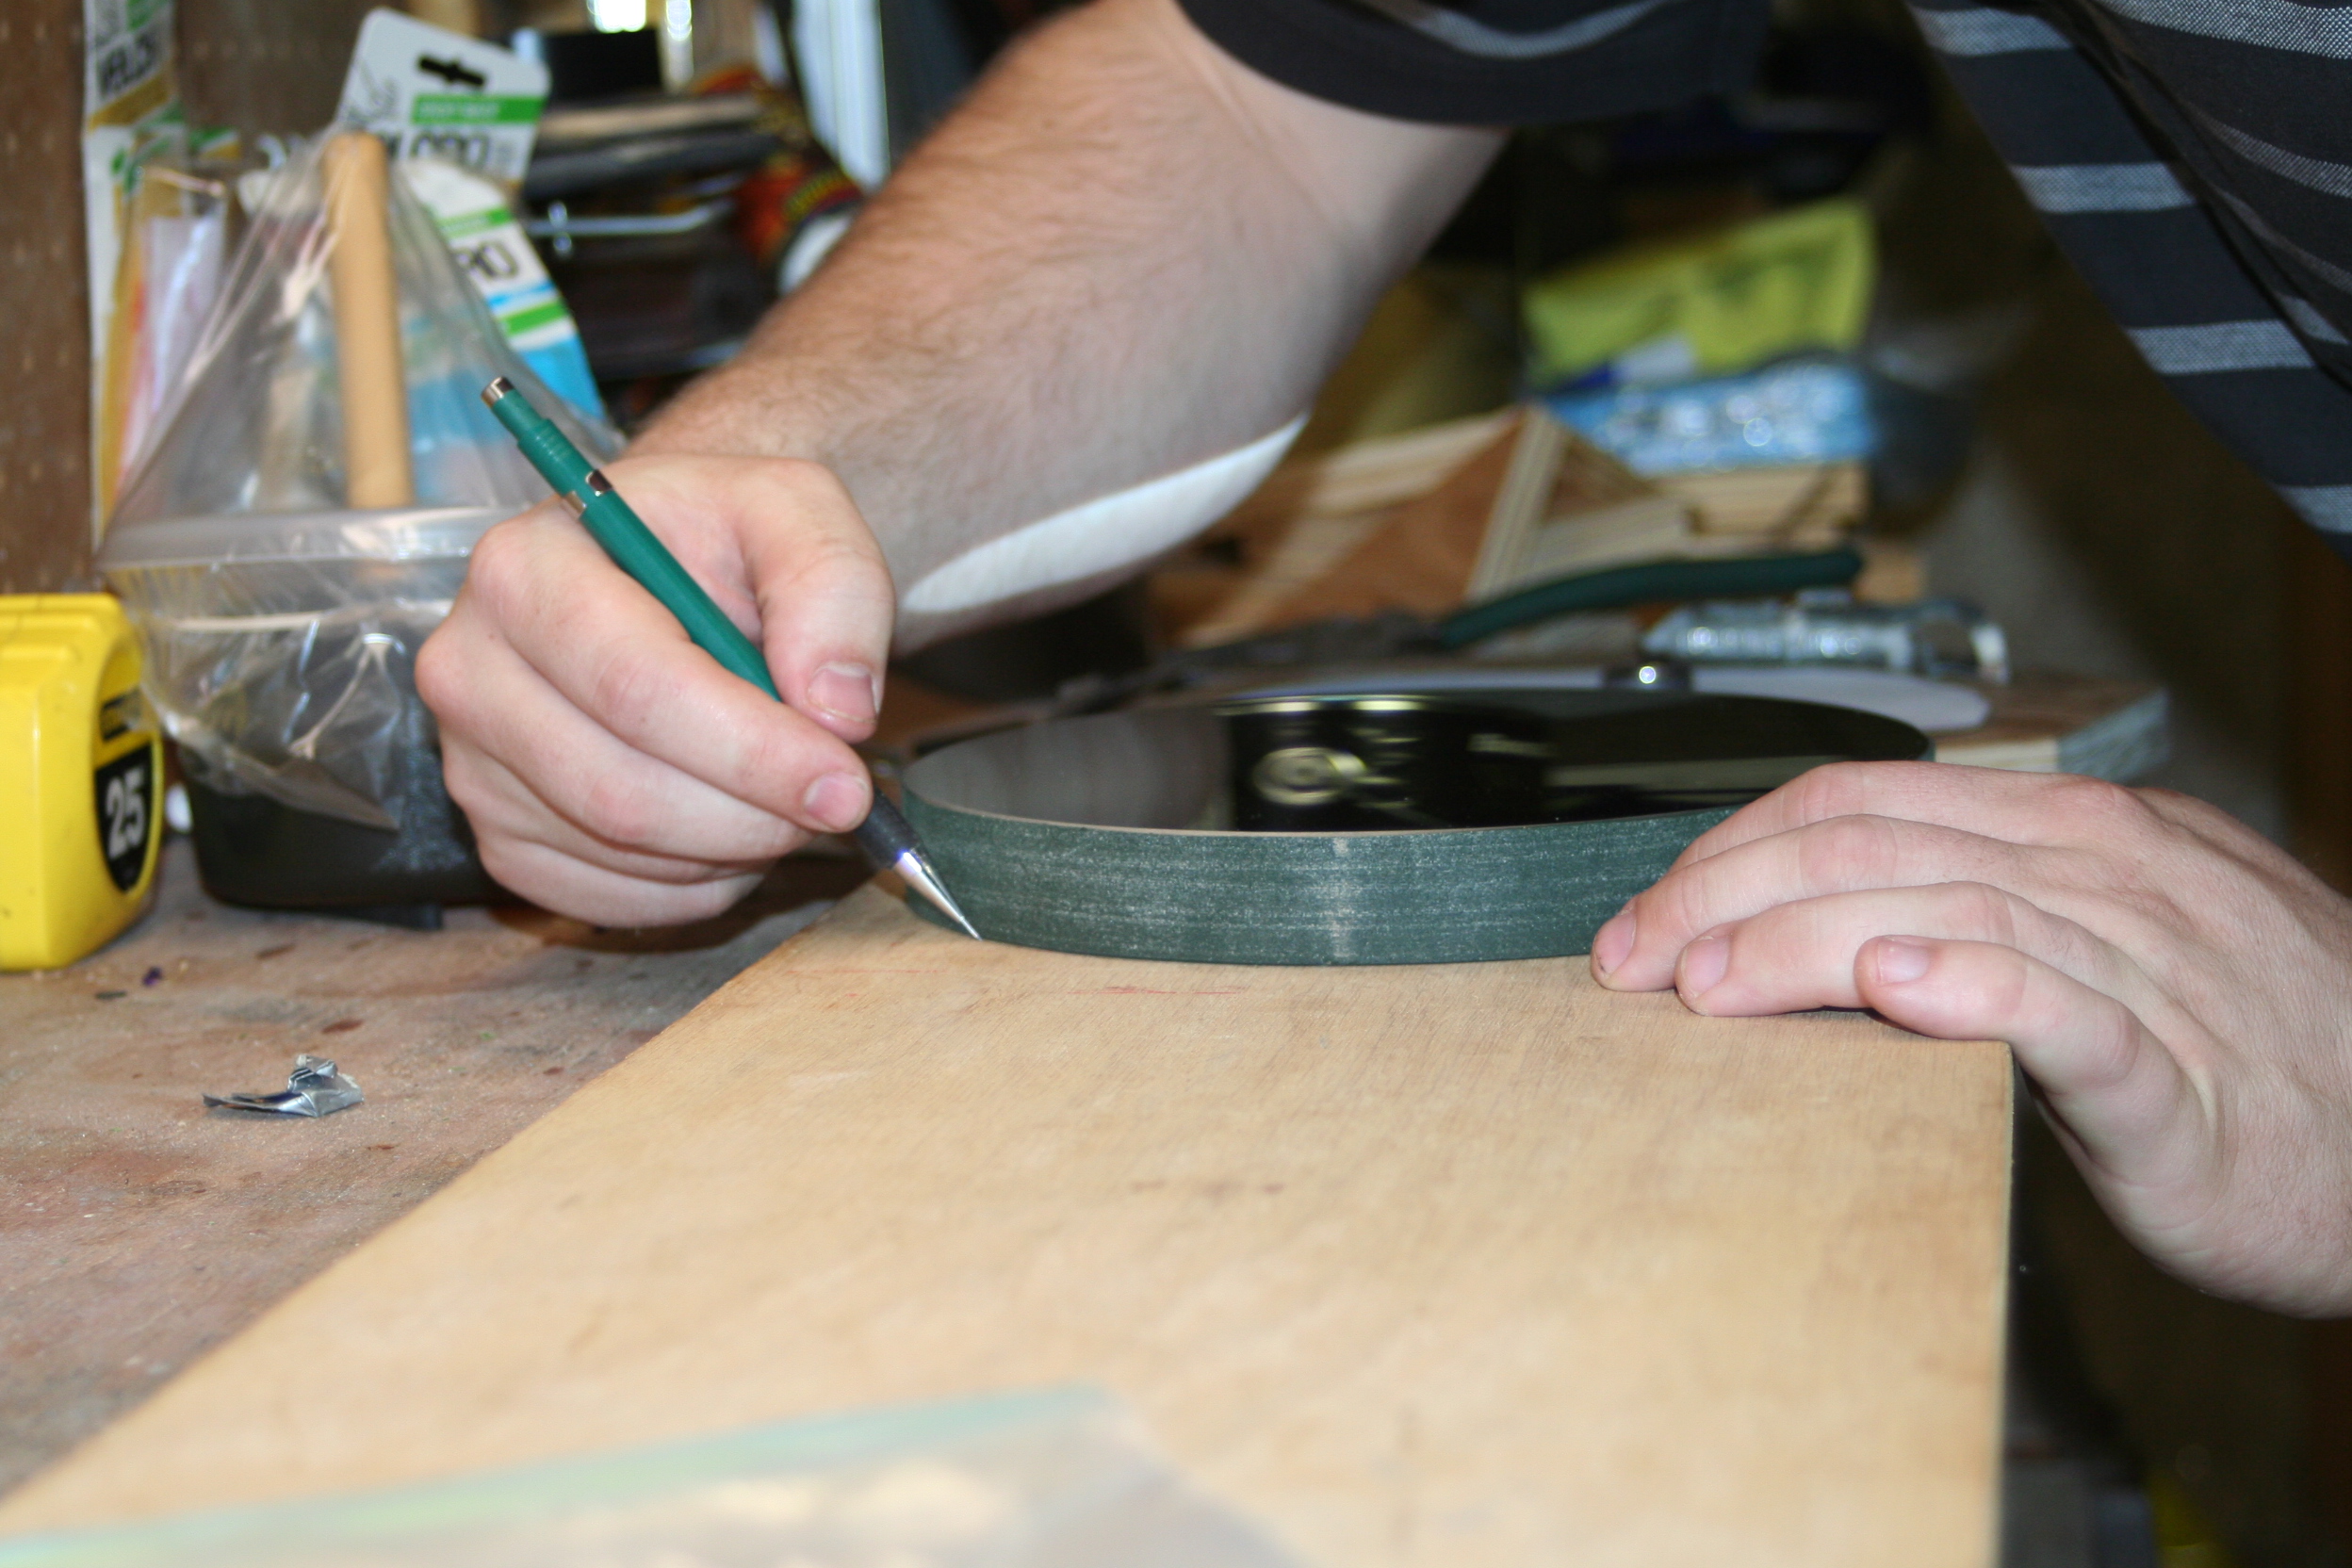 |
| 23. (4/30/2007) Cut it out... Away from the drying poly! Didn't want to add any sawdust to my glossy poly! |  |
| 24. (4/30/2007) Using Graphical Plop (acknowledgements for this program can be found by following the link) I created the layout for a 9-point mirror cell. I was able to print it out to 8 inches and lay that on top of the wood. I can now simply trace the support locations onto the wood rather than measuring. | 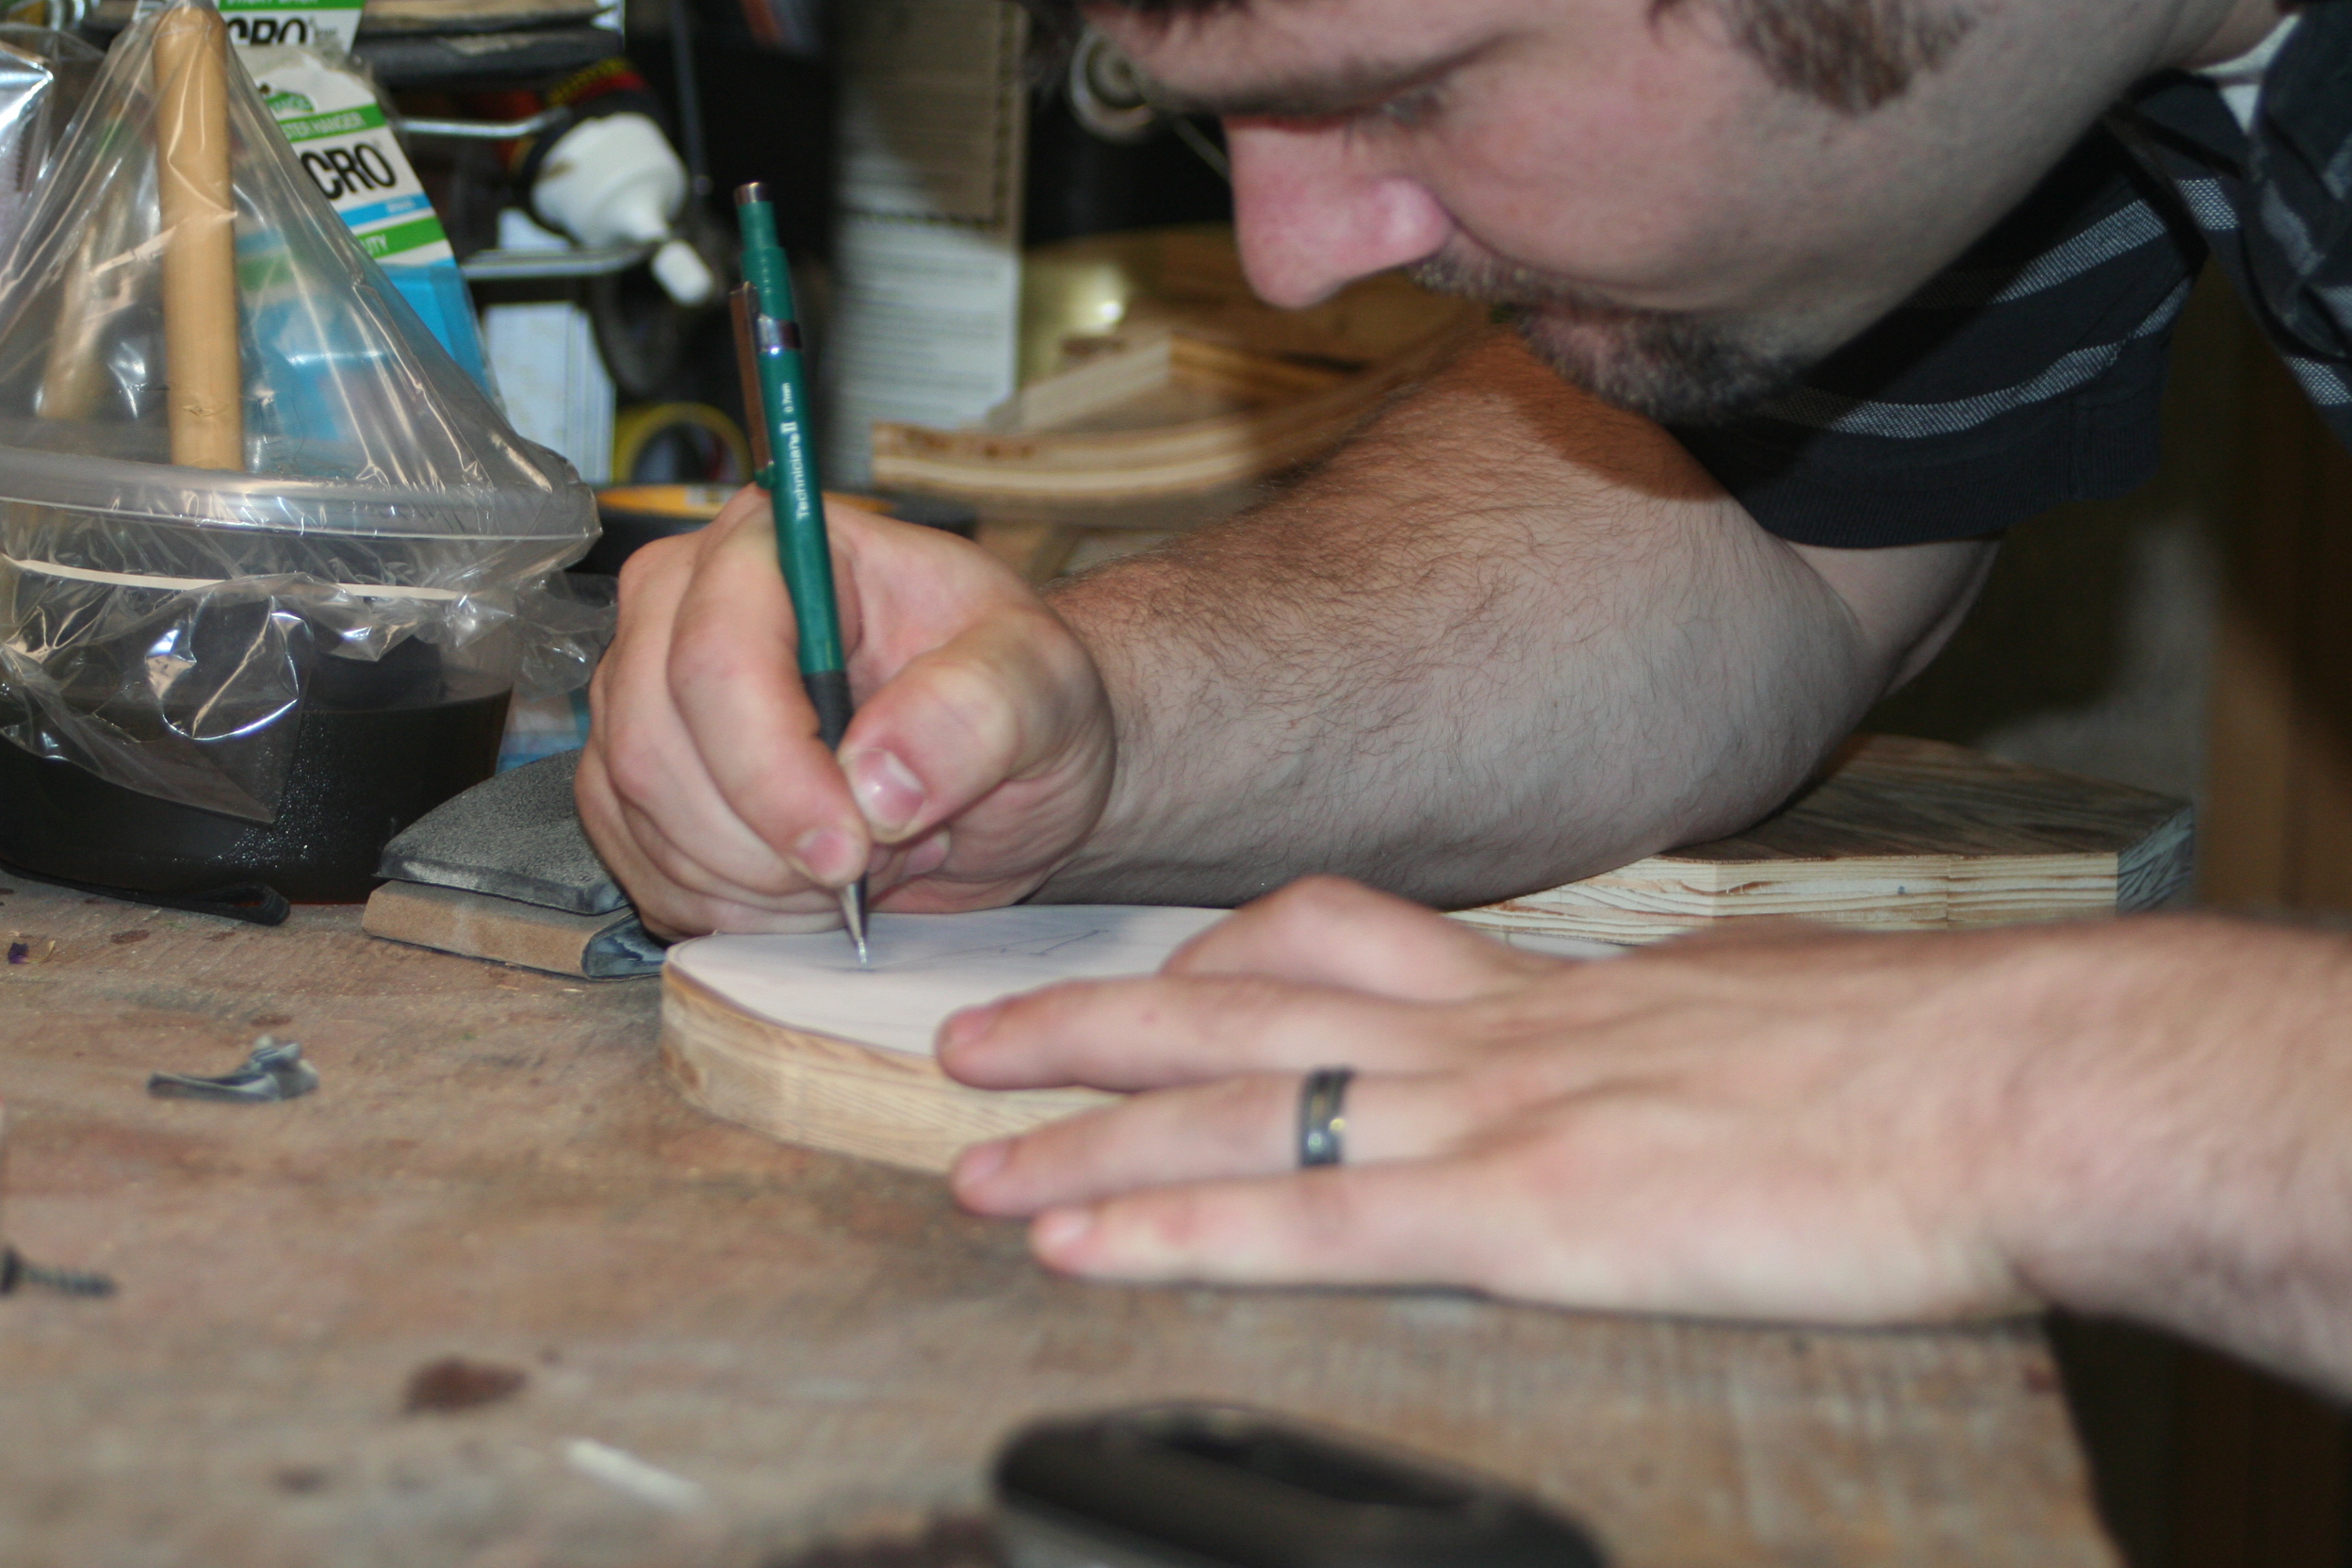 |
| 25. (4/30/2007) I double-checked my work by peeling back the paper much like the good 'ol days of Disney animation when everything was hand drawn. |  |
| 26. (5/1/2007) After letting the tube sit overnight to dry, I sanded it down using 600 grade sandpaper. This creates a fine white powder which I just wiped off using my tack cloth. I then applied another layer of poly and continued my work on the mirror cell. | |
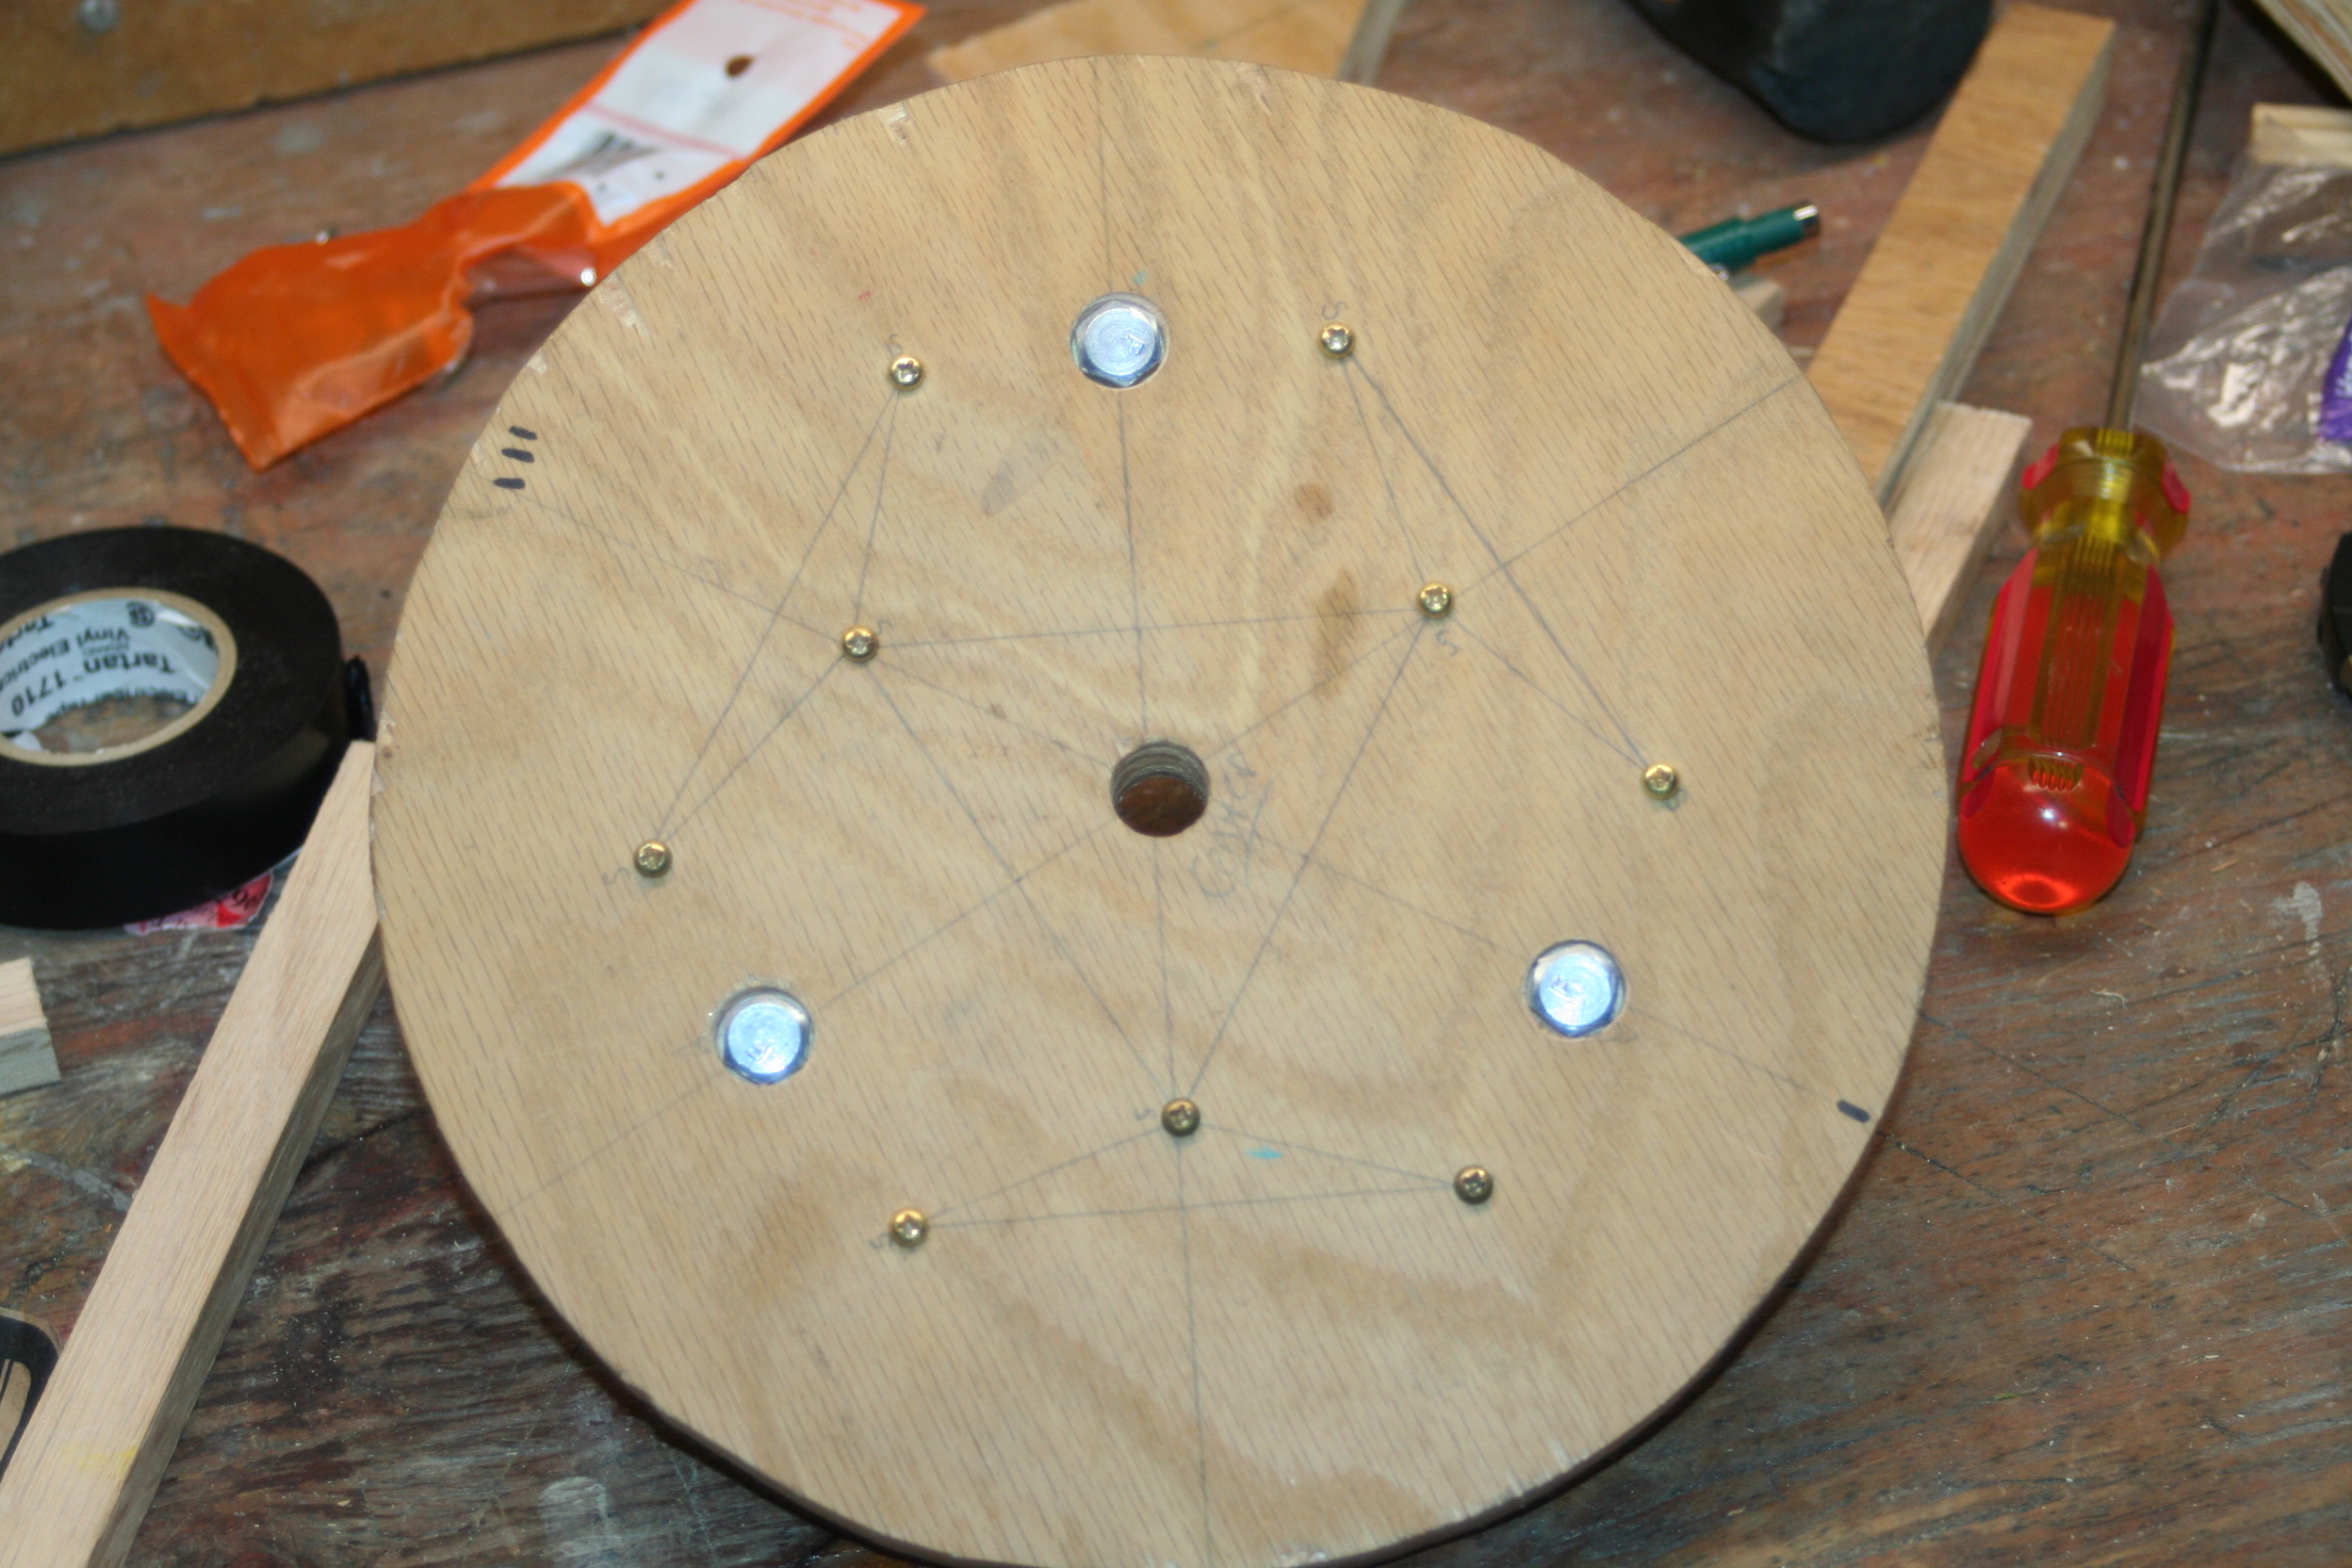
| 27. (5/1/2007) I found nine small screws which I will use for the mirror supports. They will be screwed in at each corner of the triangles. They will also be covered up with some sort of soft material to make sure too much pressure is not exerted on the bottom of the mirror. | 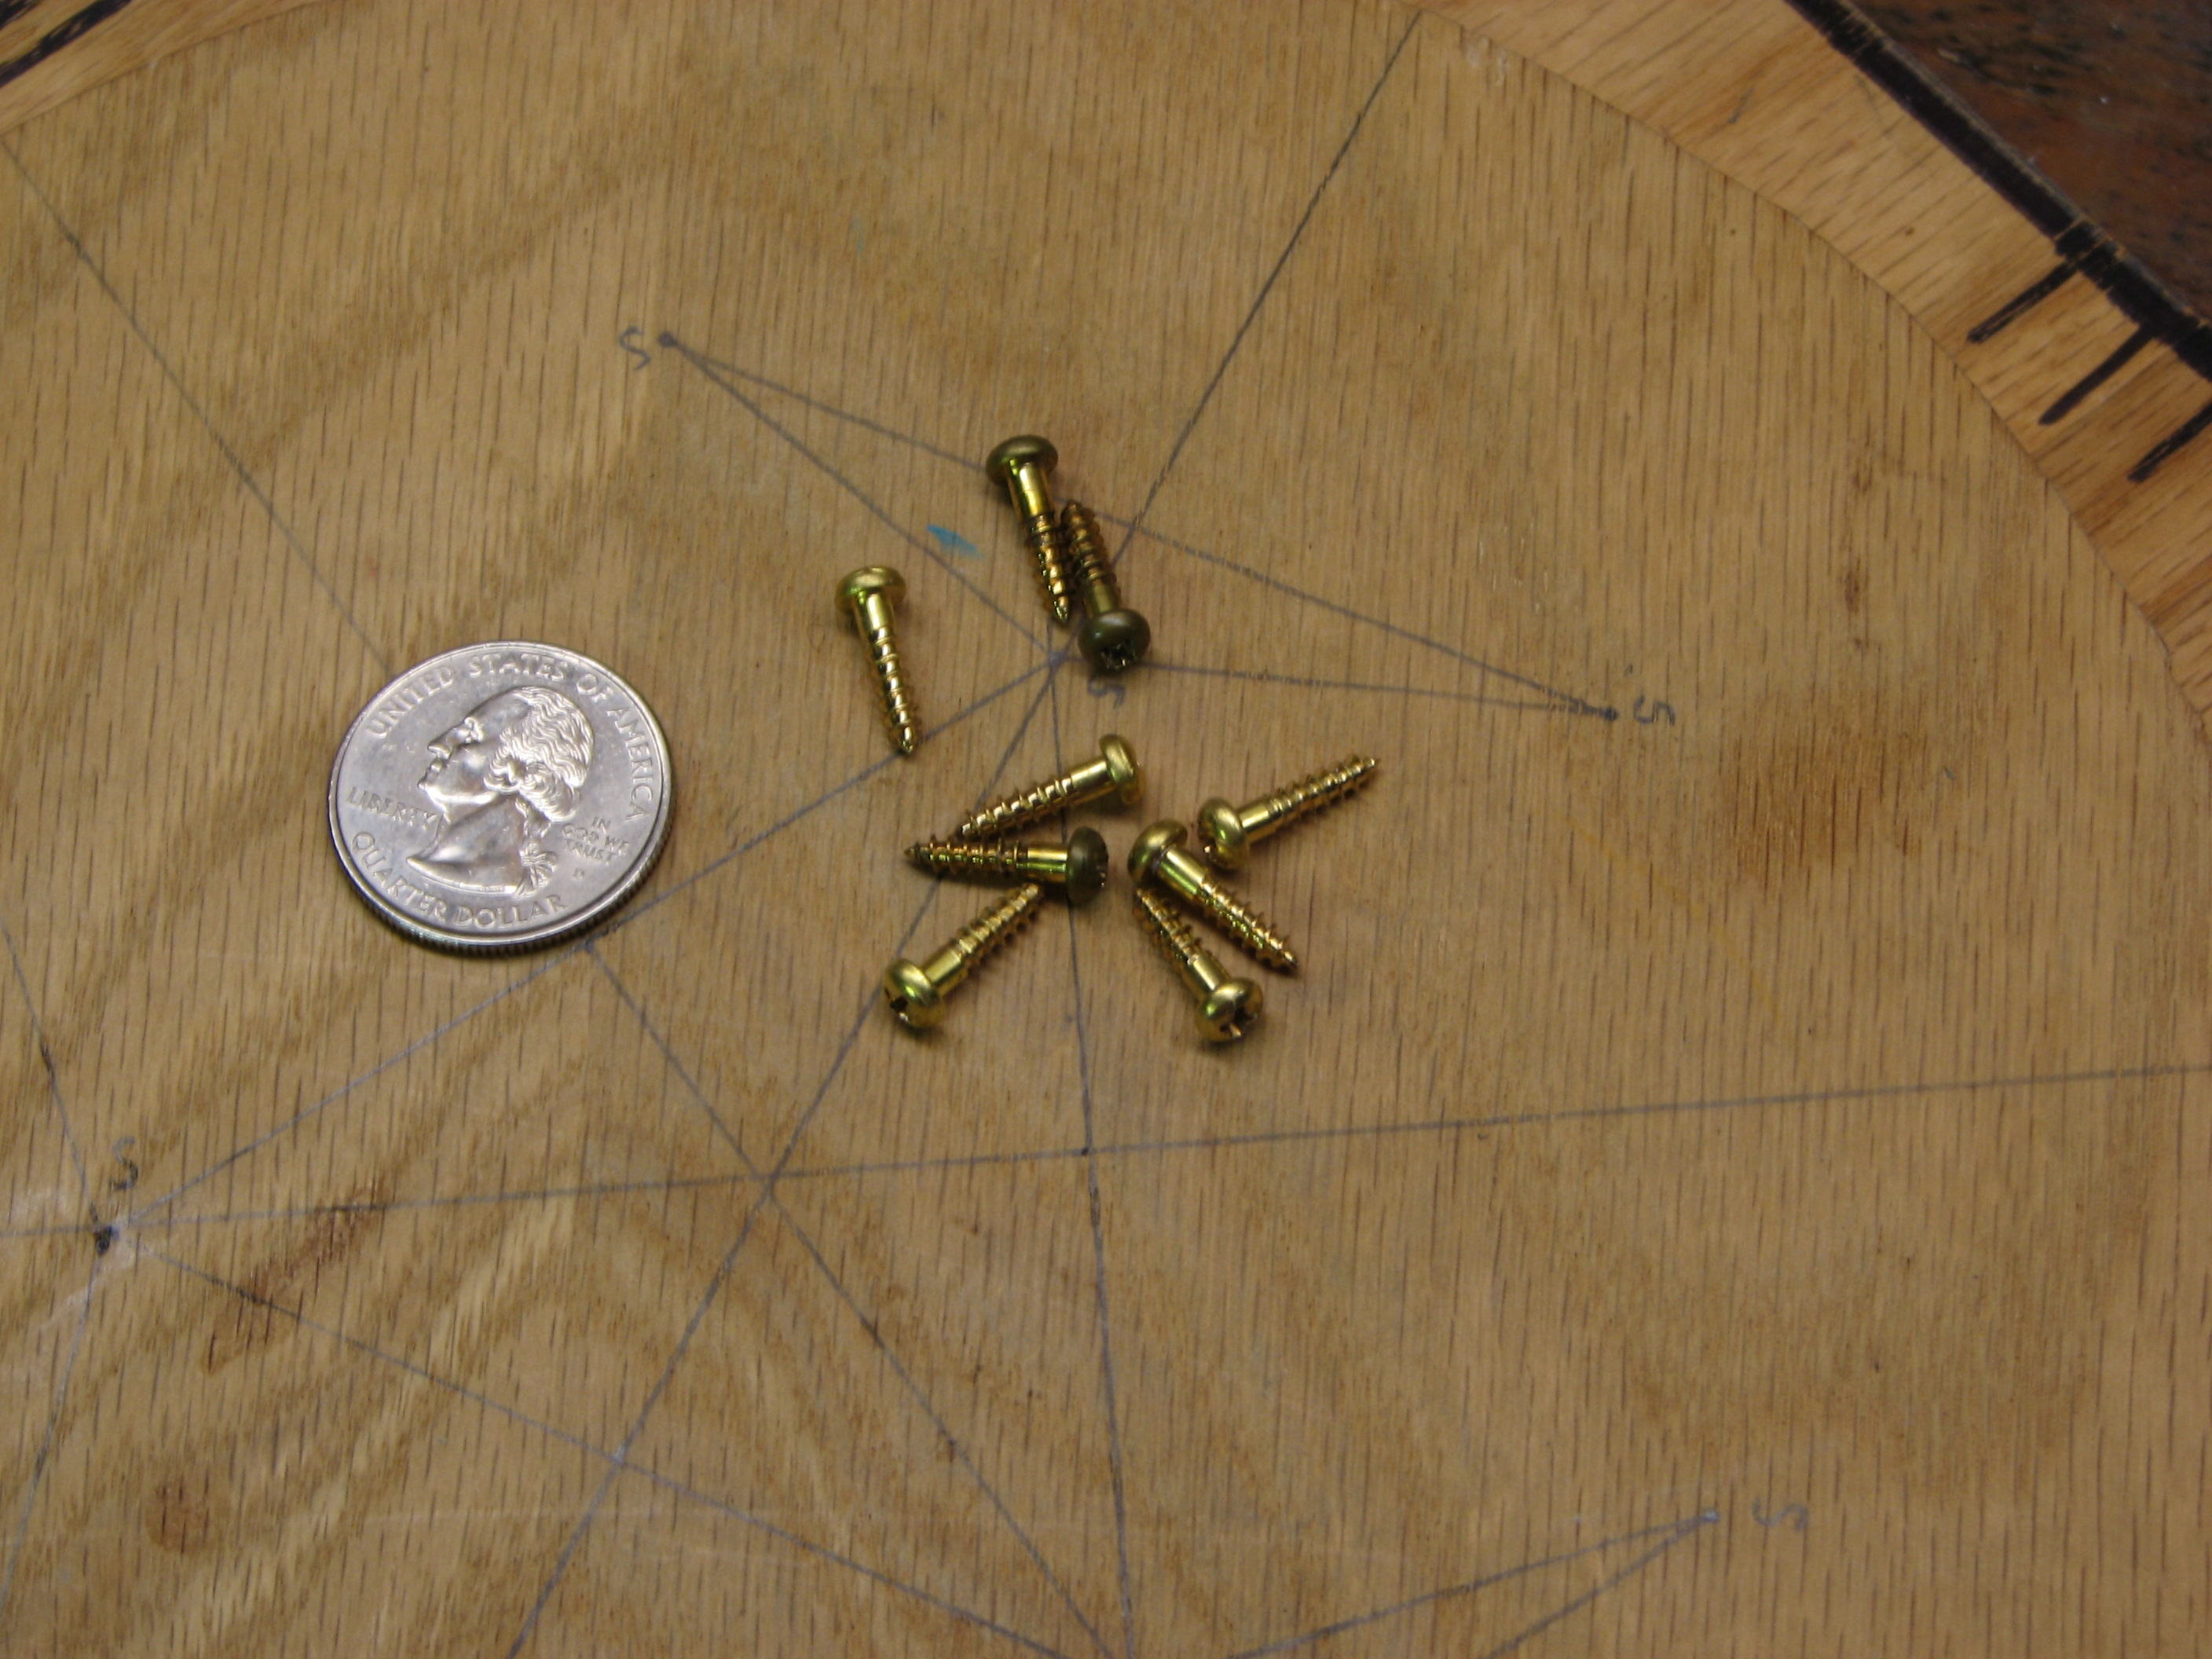 |
| 28. (5/1/2007) I drilled the pilot holes for the screws using a drill press to make the screws easier to screw in. I tried screwing them in without the pilot holes and it was too much work. | 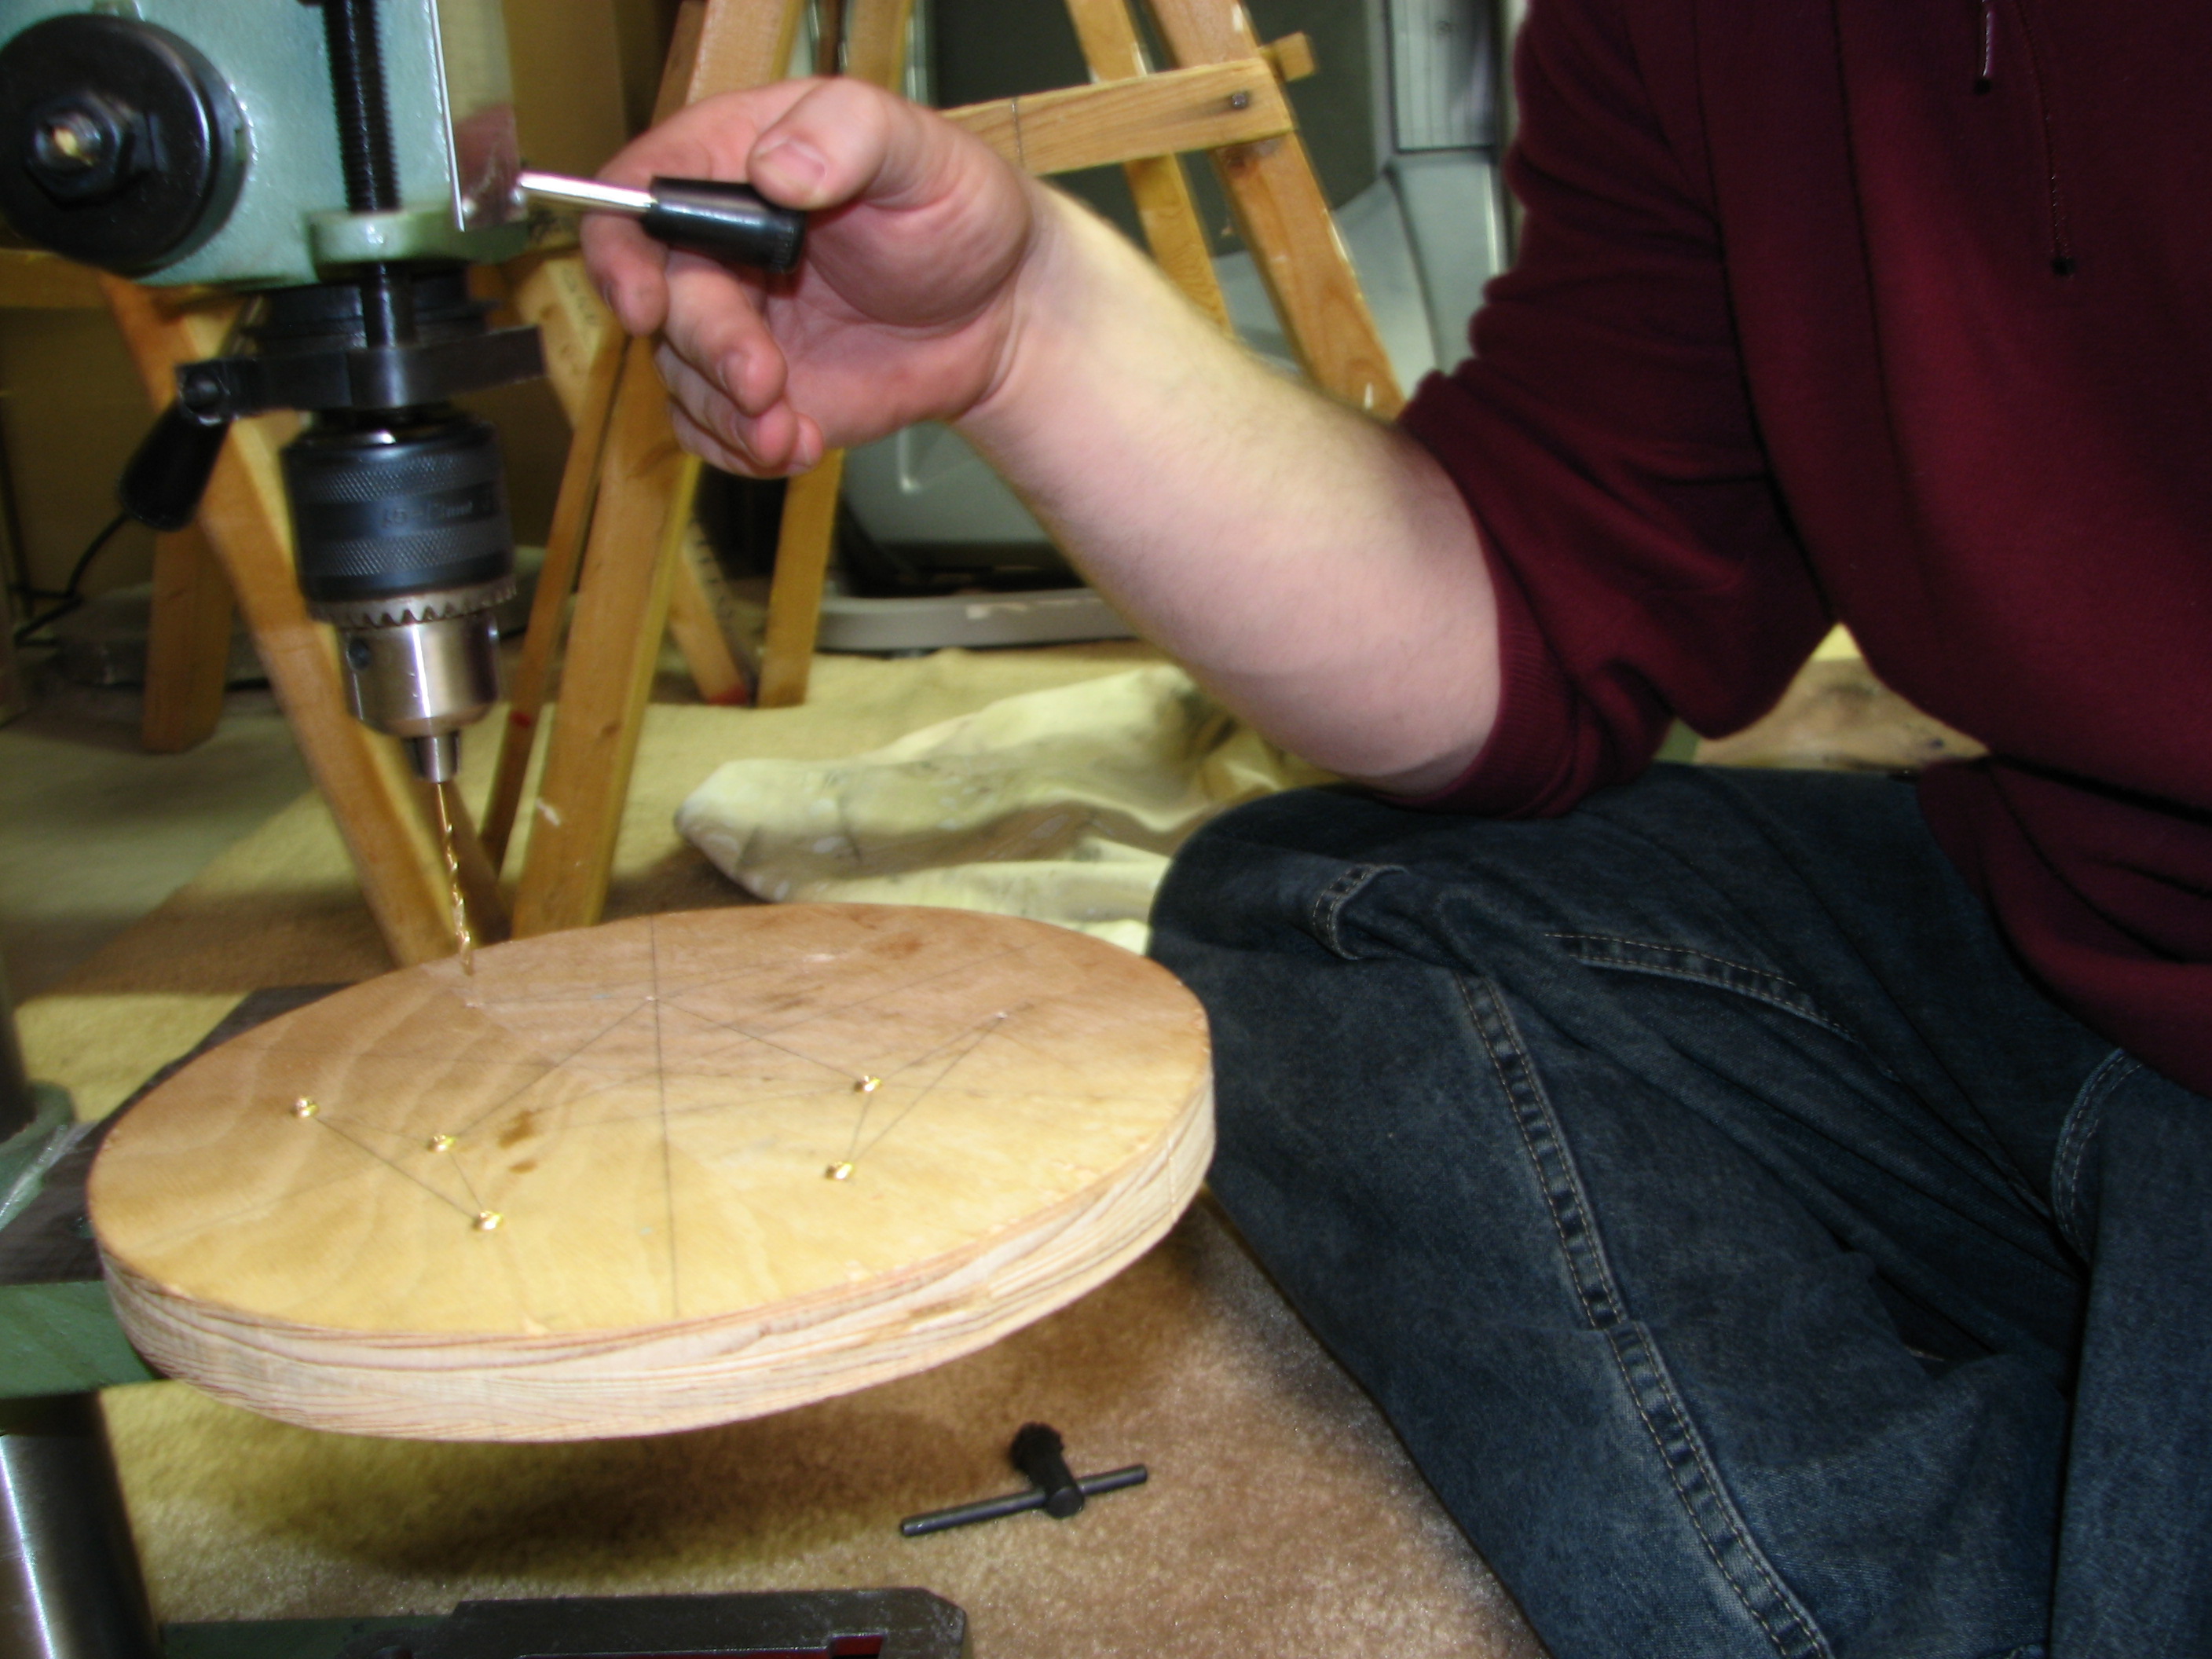 |
| 29. (5/1/2007) Now I can screw the screws in easily. | 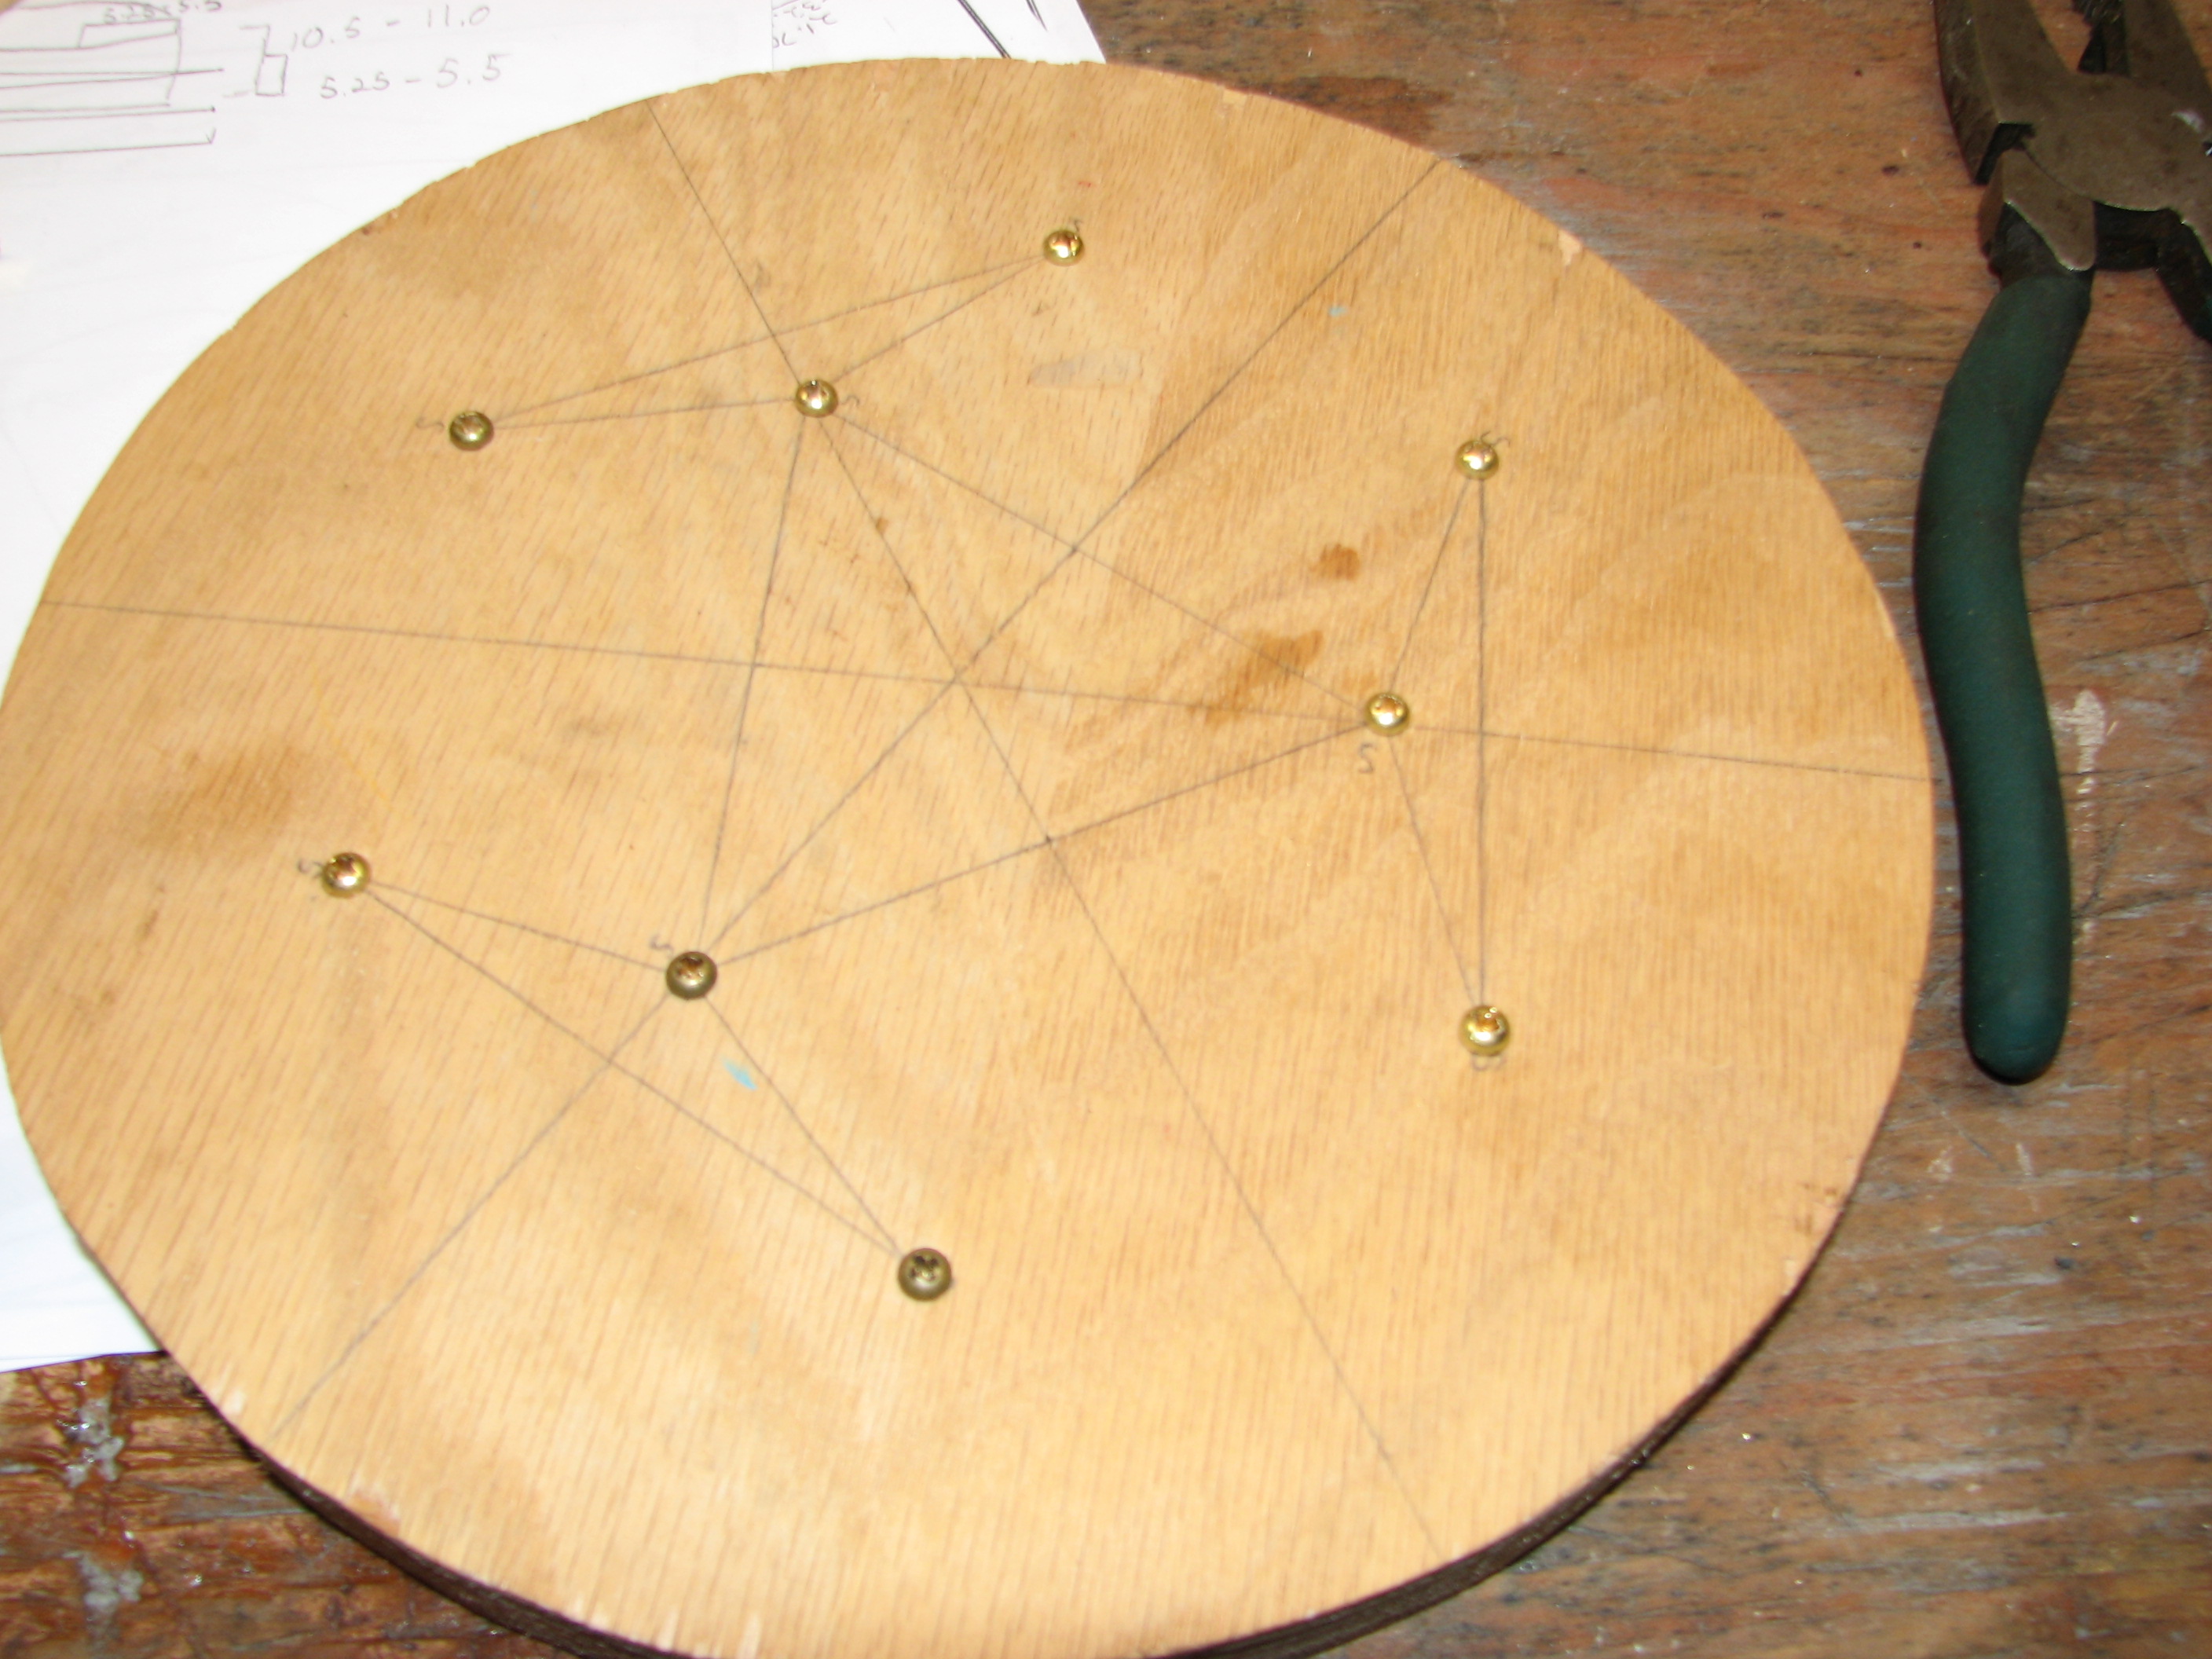 |
| 30. (5/1/2007) I'm also going to drill a hole in the center of this to allow for more air circulation. This hole will probably end up being bigger than this but I'm going to leave it at this size for now until I get the rest of the primary mirror cell built. | 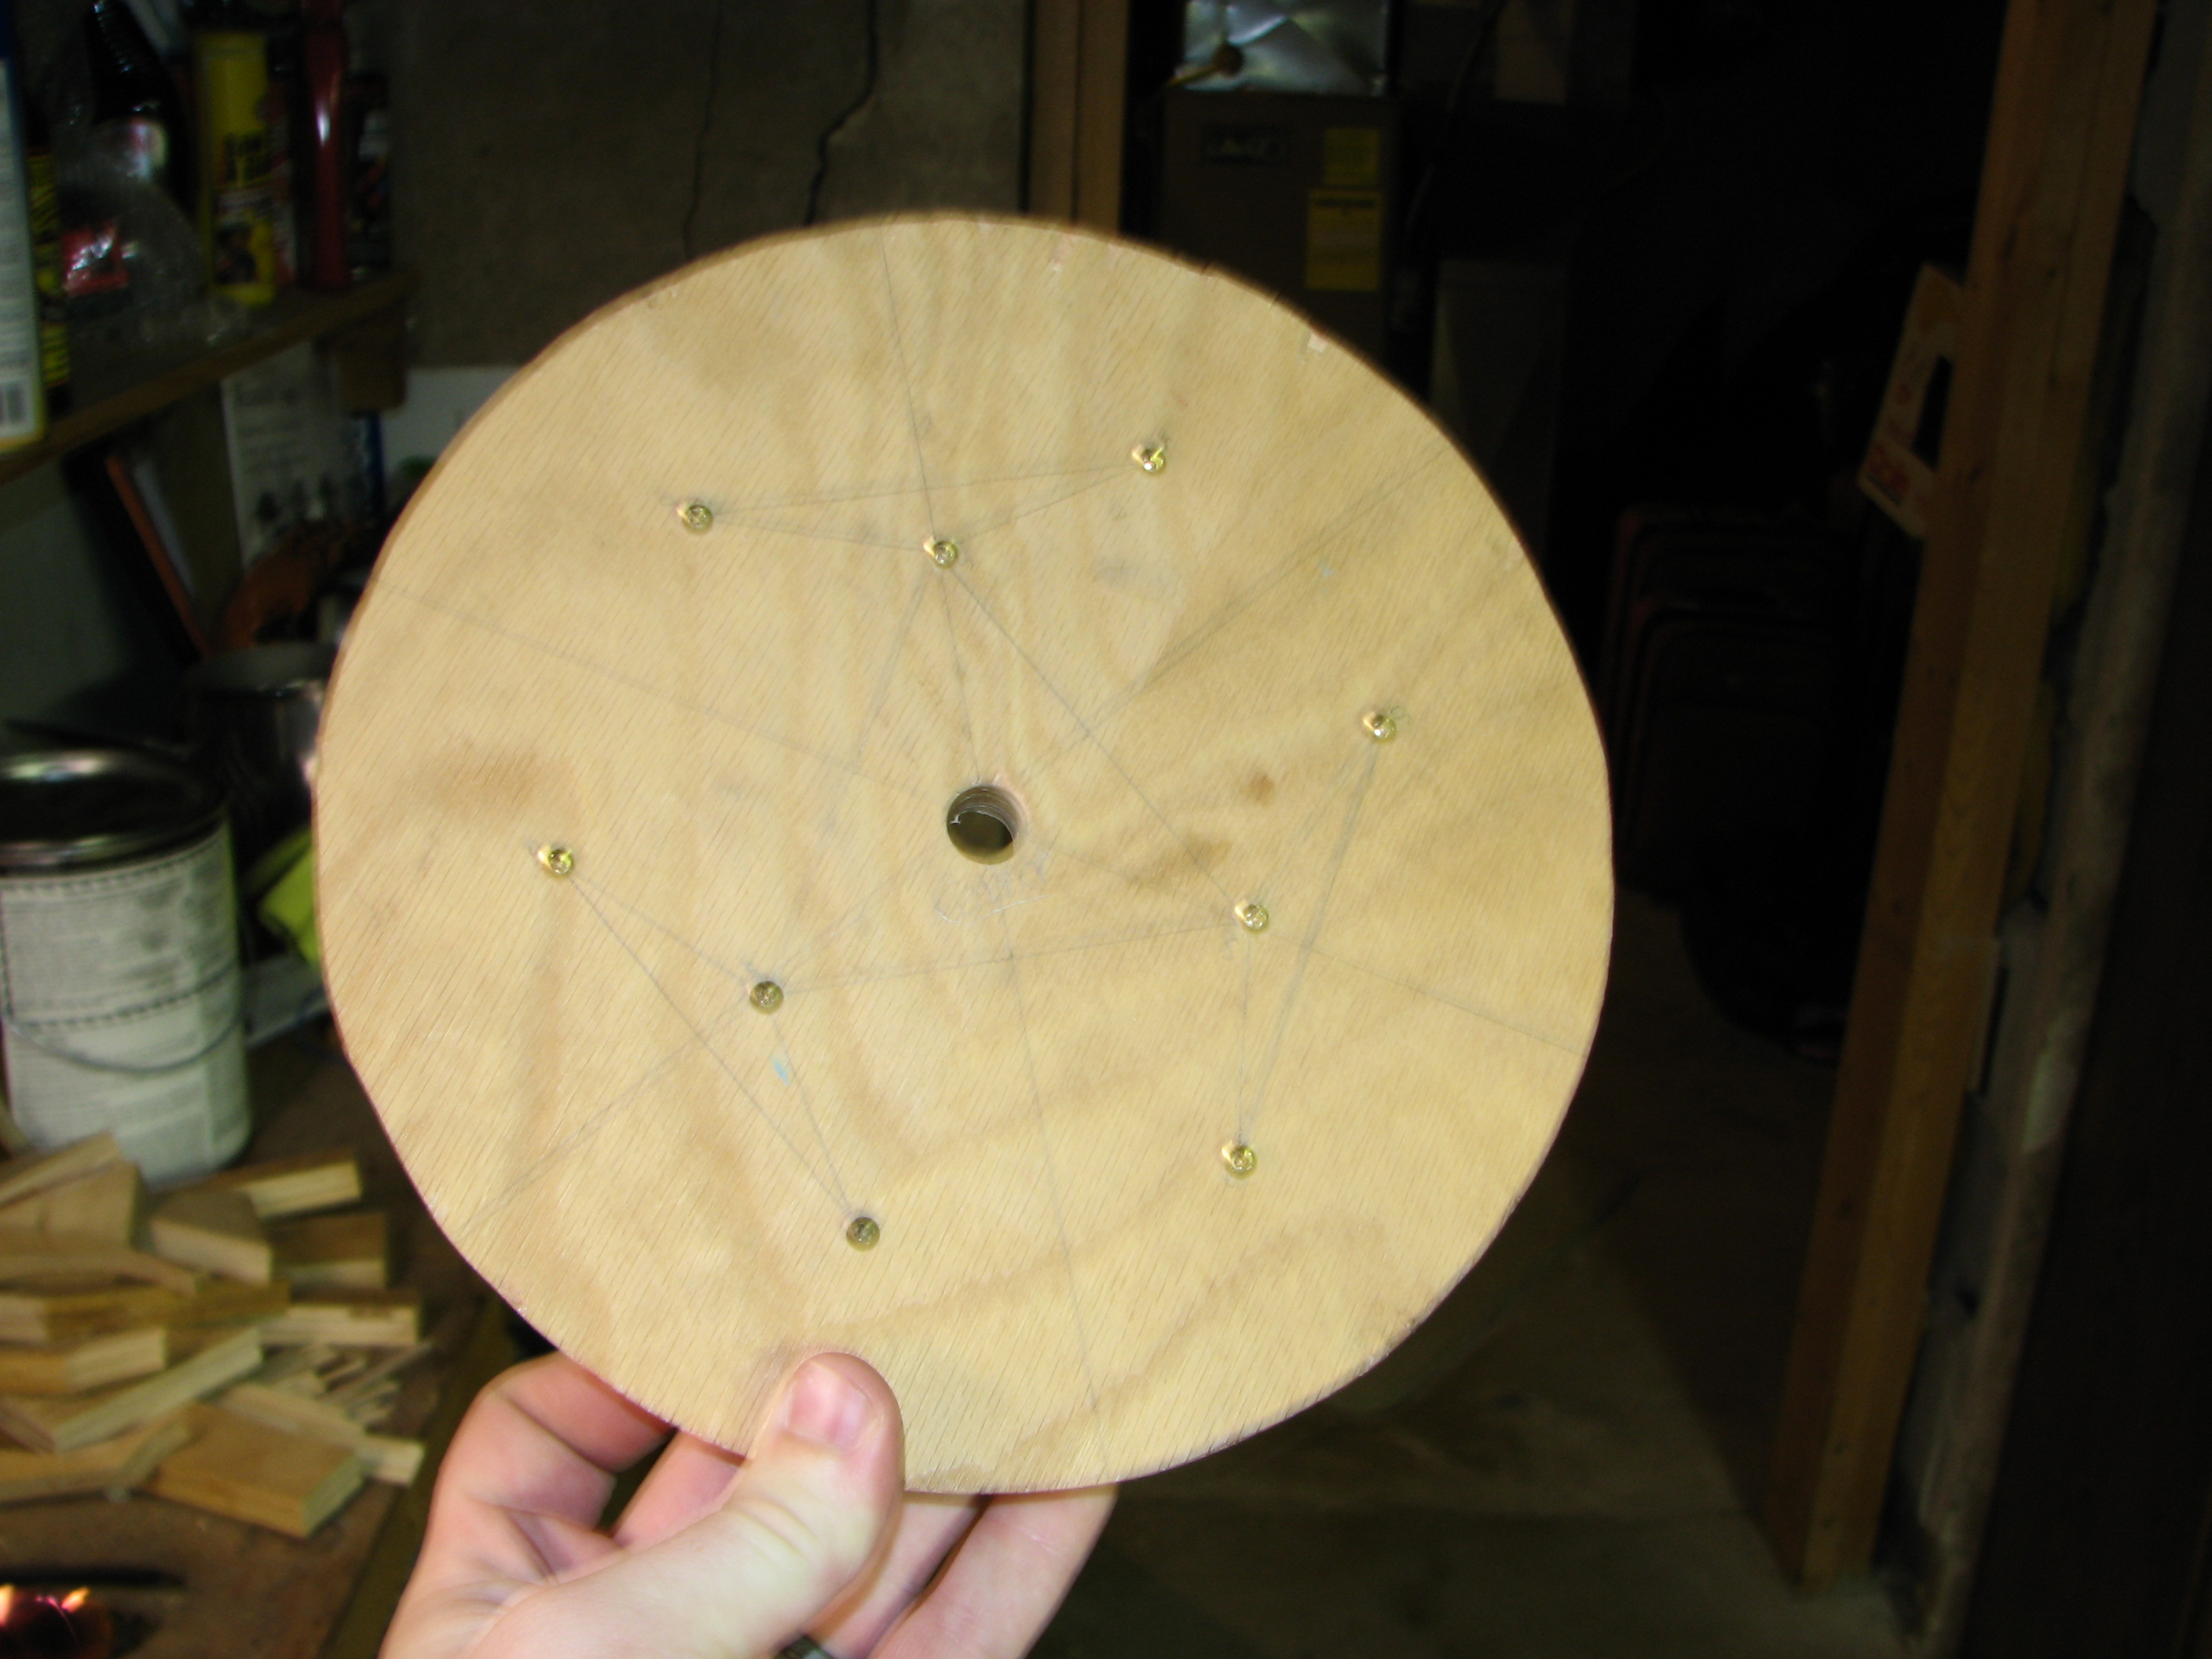 |
| 31. (5/6/2007) I then drilled and counter-sunk some holes for bolts that will be used to adjust the mirror after it's been installed in the OTA. | |
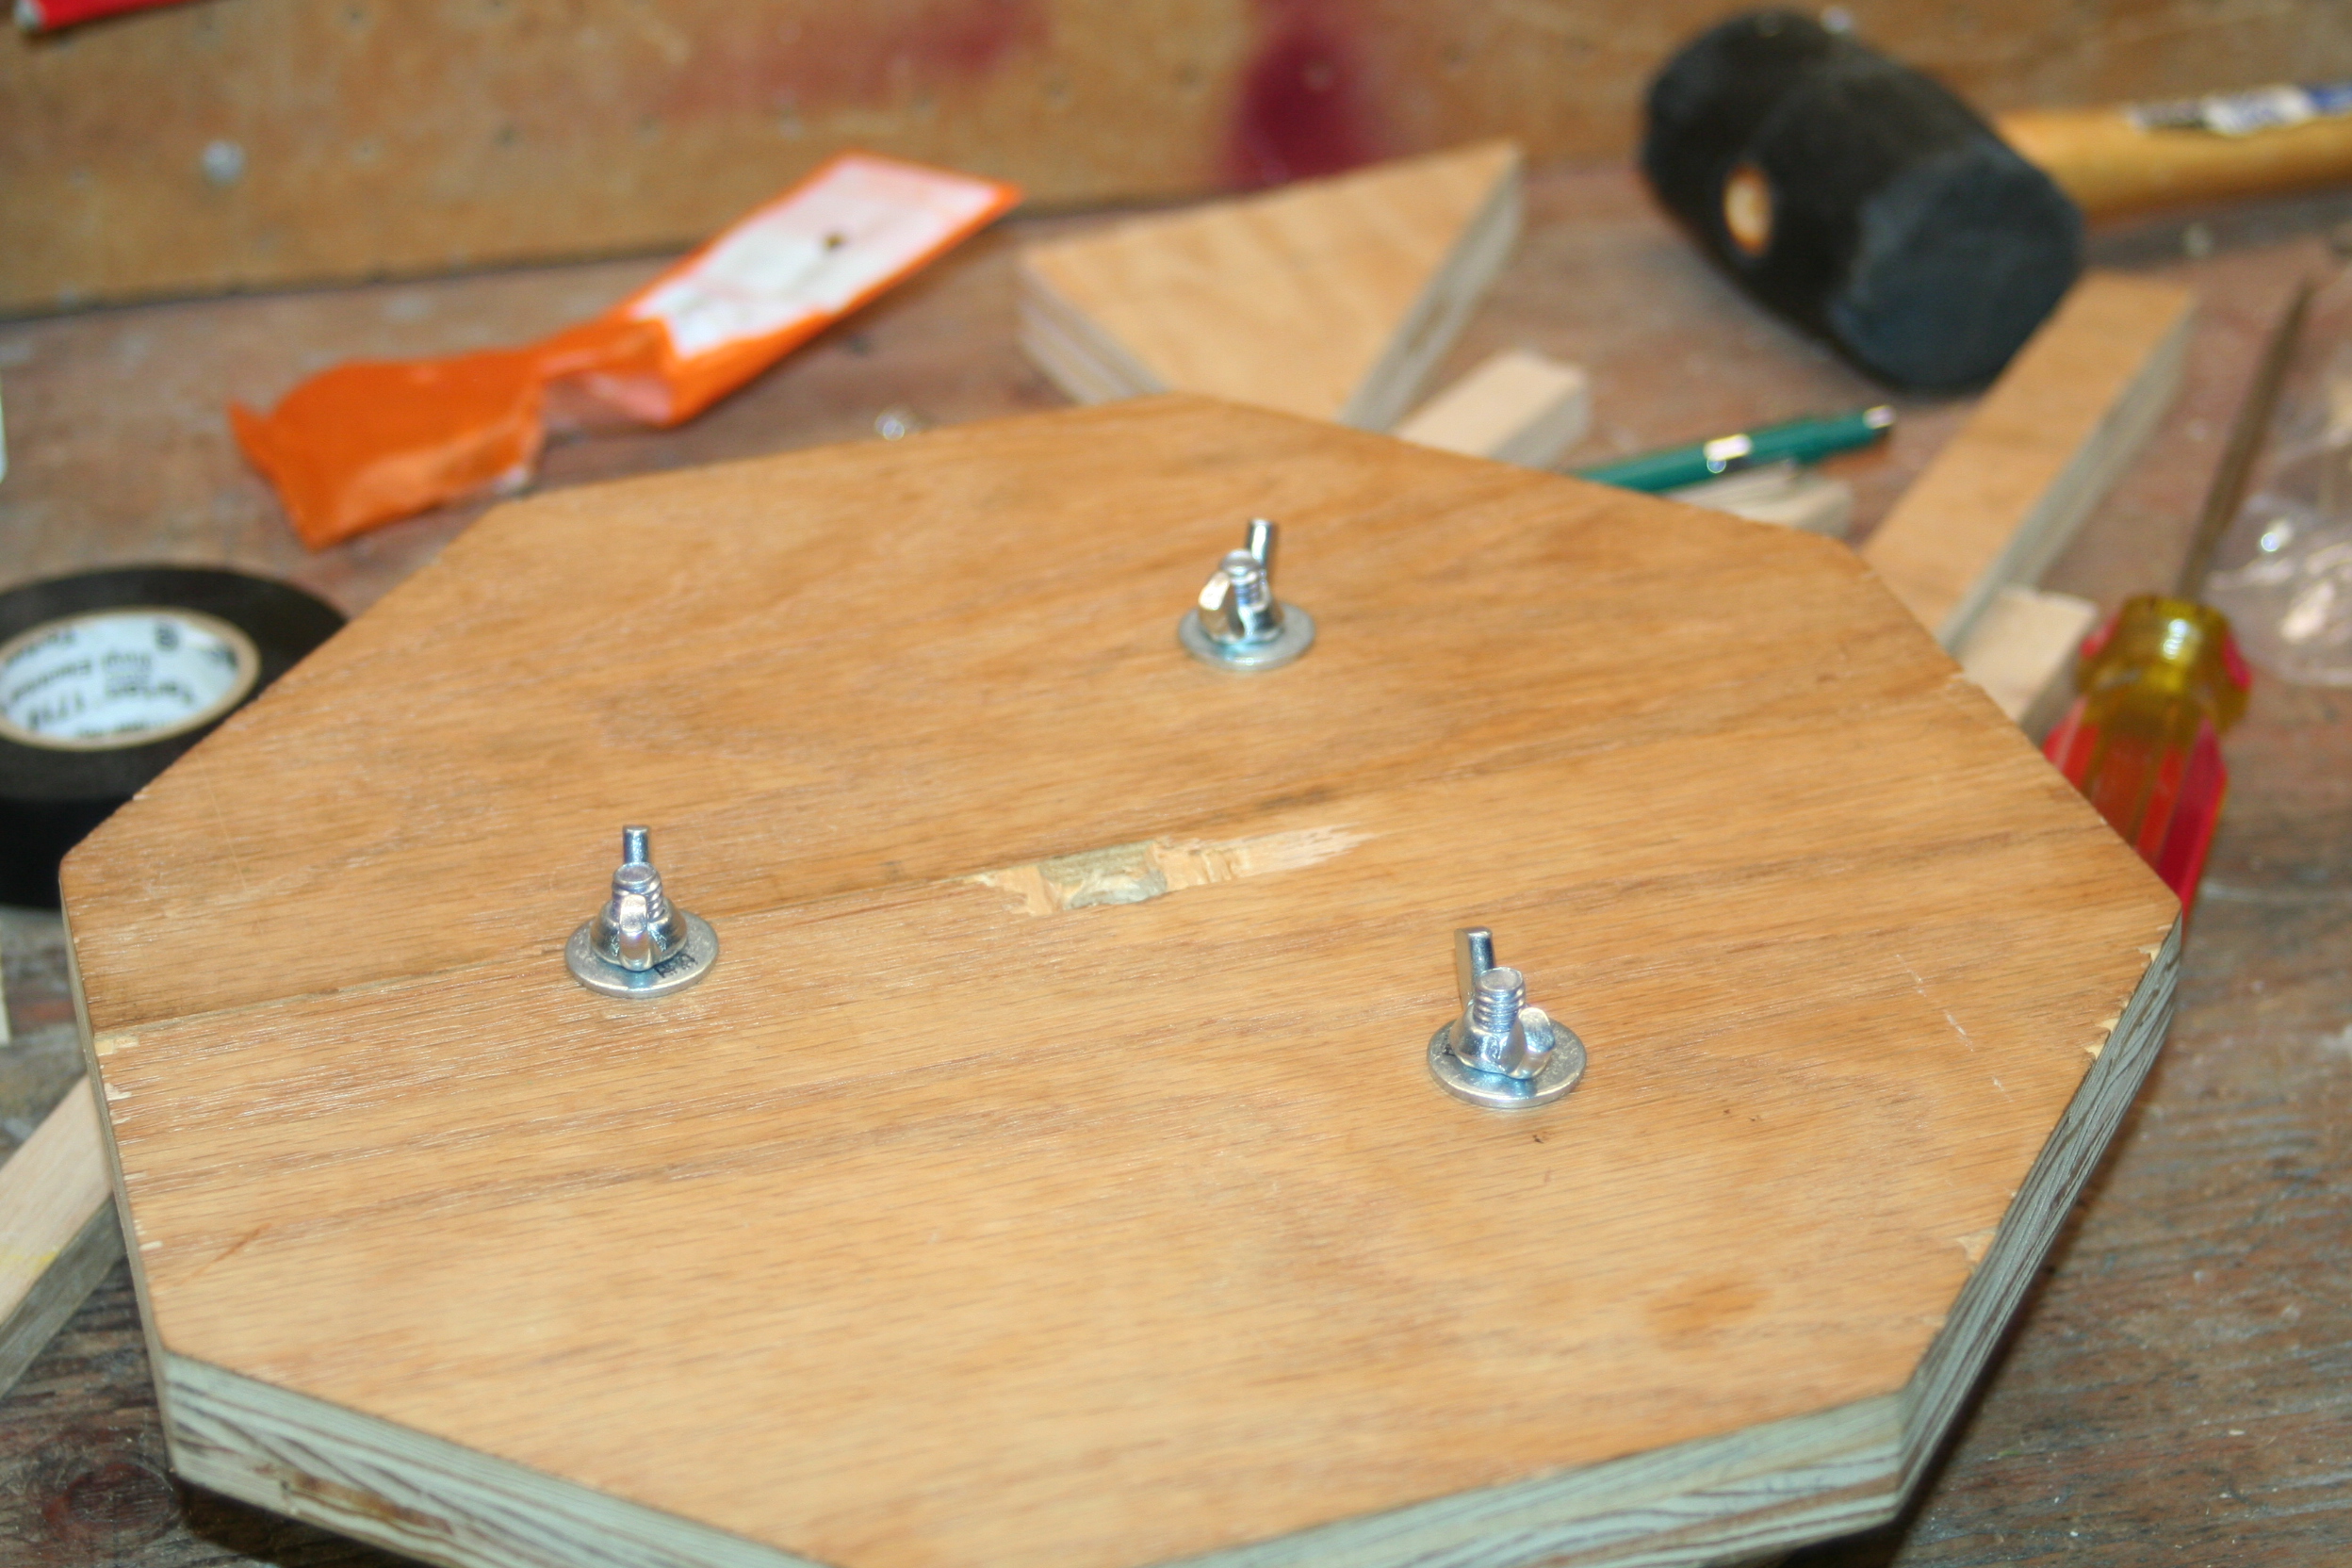
| 32. (5/6/2007) Here is a view from the other side. These bolts are attached with nuts. | 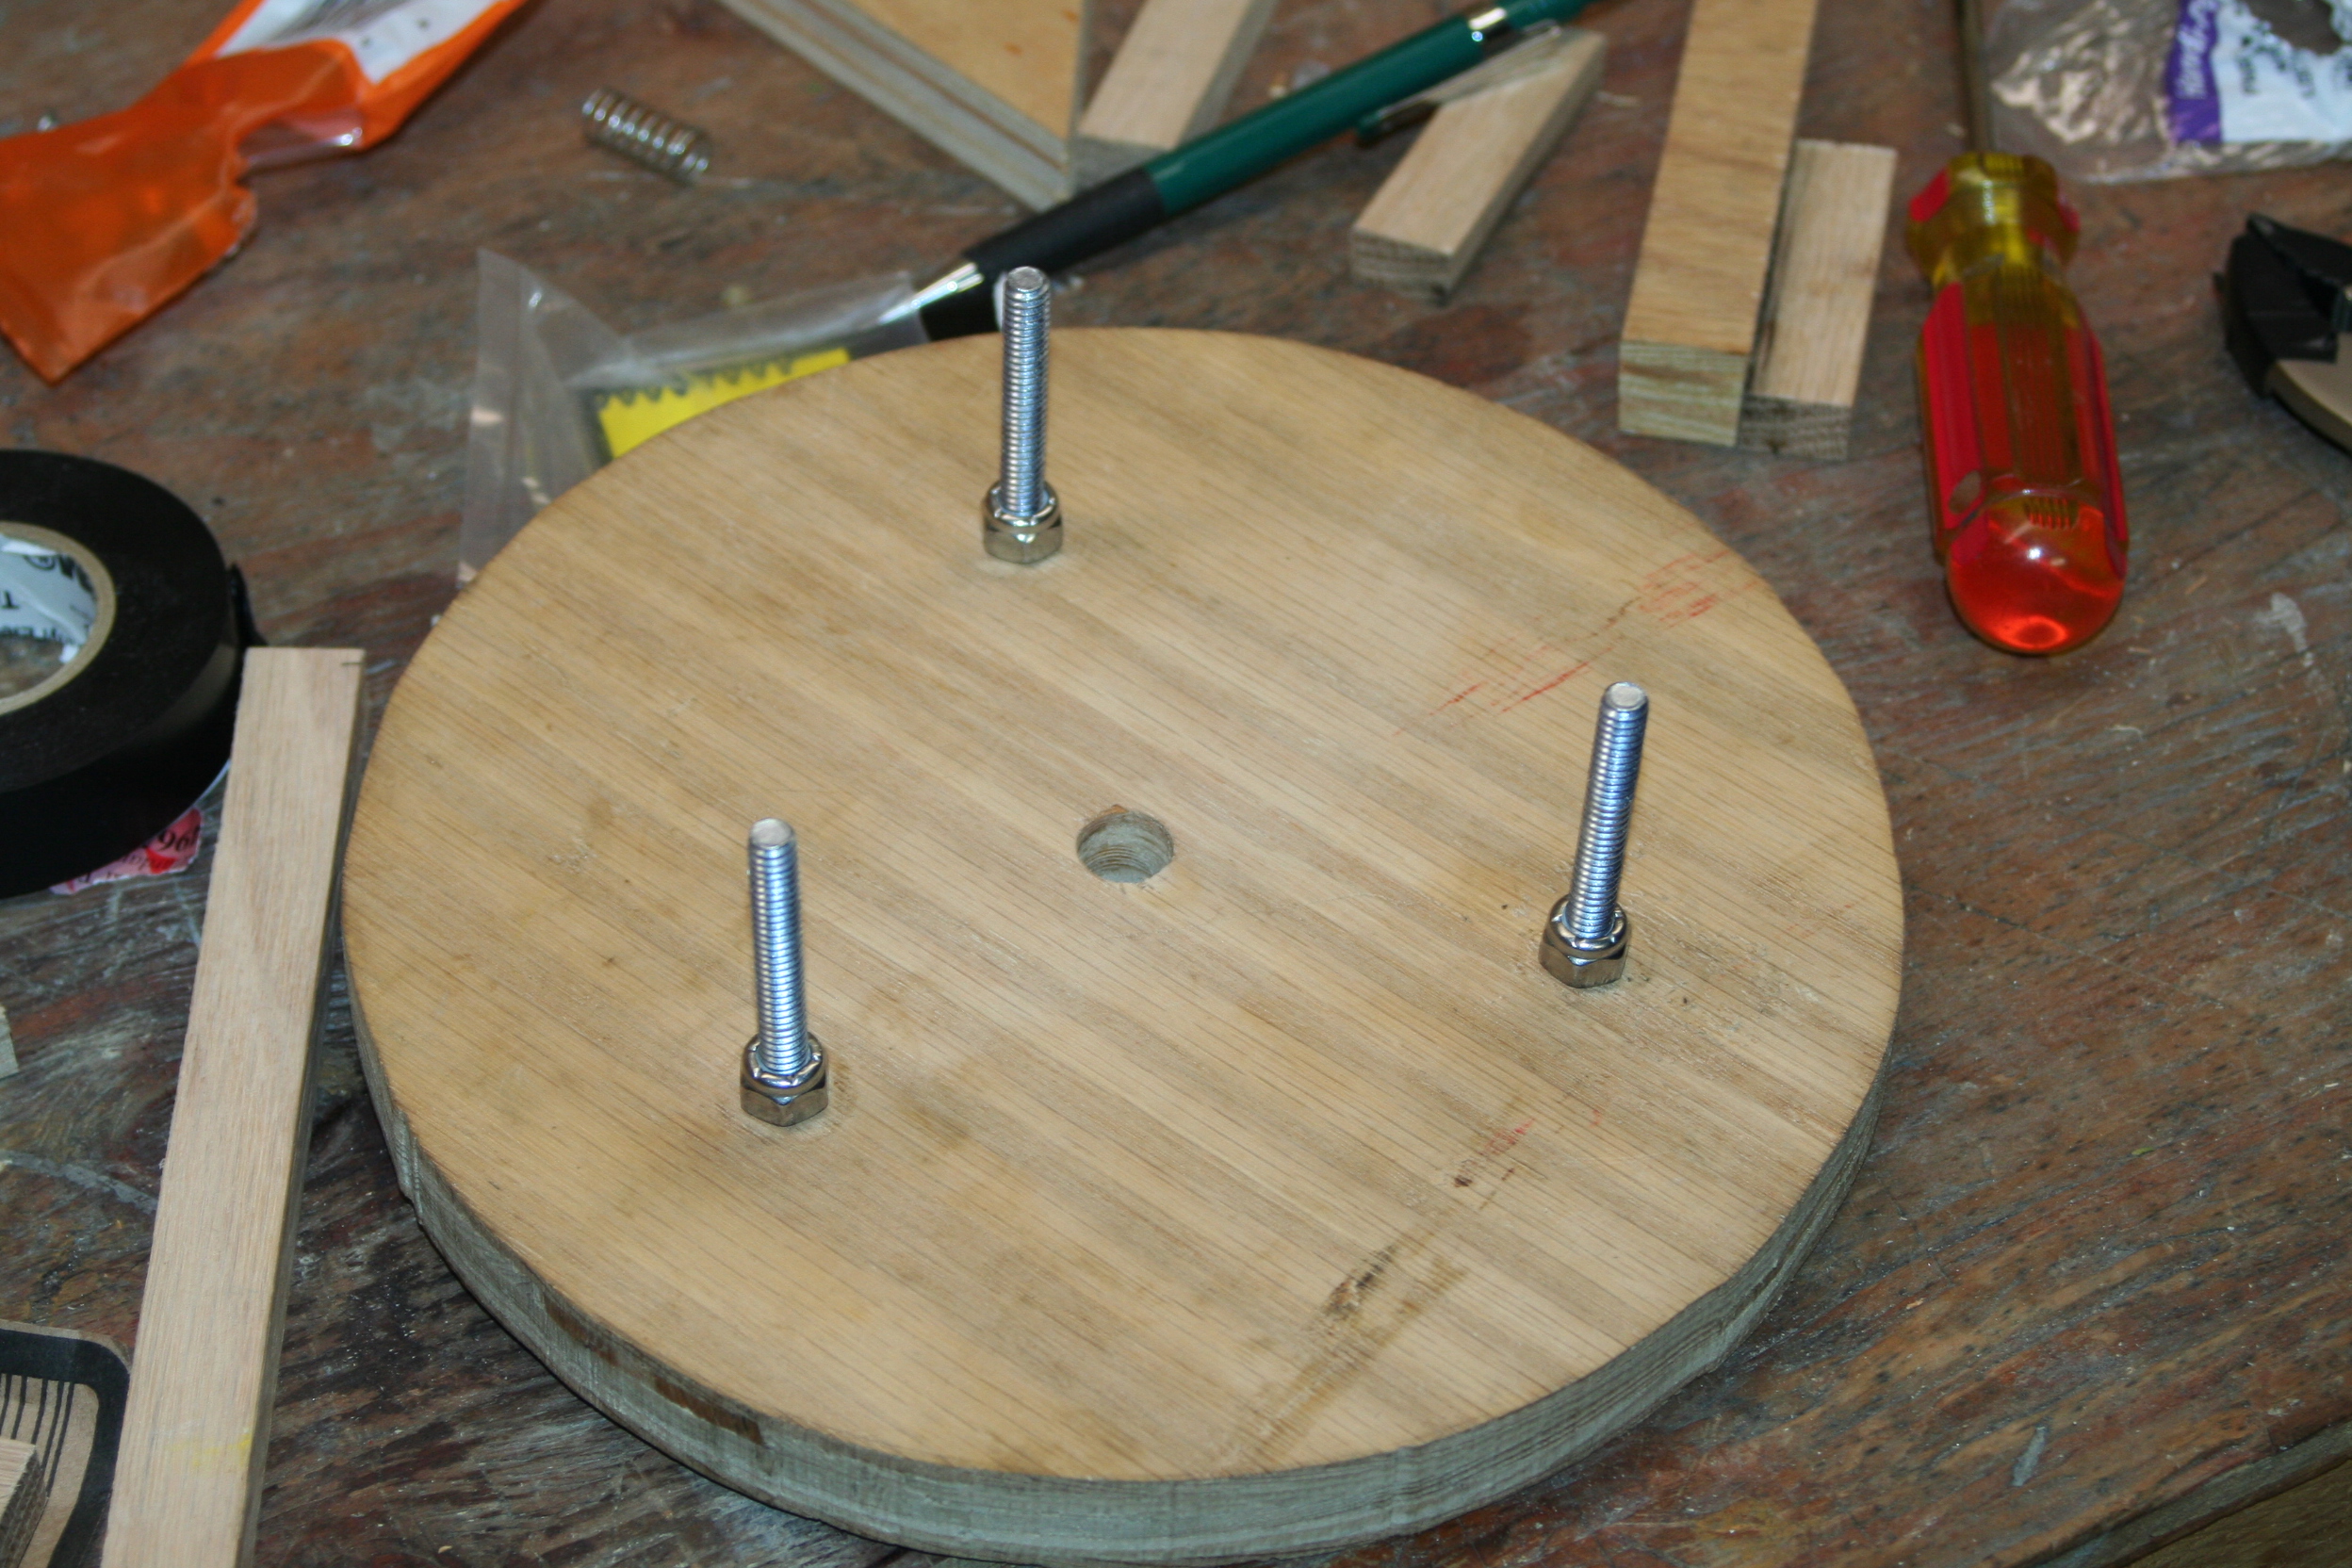 |
| 33. (5/6/2007) Between the base and the mirror support I added some fairly strong springs to allow the mirror support to move in and out with adjustments. | 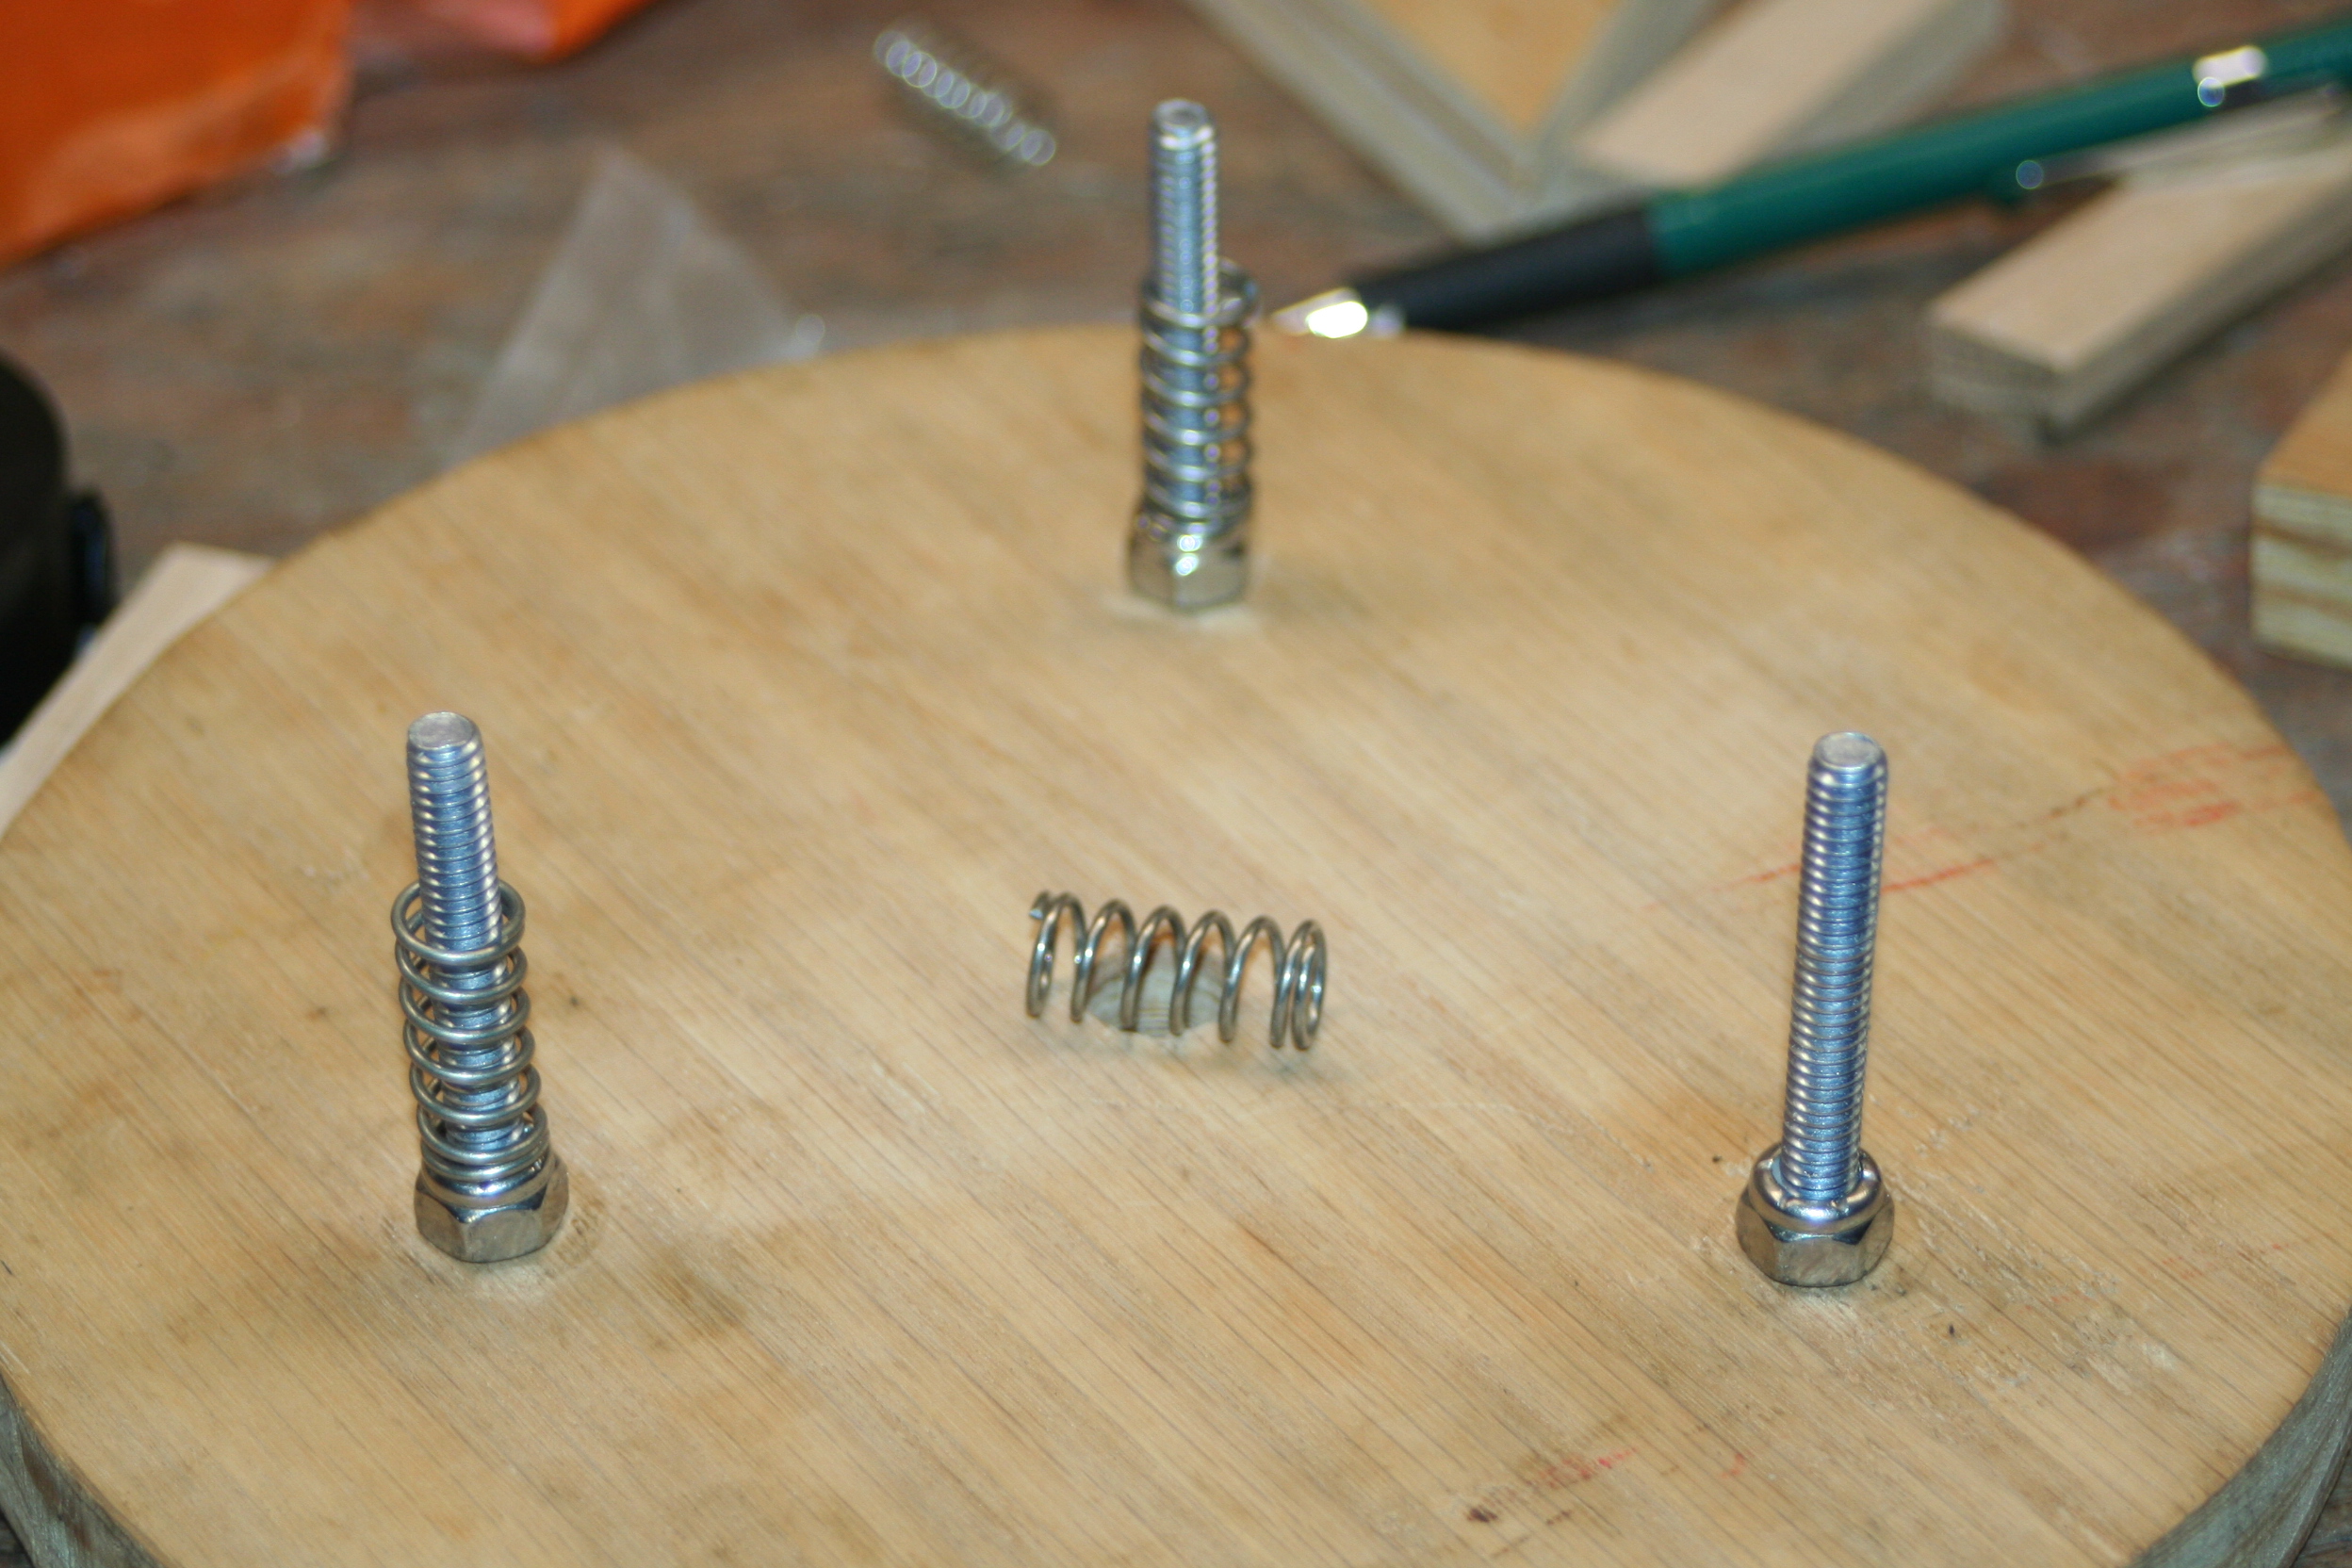 |
| 34. (5/6/2007) The base is then attached to the mirror support and connected with some washers and wing nuts. This allows for easy adjustment. At this point I could tighten and loosen the the wing nuts and the mirror cell would adjust properly. | |
| 35. (5/6/2007) I then created these side supports for the mirror to help hold the mirror on the base. I added the clear L-brackets you see on the side, though probably unnecessary, just in case the OTA was ever moved upside down. I didn't want my mirror falling off the base! | 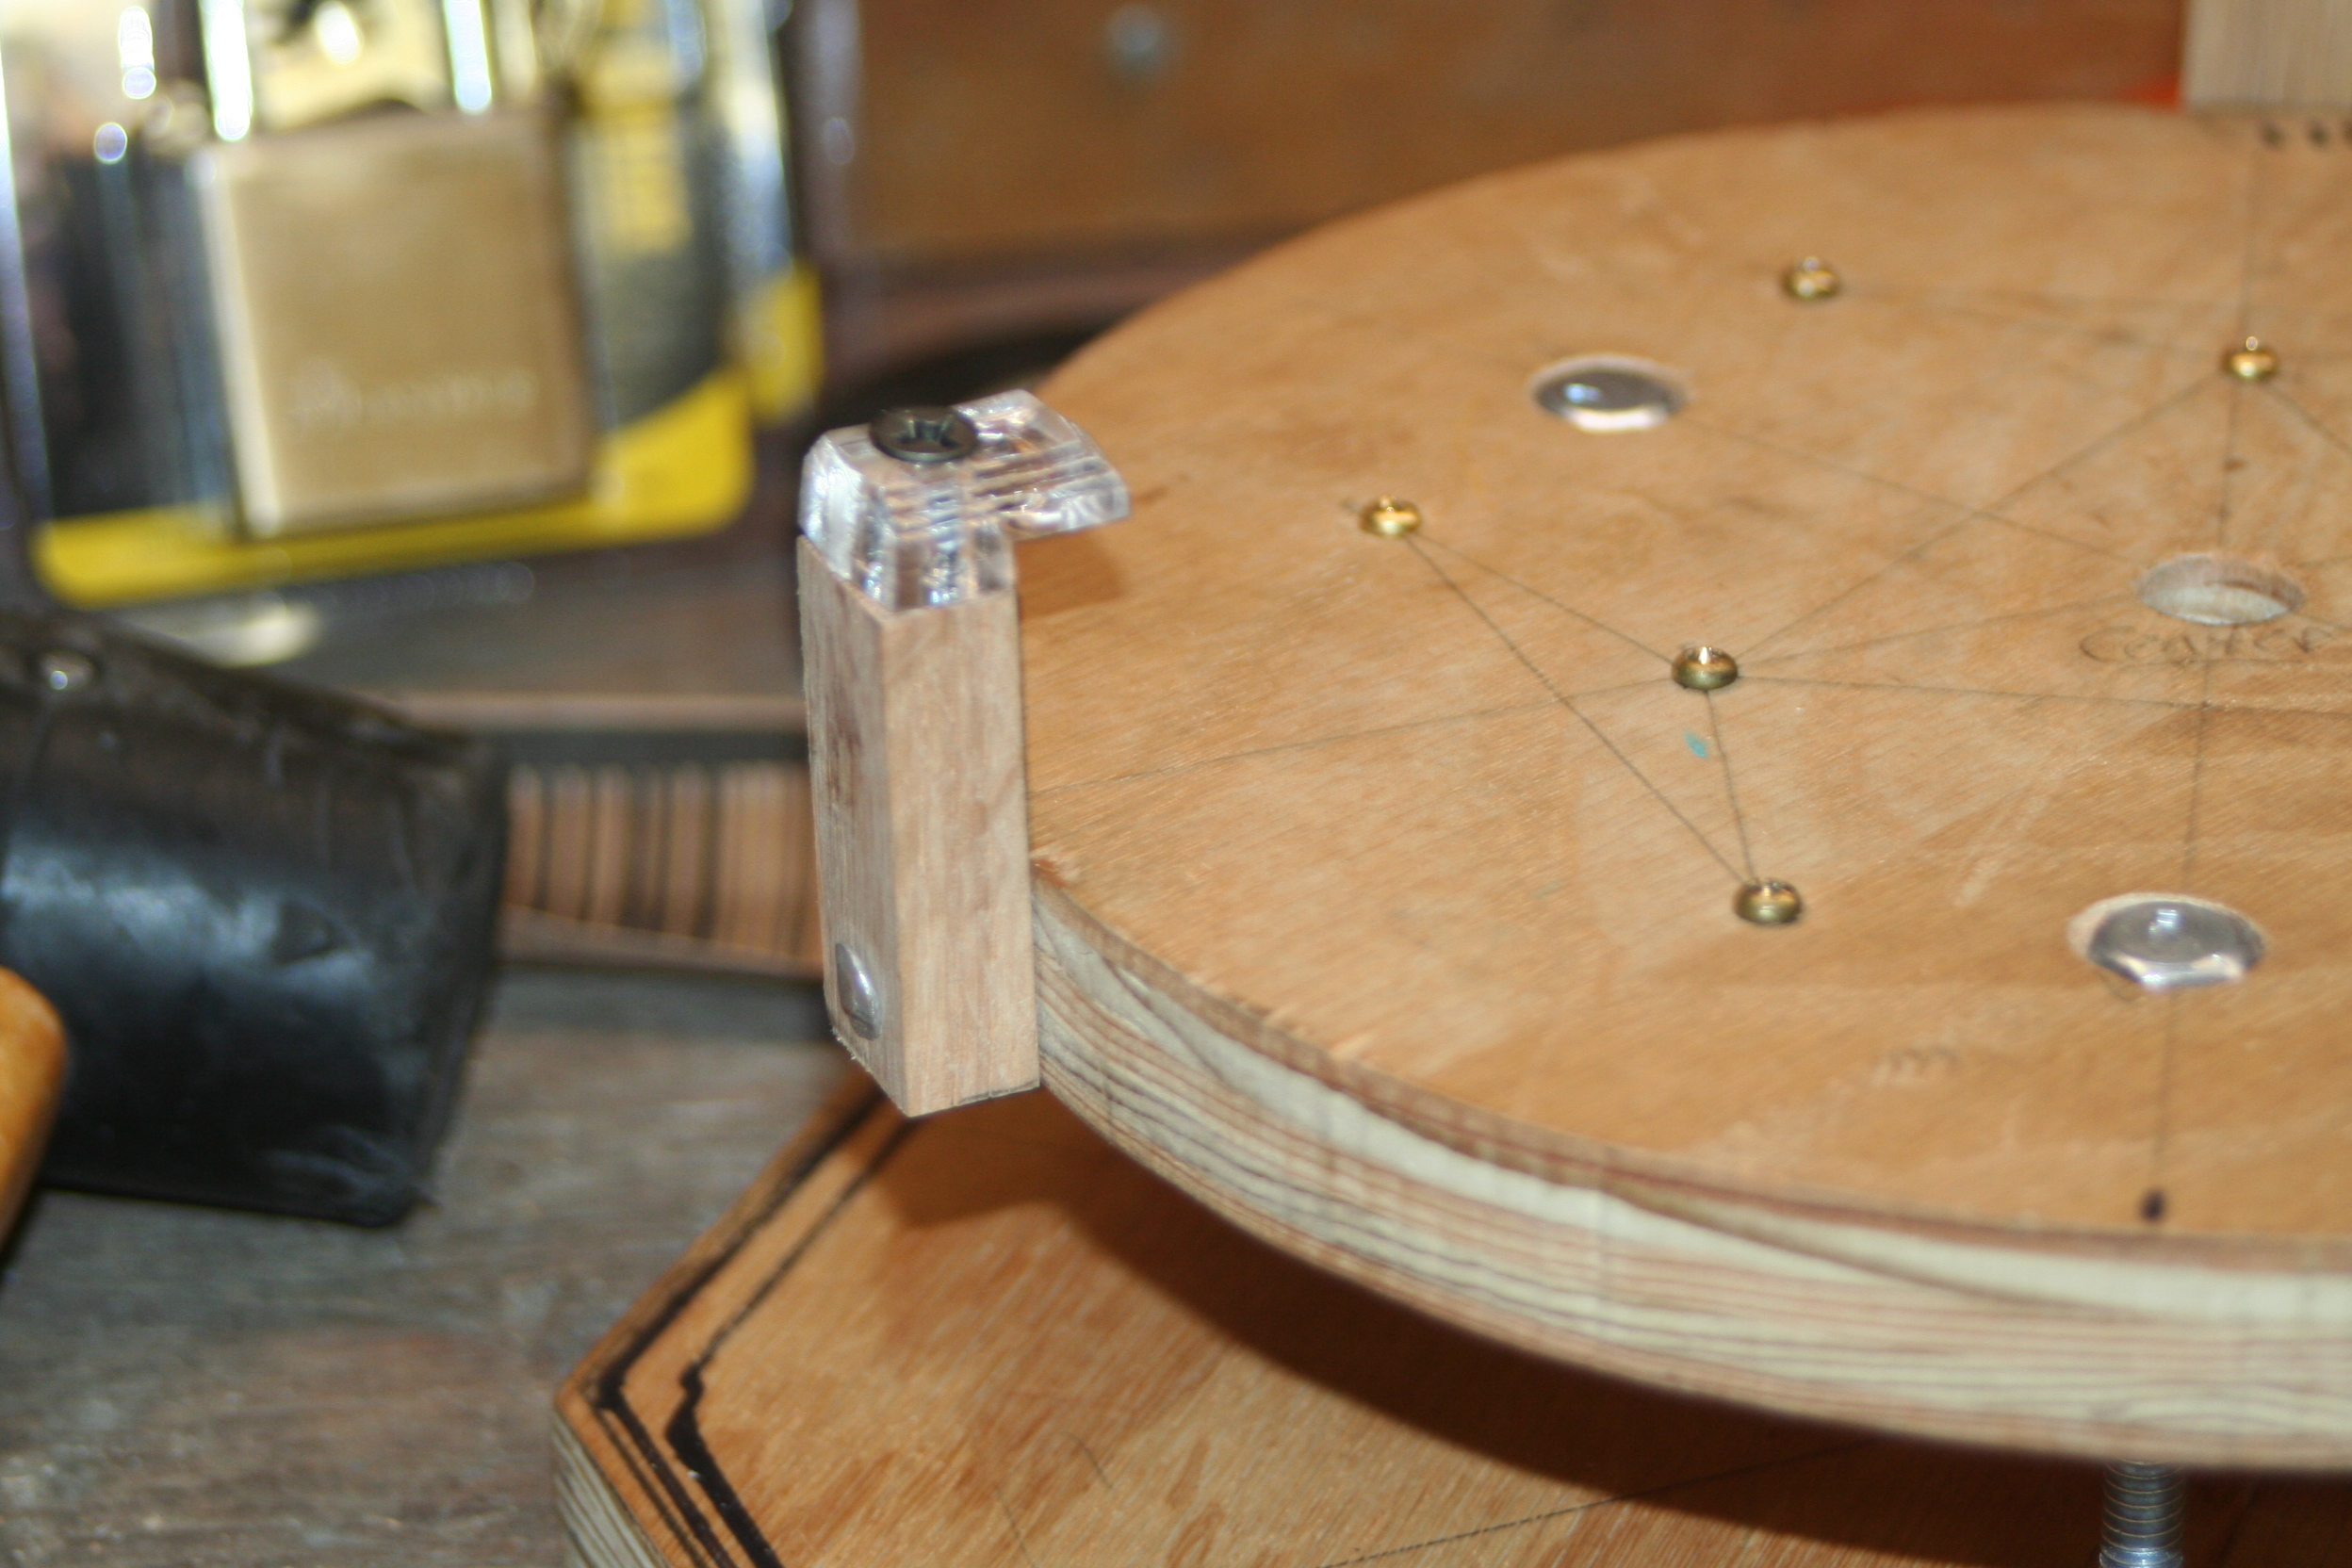 |
| 36. (5/6/2007) The mirror cell is then painted black. | 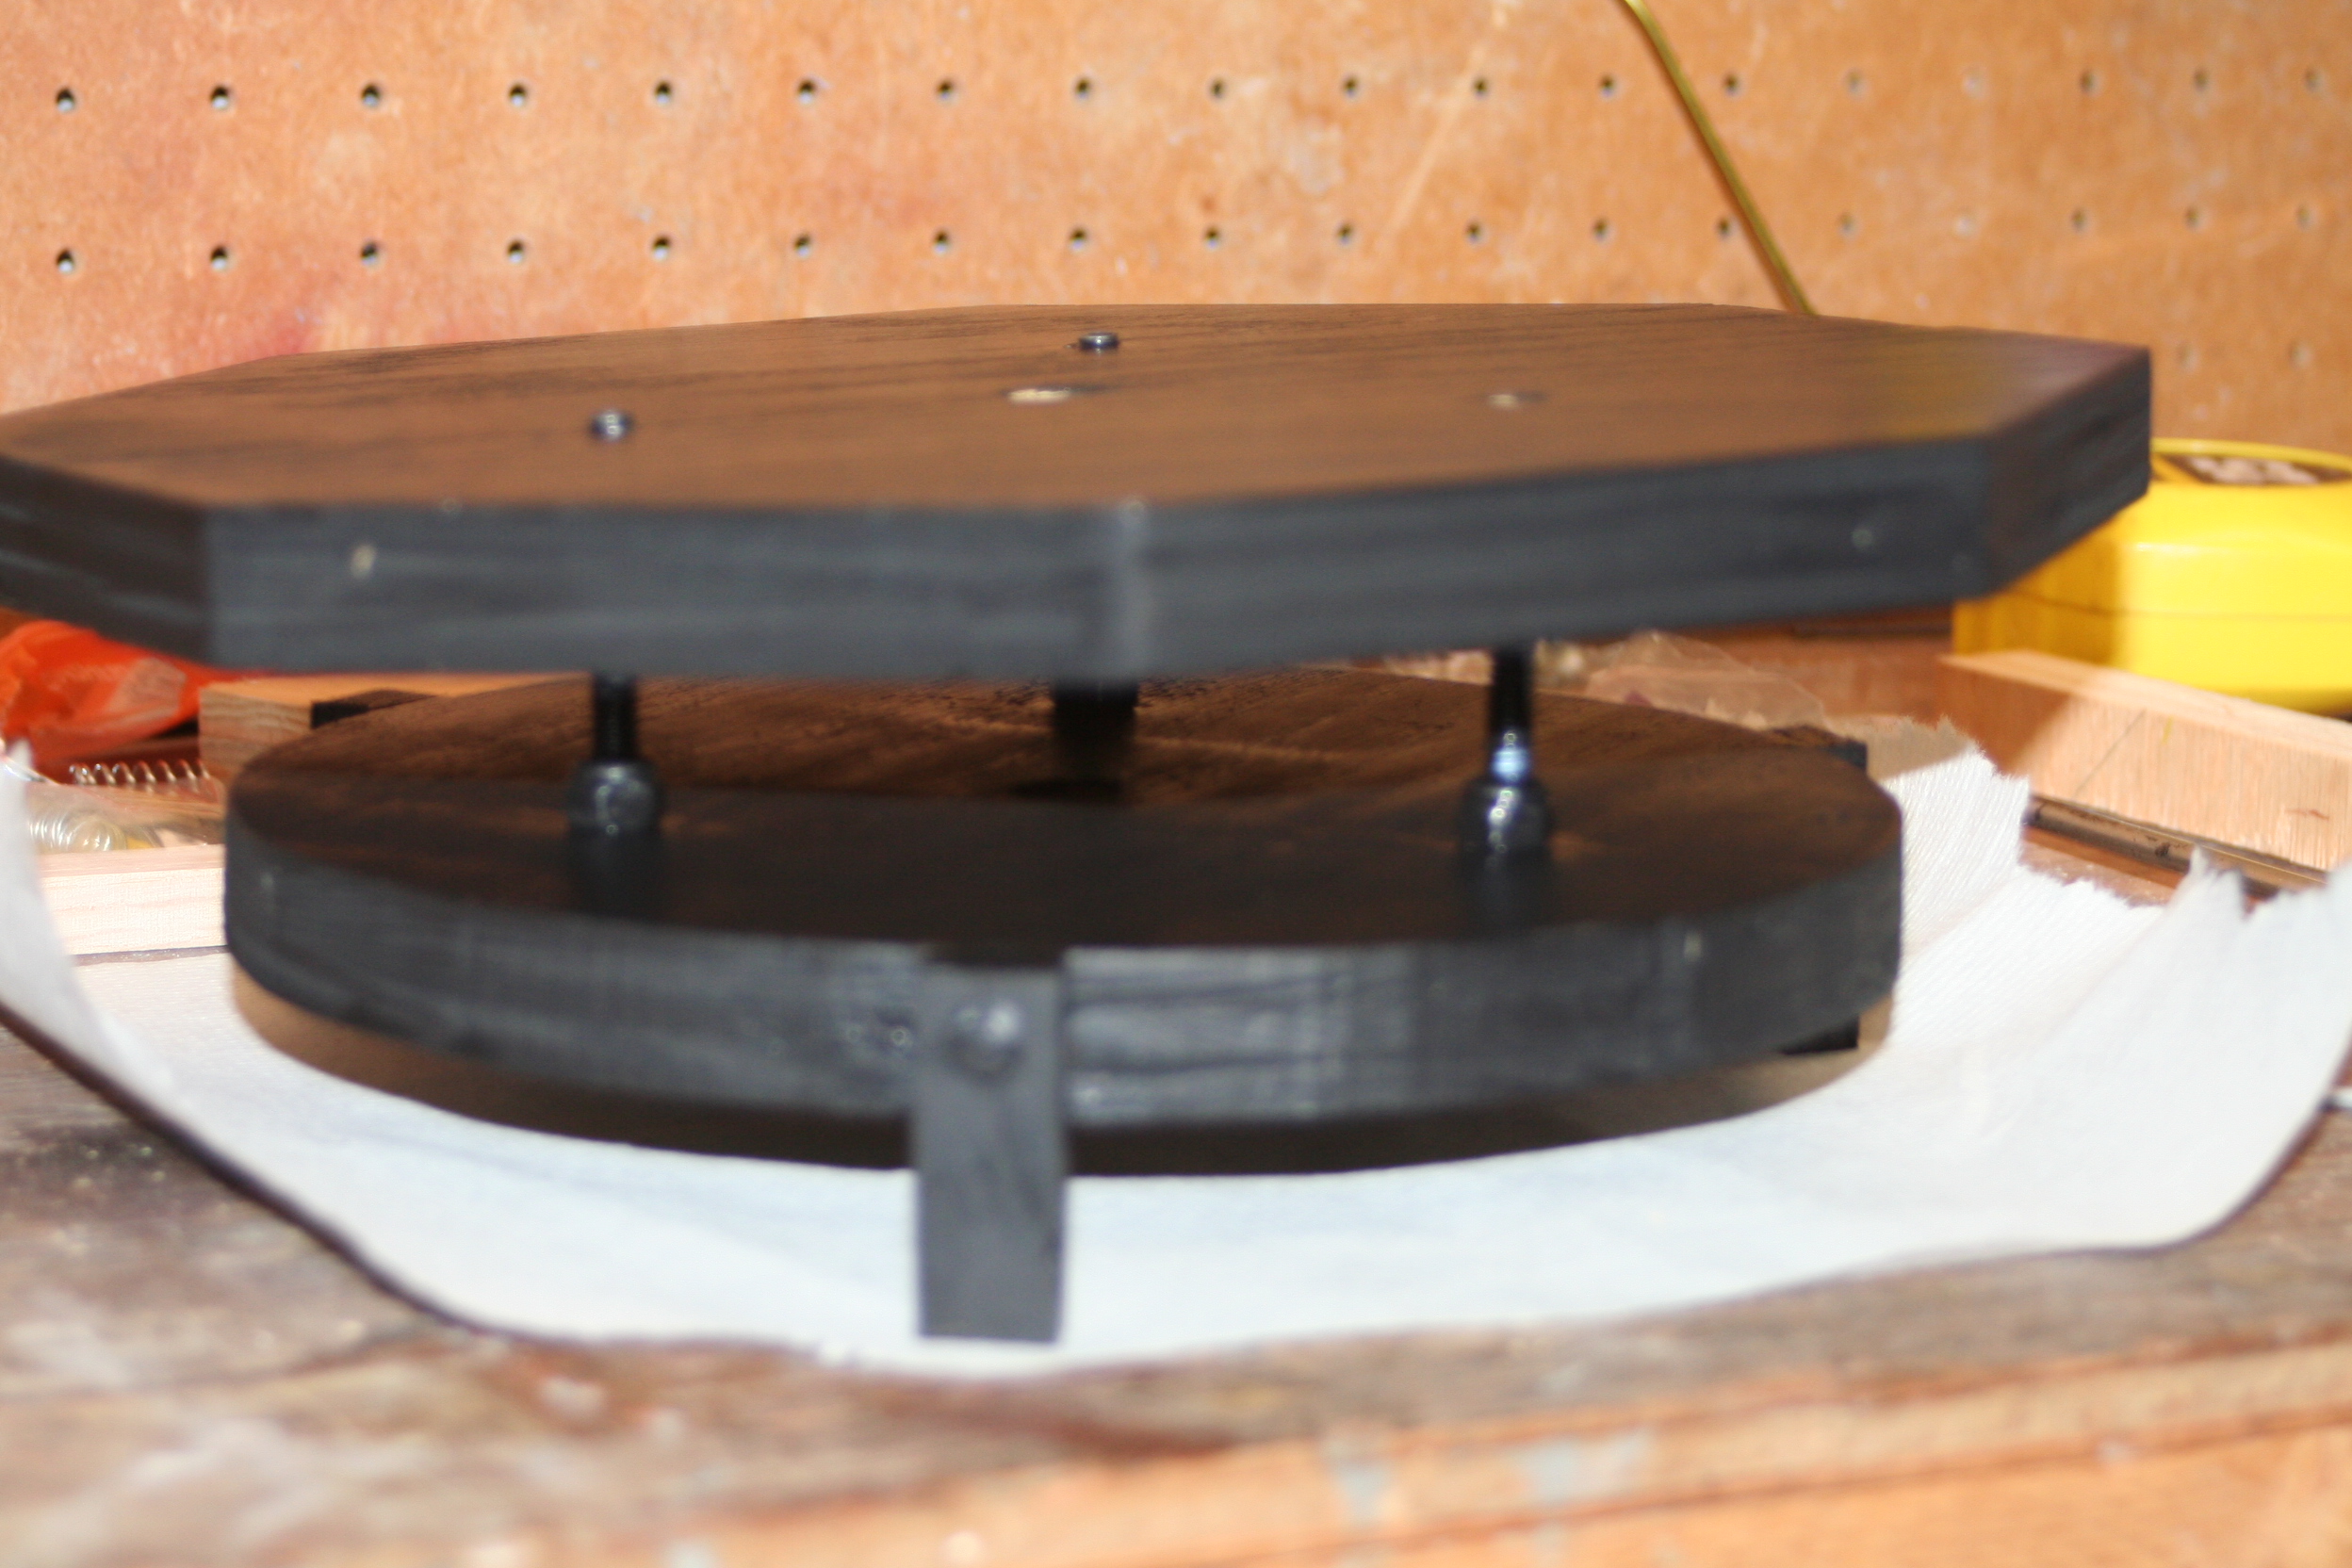 |
| 37. (5/7/2007) I made the hole in the middle bigger of the mirror base. This will ease the restrictions on airflow and allow the mirror to cool more rapidly when moved to the cooler outside air. If a telescope is hotter than the outside air temperature it can affect the image... Much like seeing the heat coming off of a heated grill. | 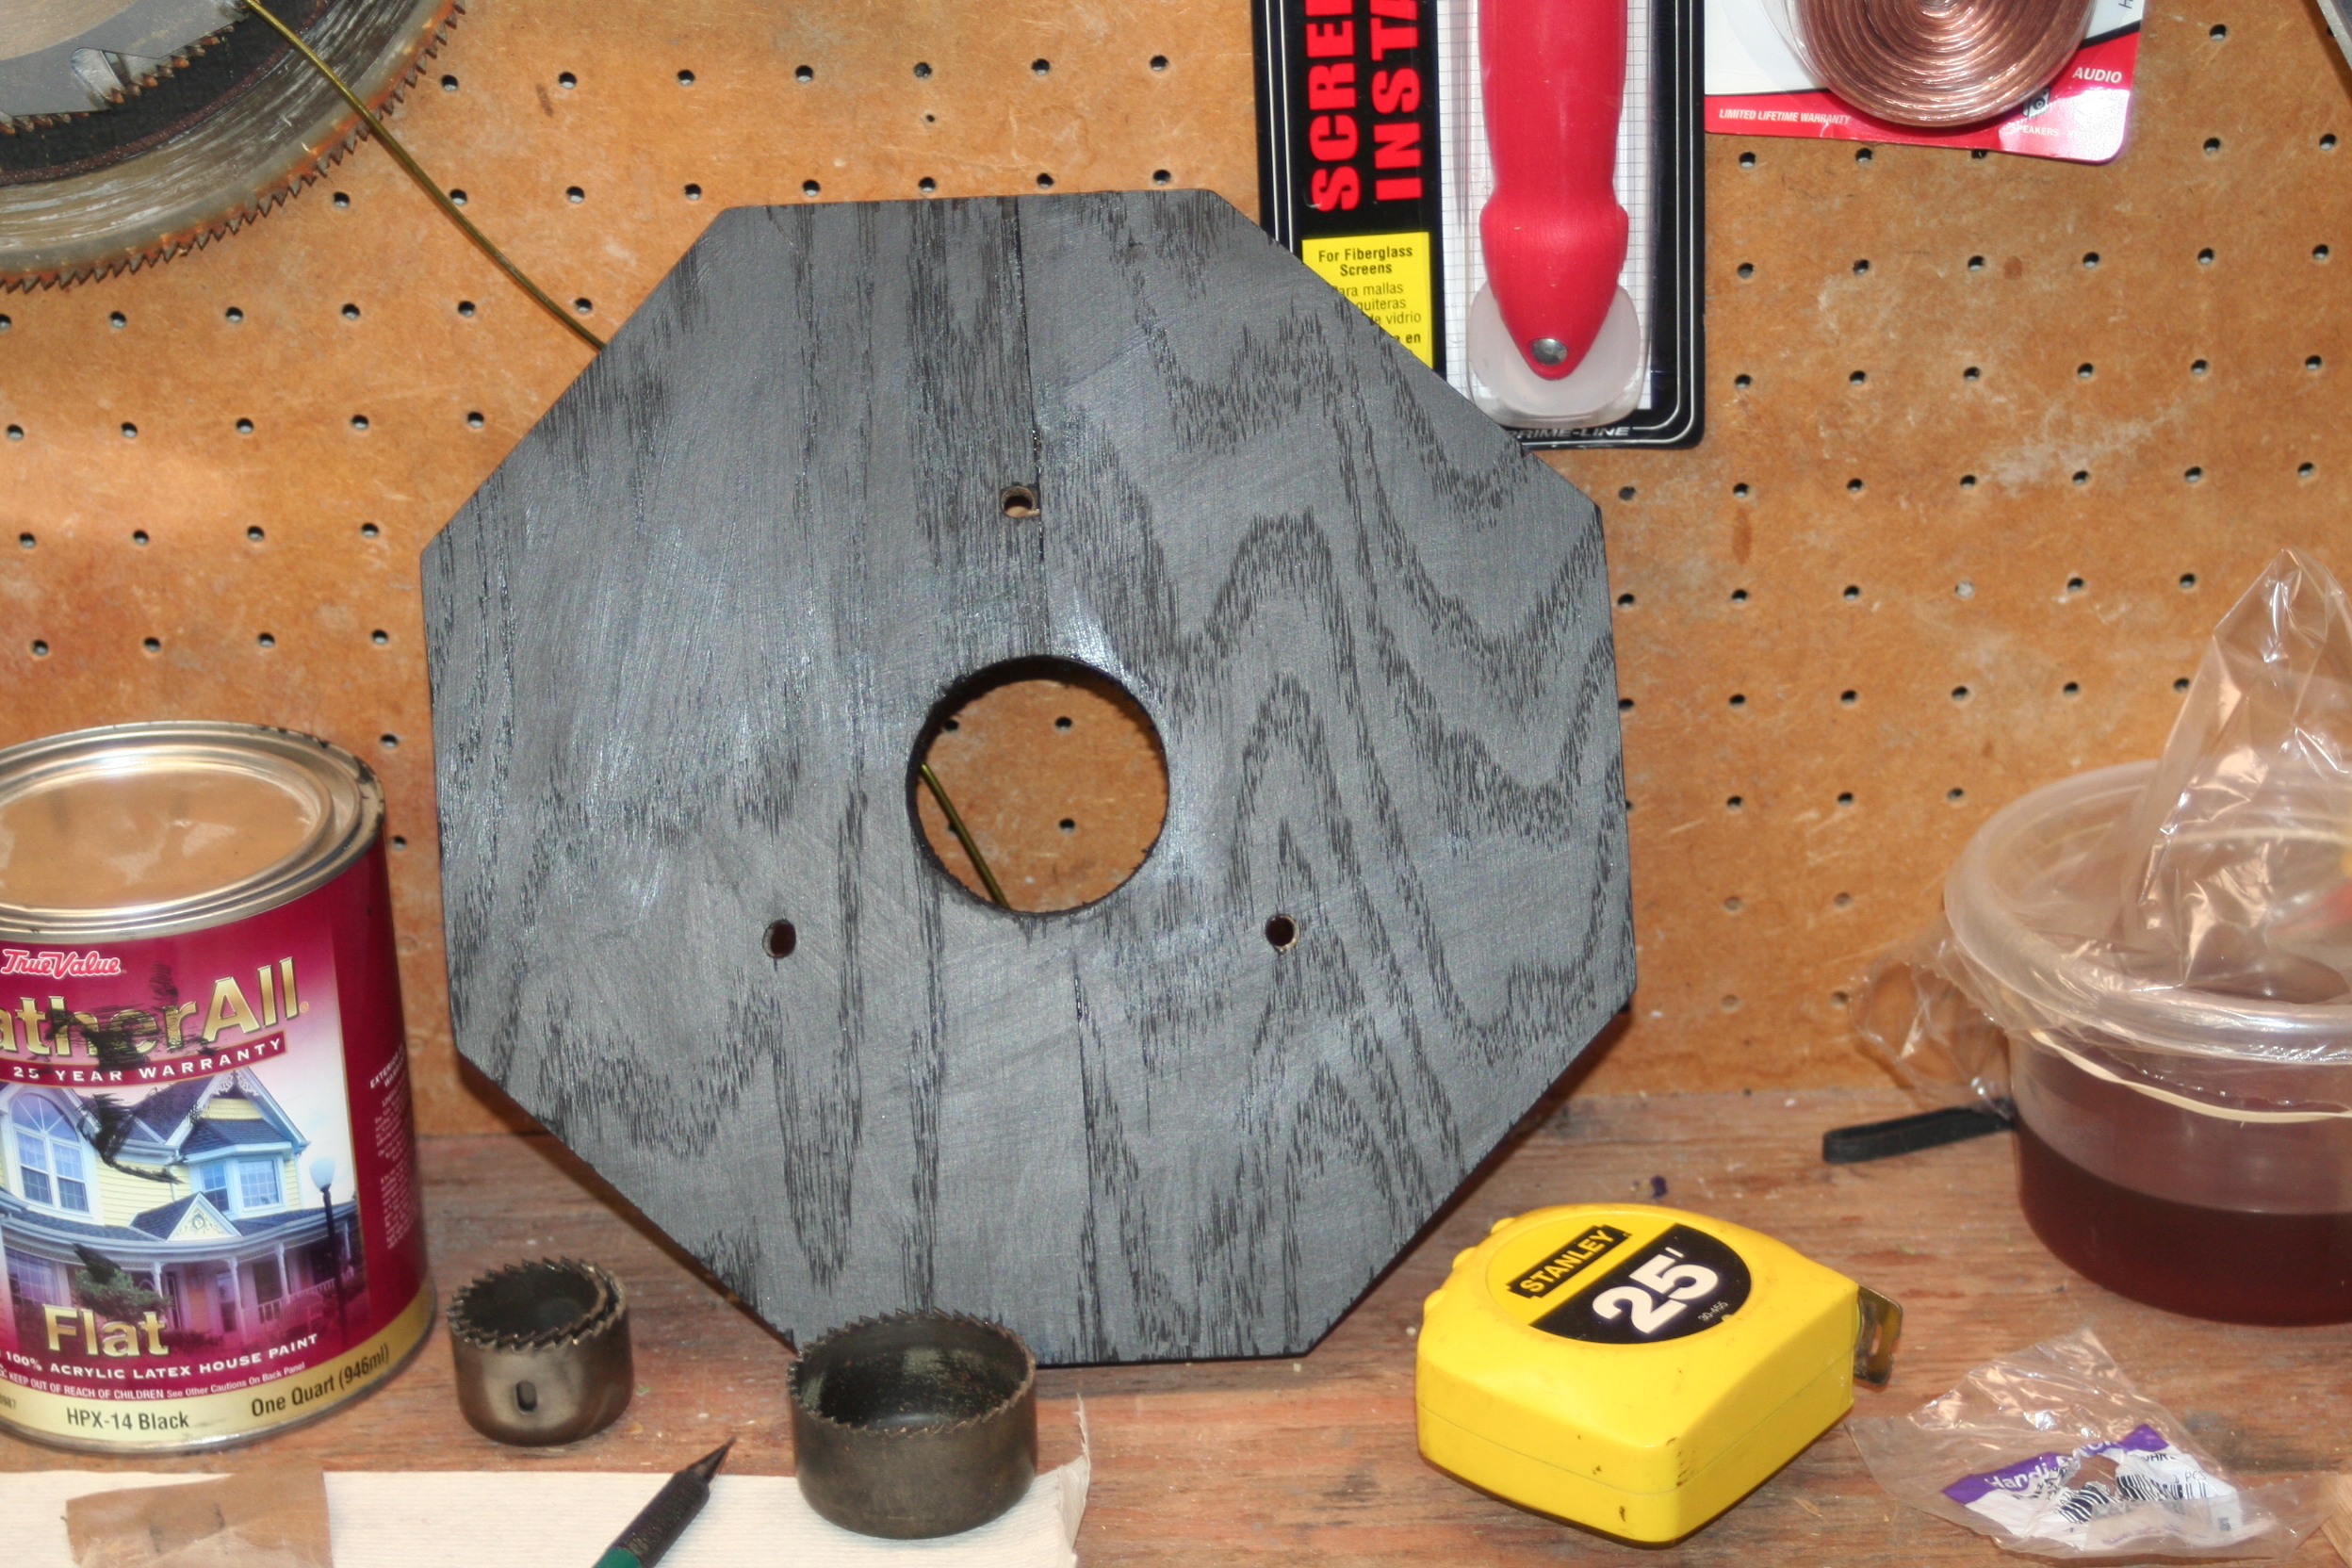 |
| 38. (5/7/2007) Now I need to support the entire primary mirror cell in the OTA. In preparation, I sanded some of the sides because I planned on using some glue and screws to affix the supports. | 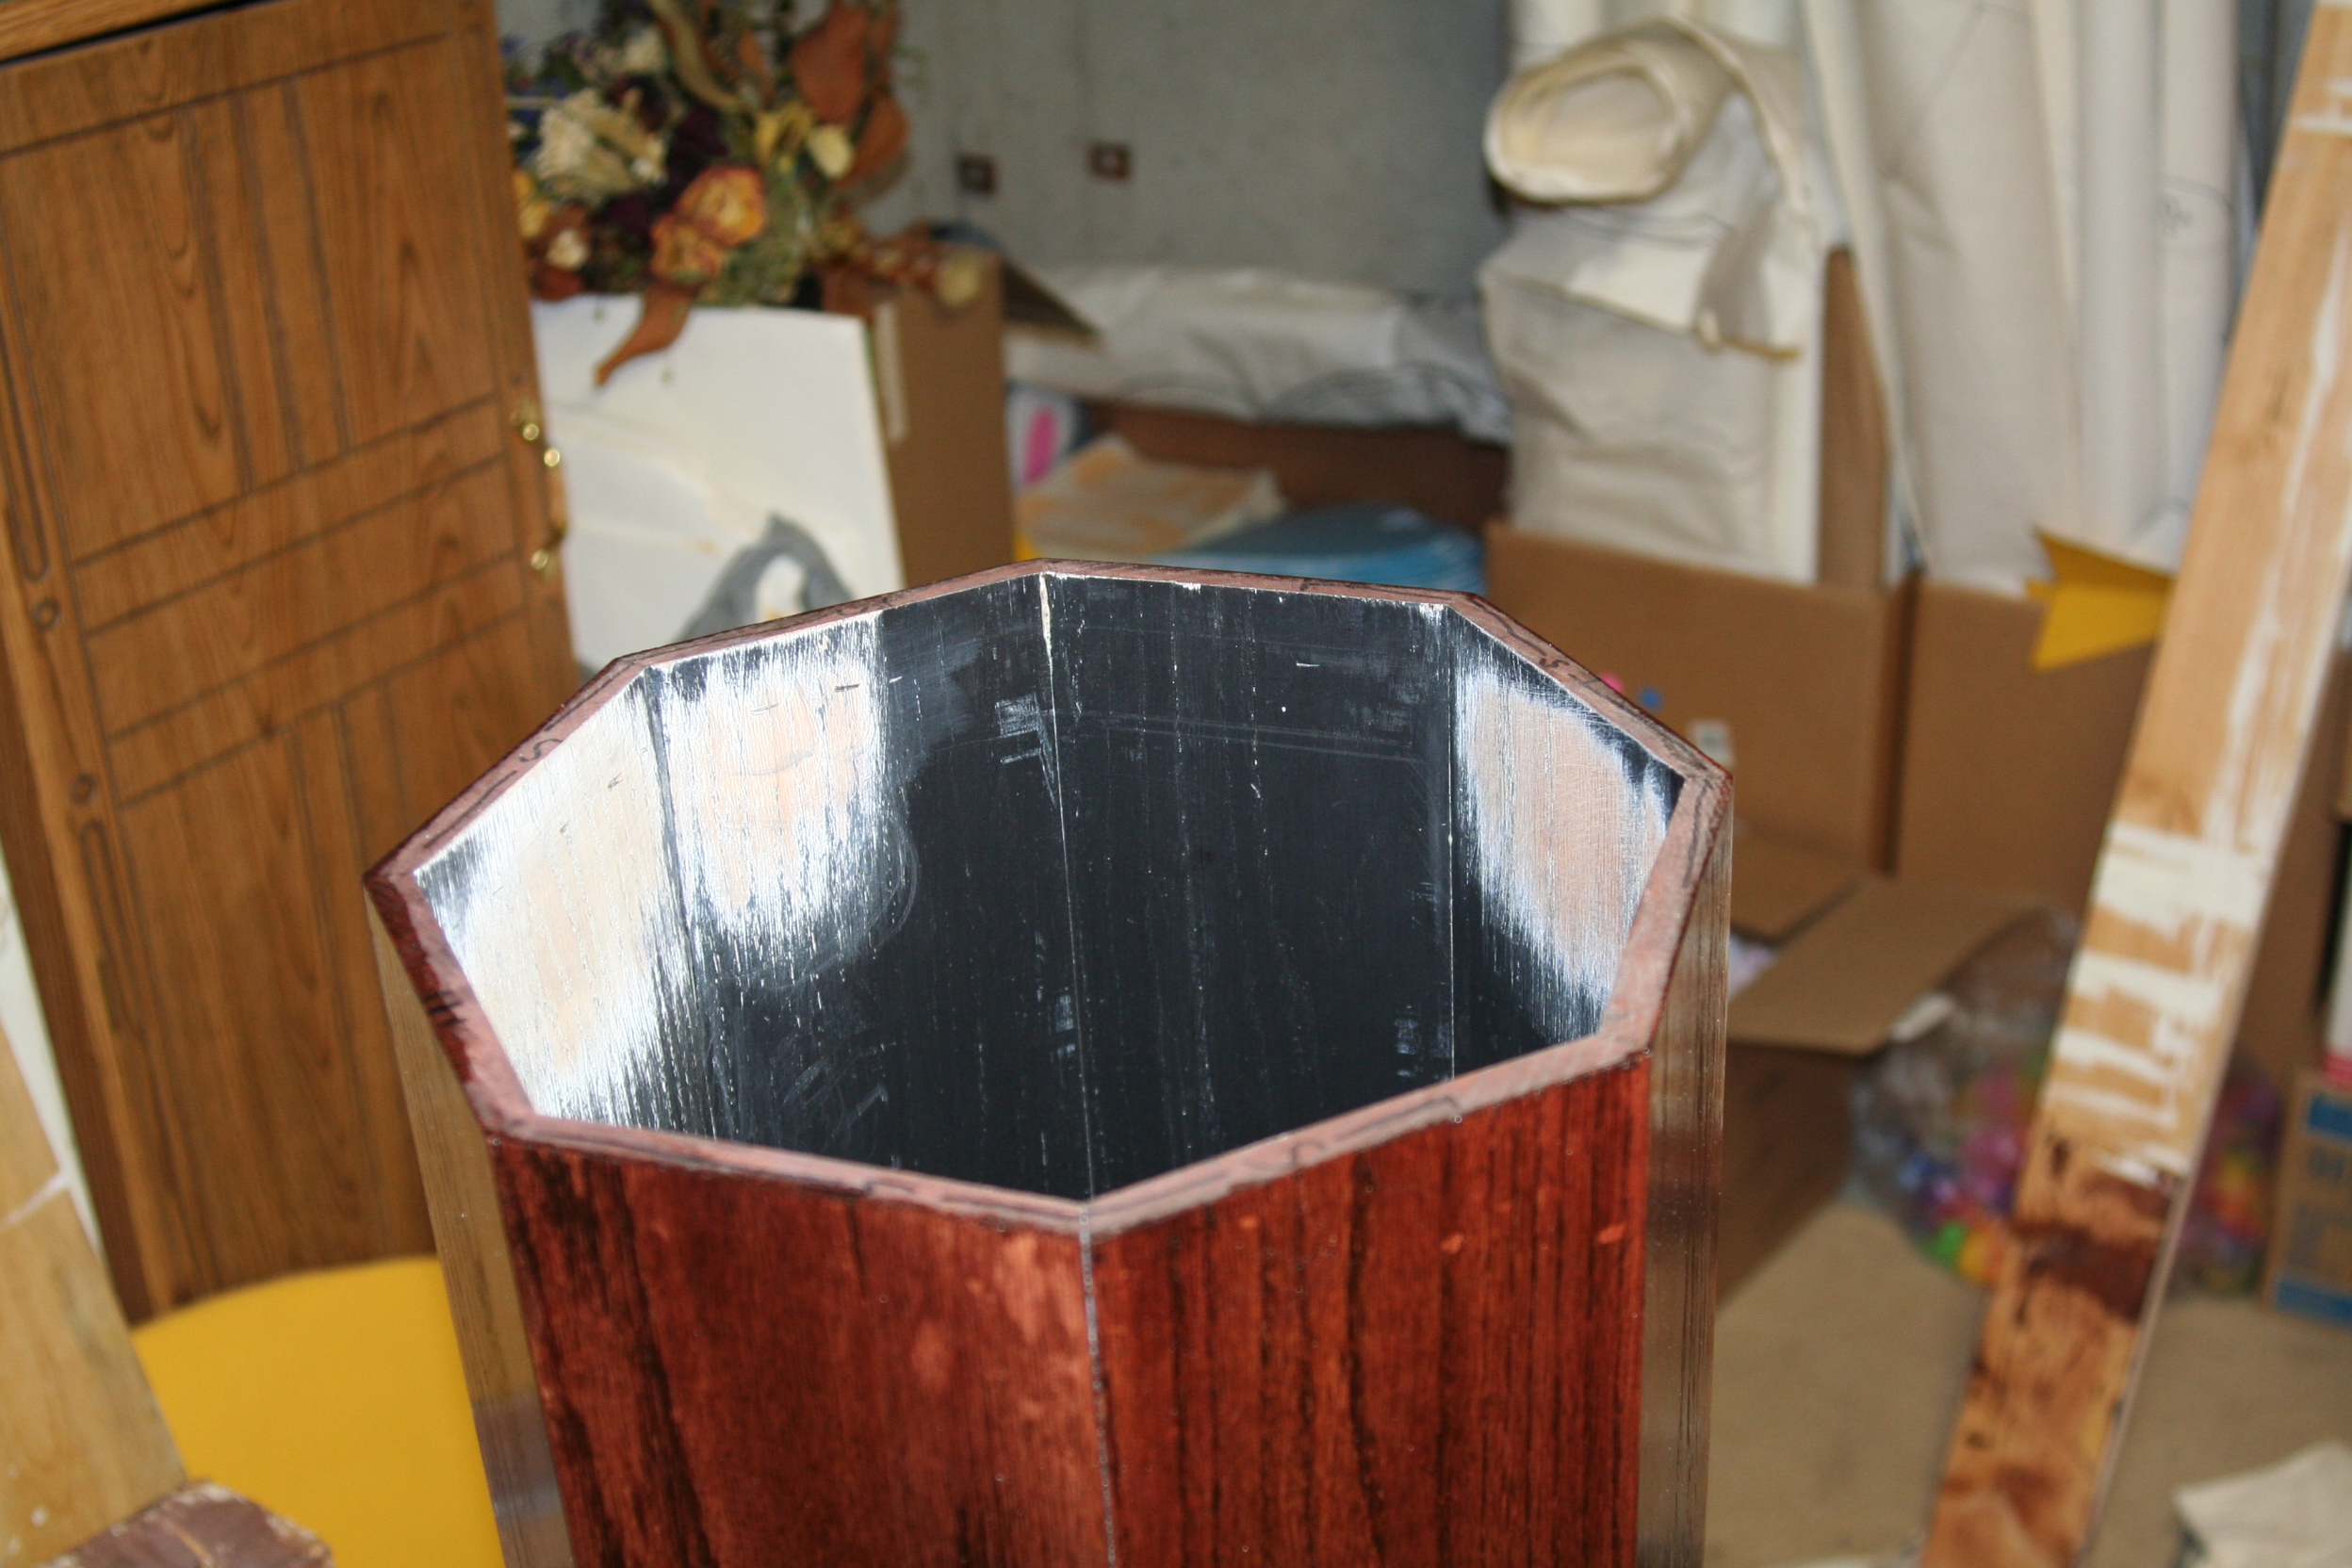 |
| 39. (5/7/2007) The supports were then added using some Gorilla Glue and some screws. |  |
| 40. (5/7/2007) Now the primary mirror cell is put into the OTA. Notice the three new screws added on the sides. These are screwed into the supports just added directly above and hold the primary mirror cell in place. |  |
| 41. (5/10/2007) I decided I didn't want the mirror sitting directly on the small support screws. To ease the stress a little, I put some felt pads over the screws. | 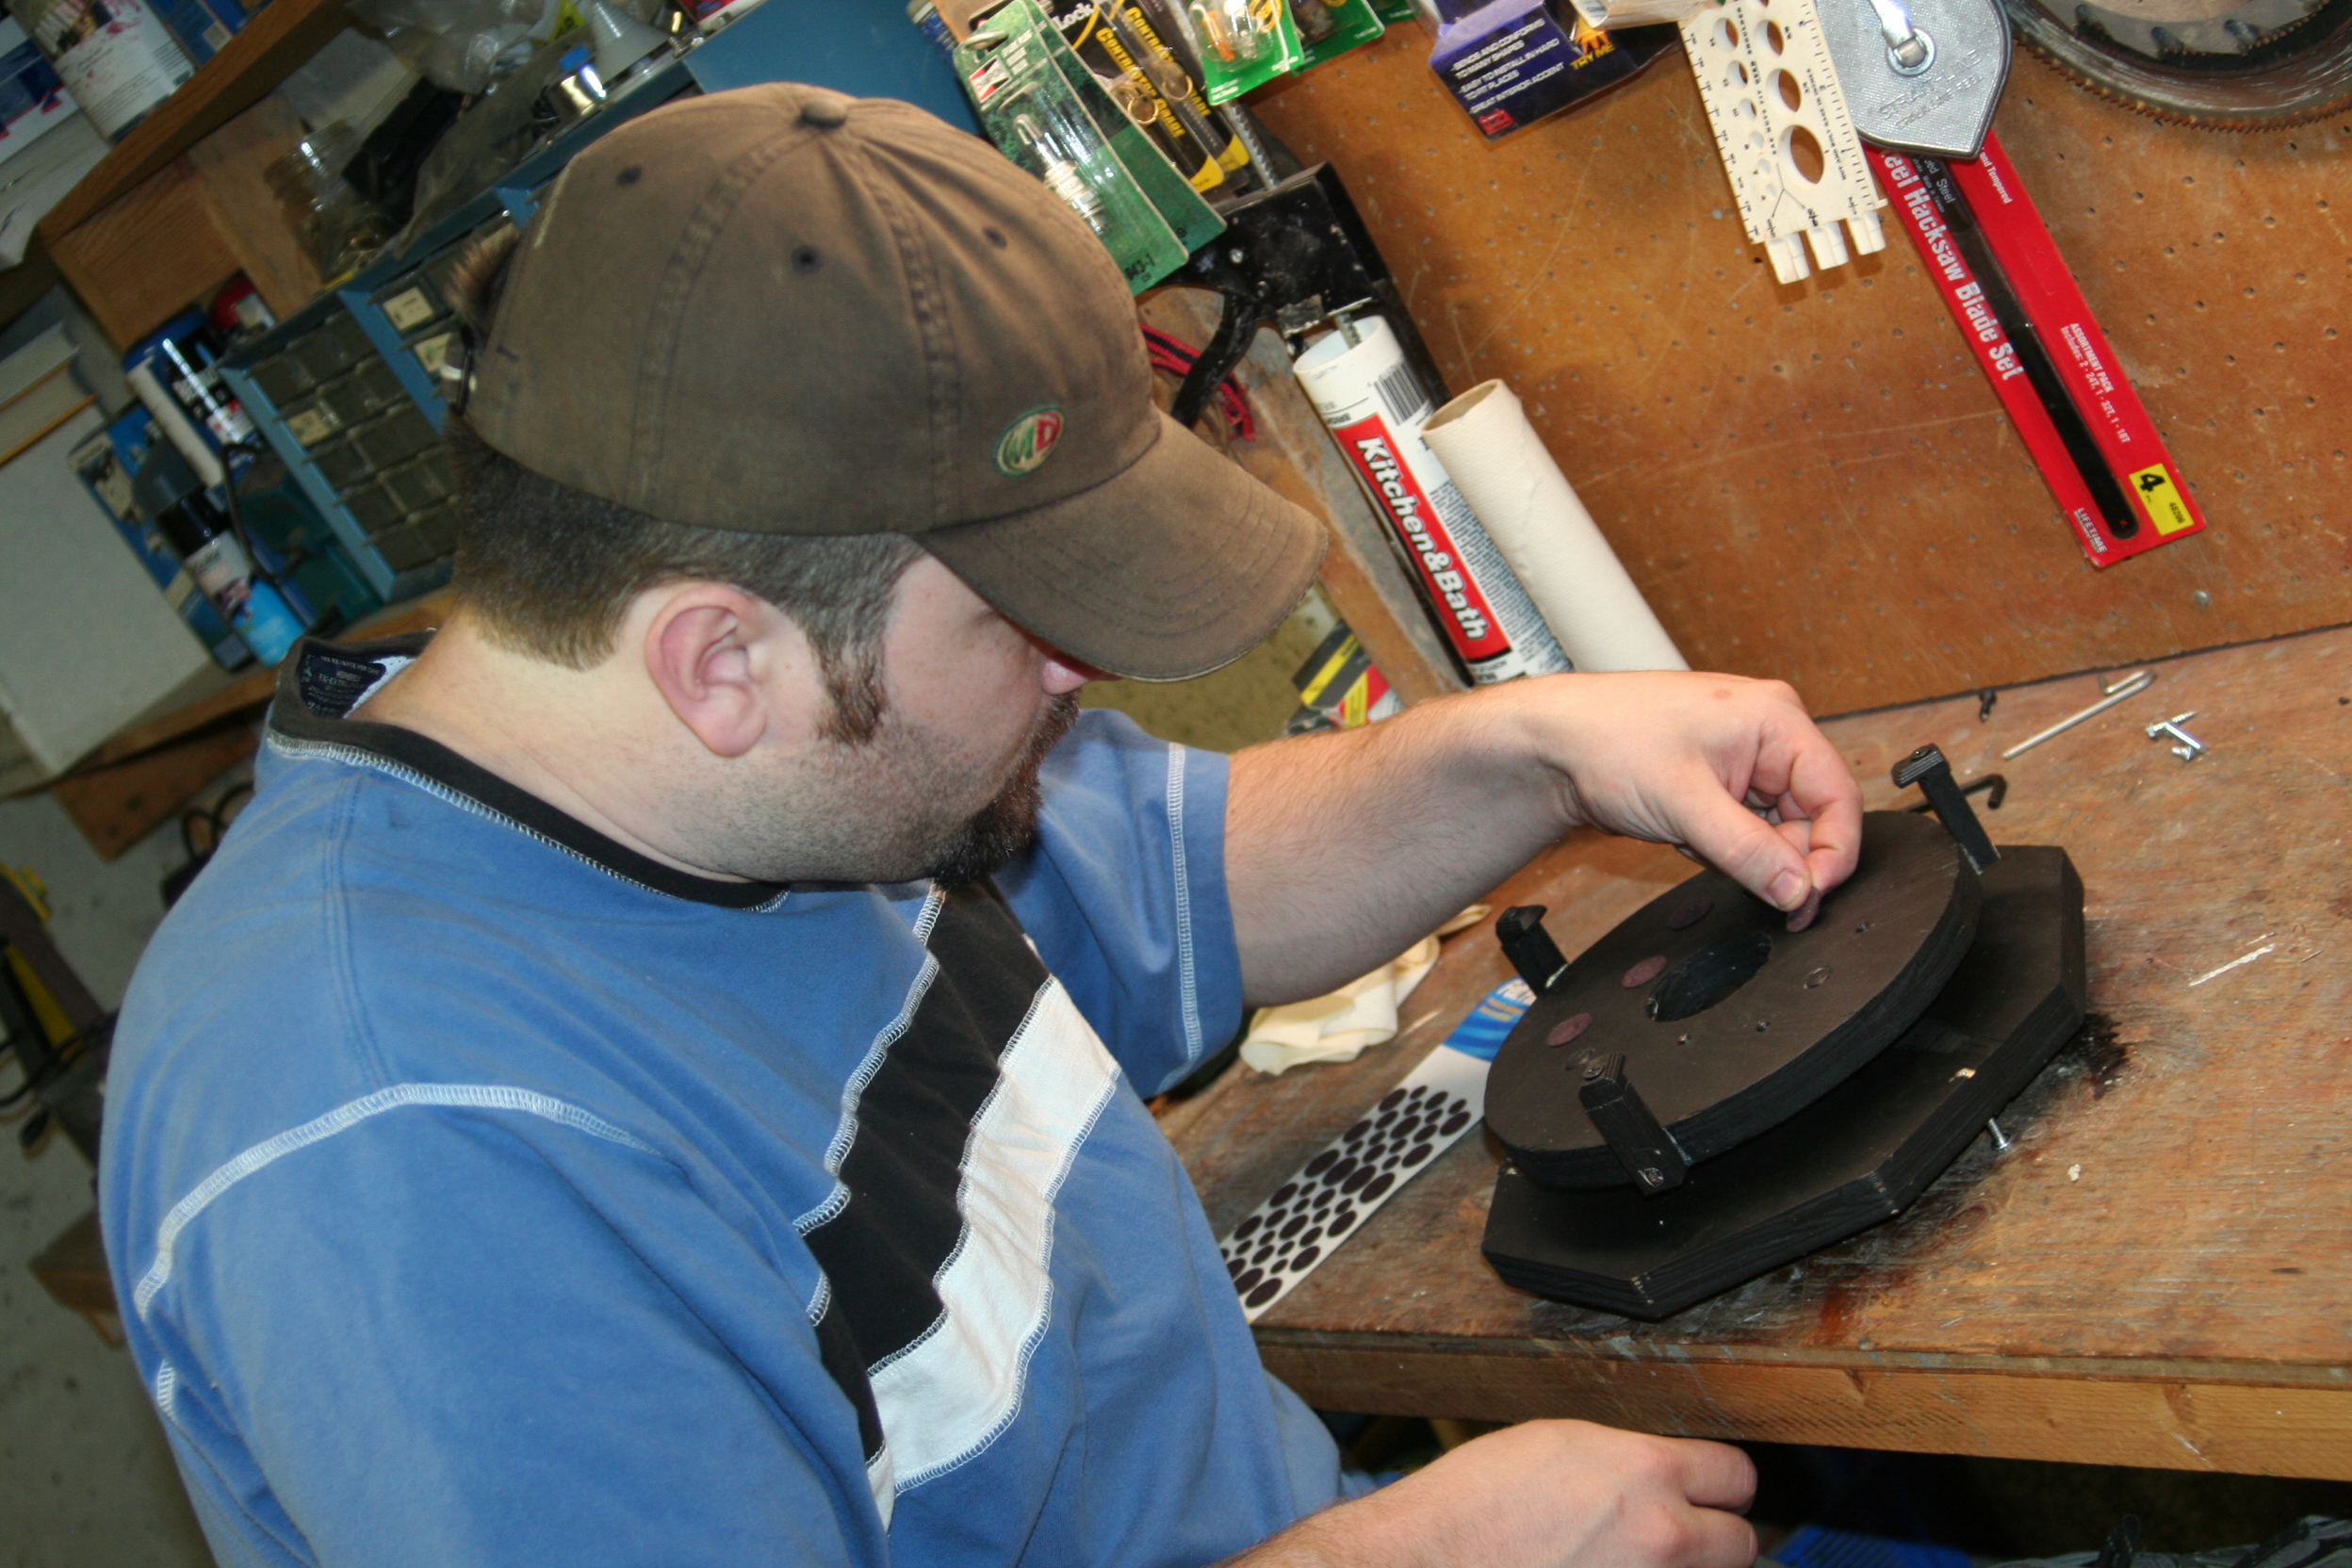 |
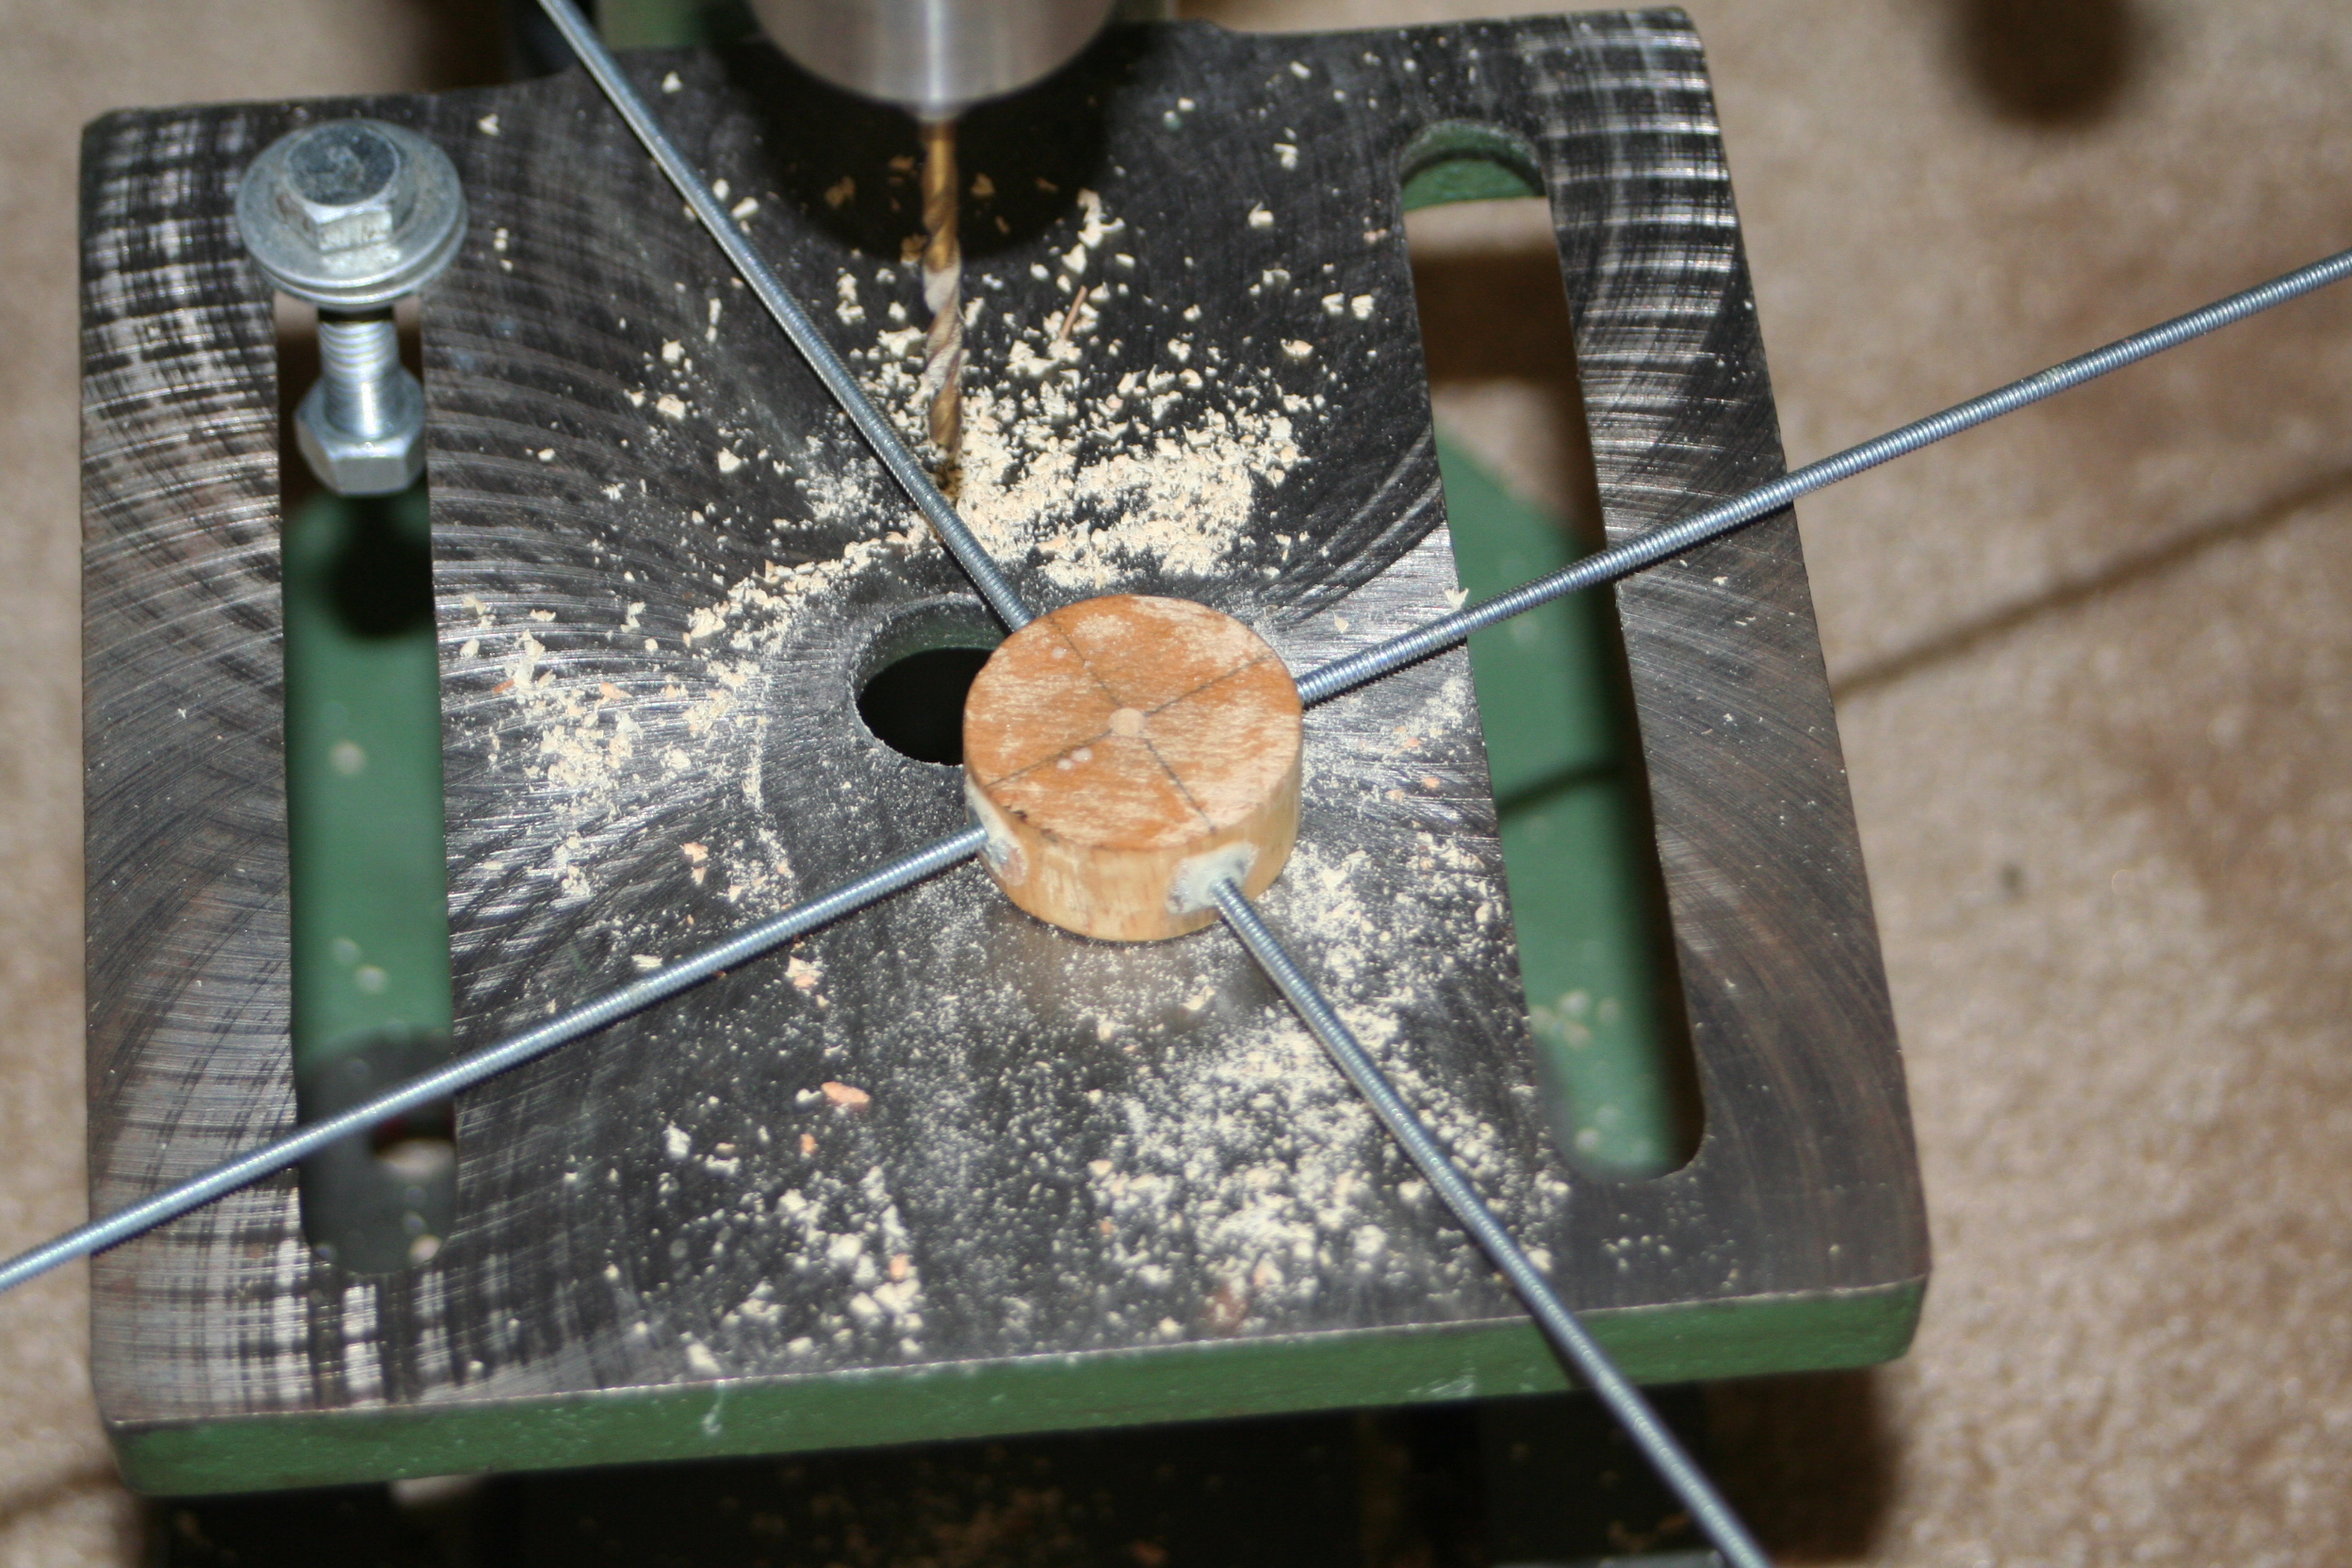
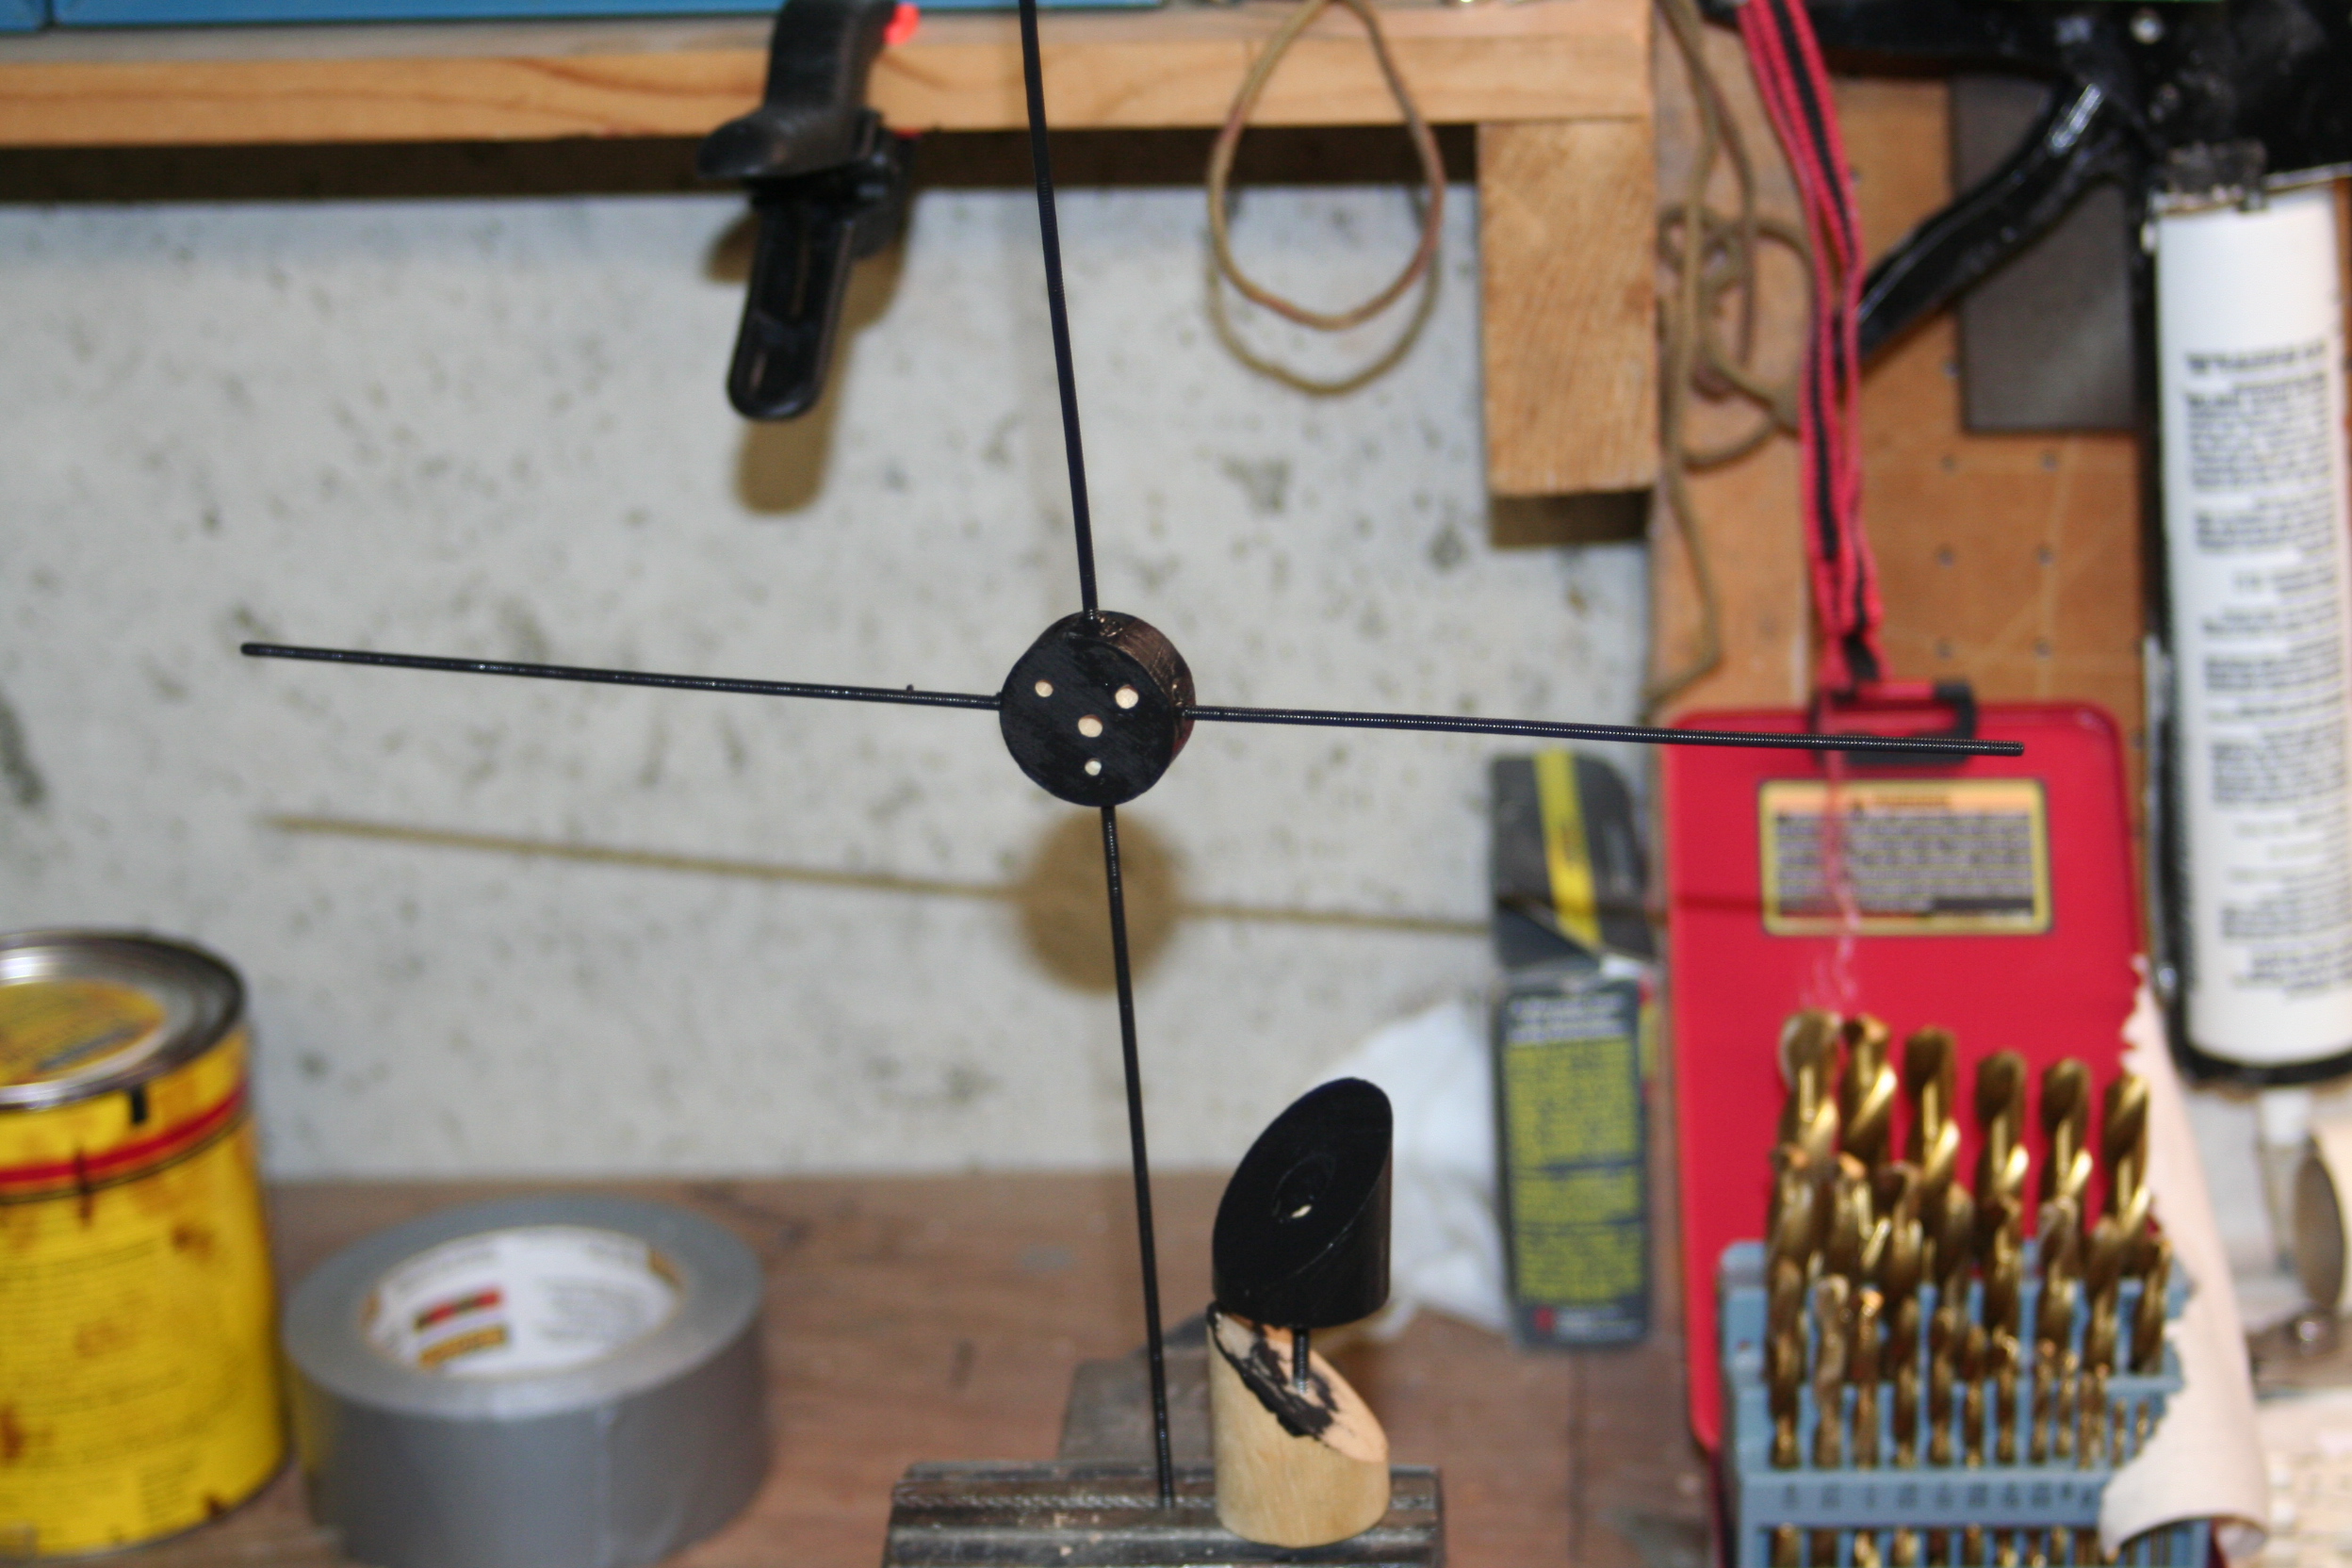
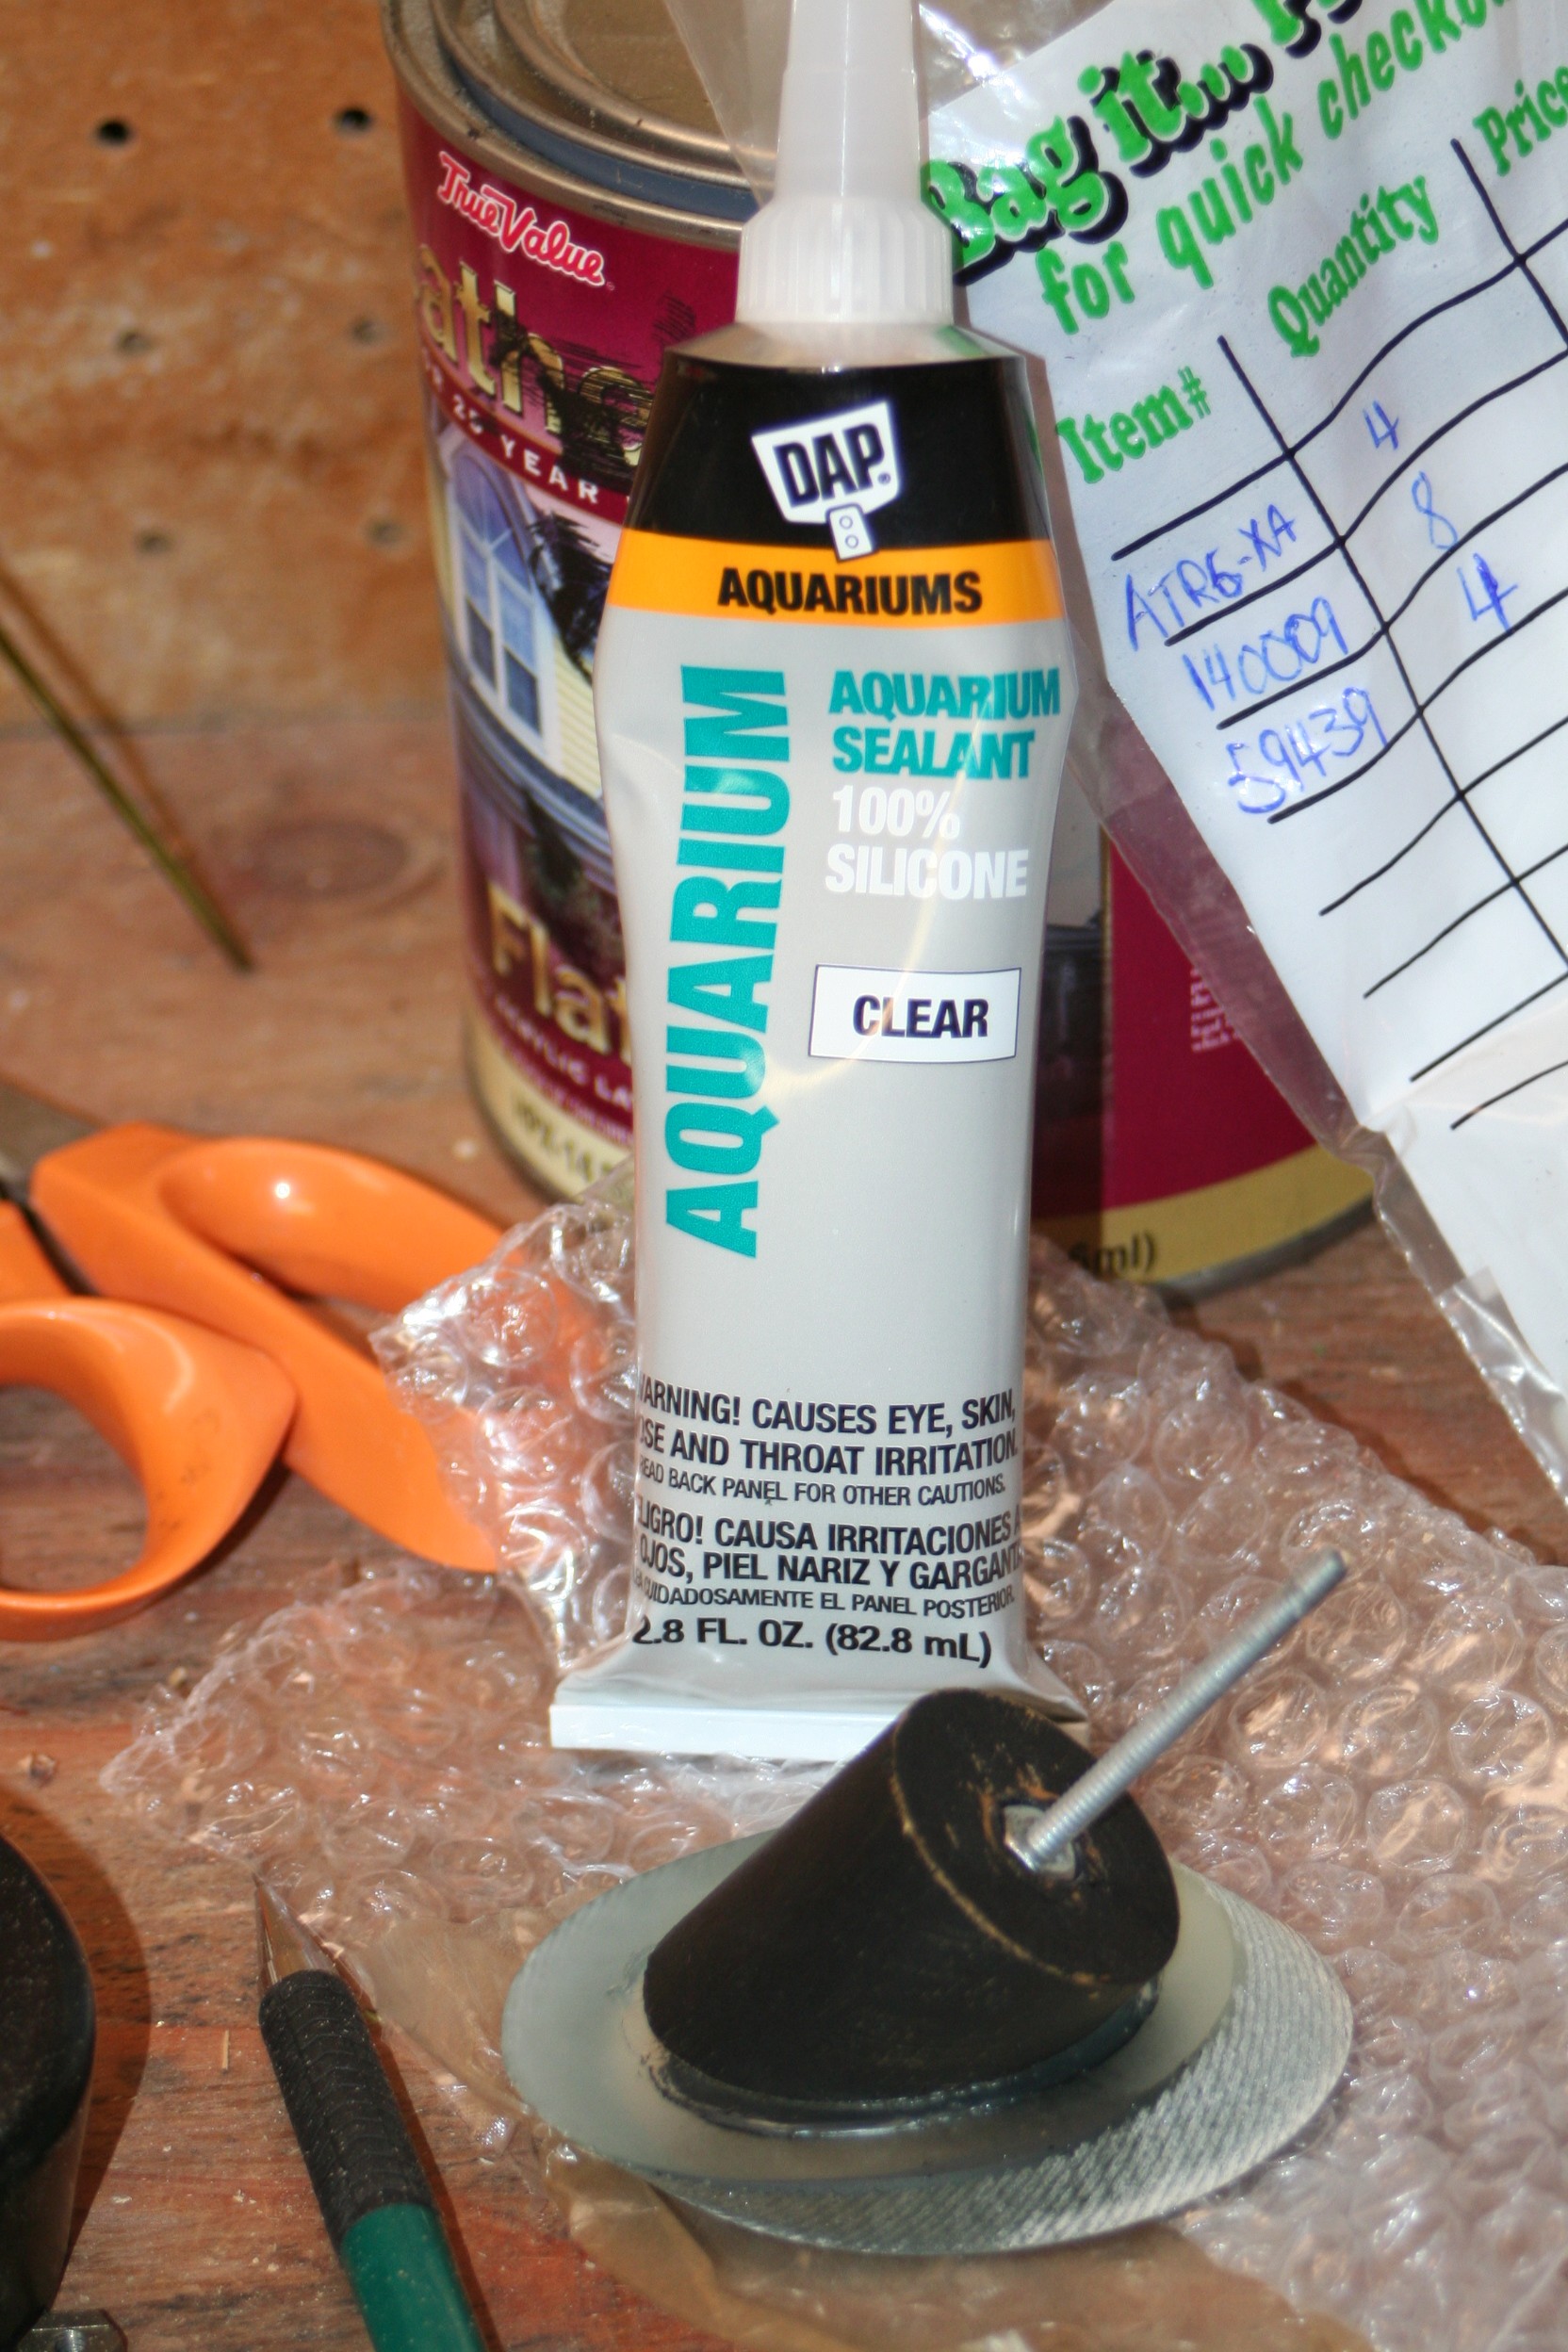
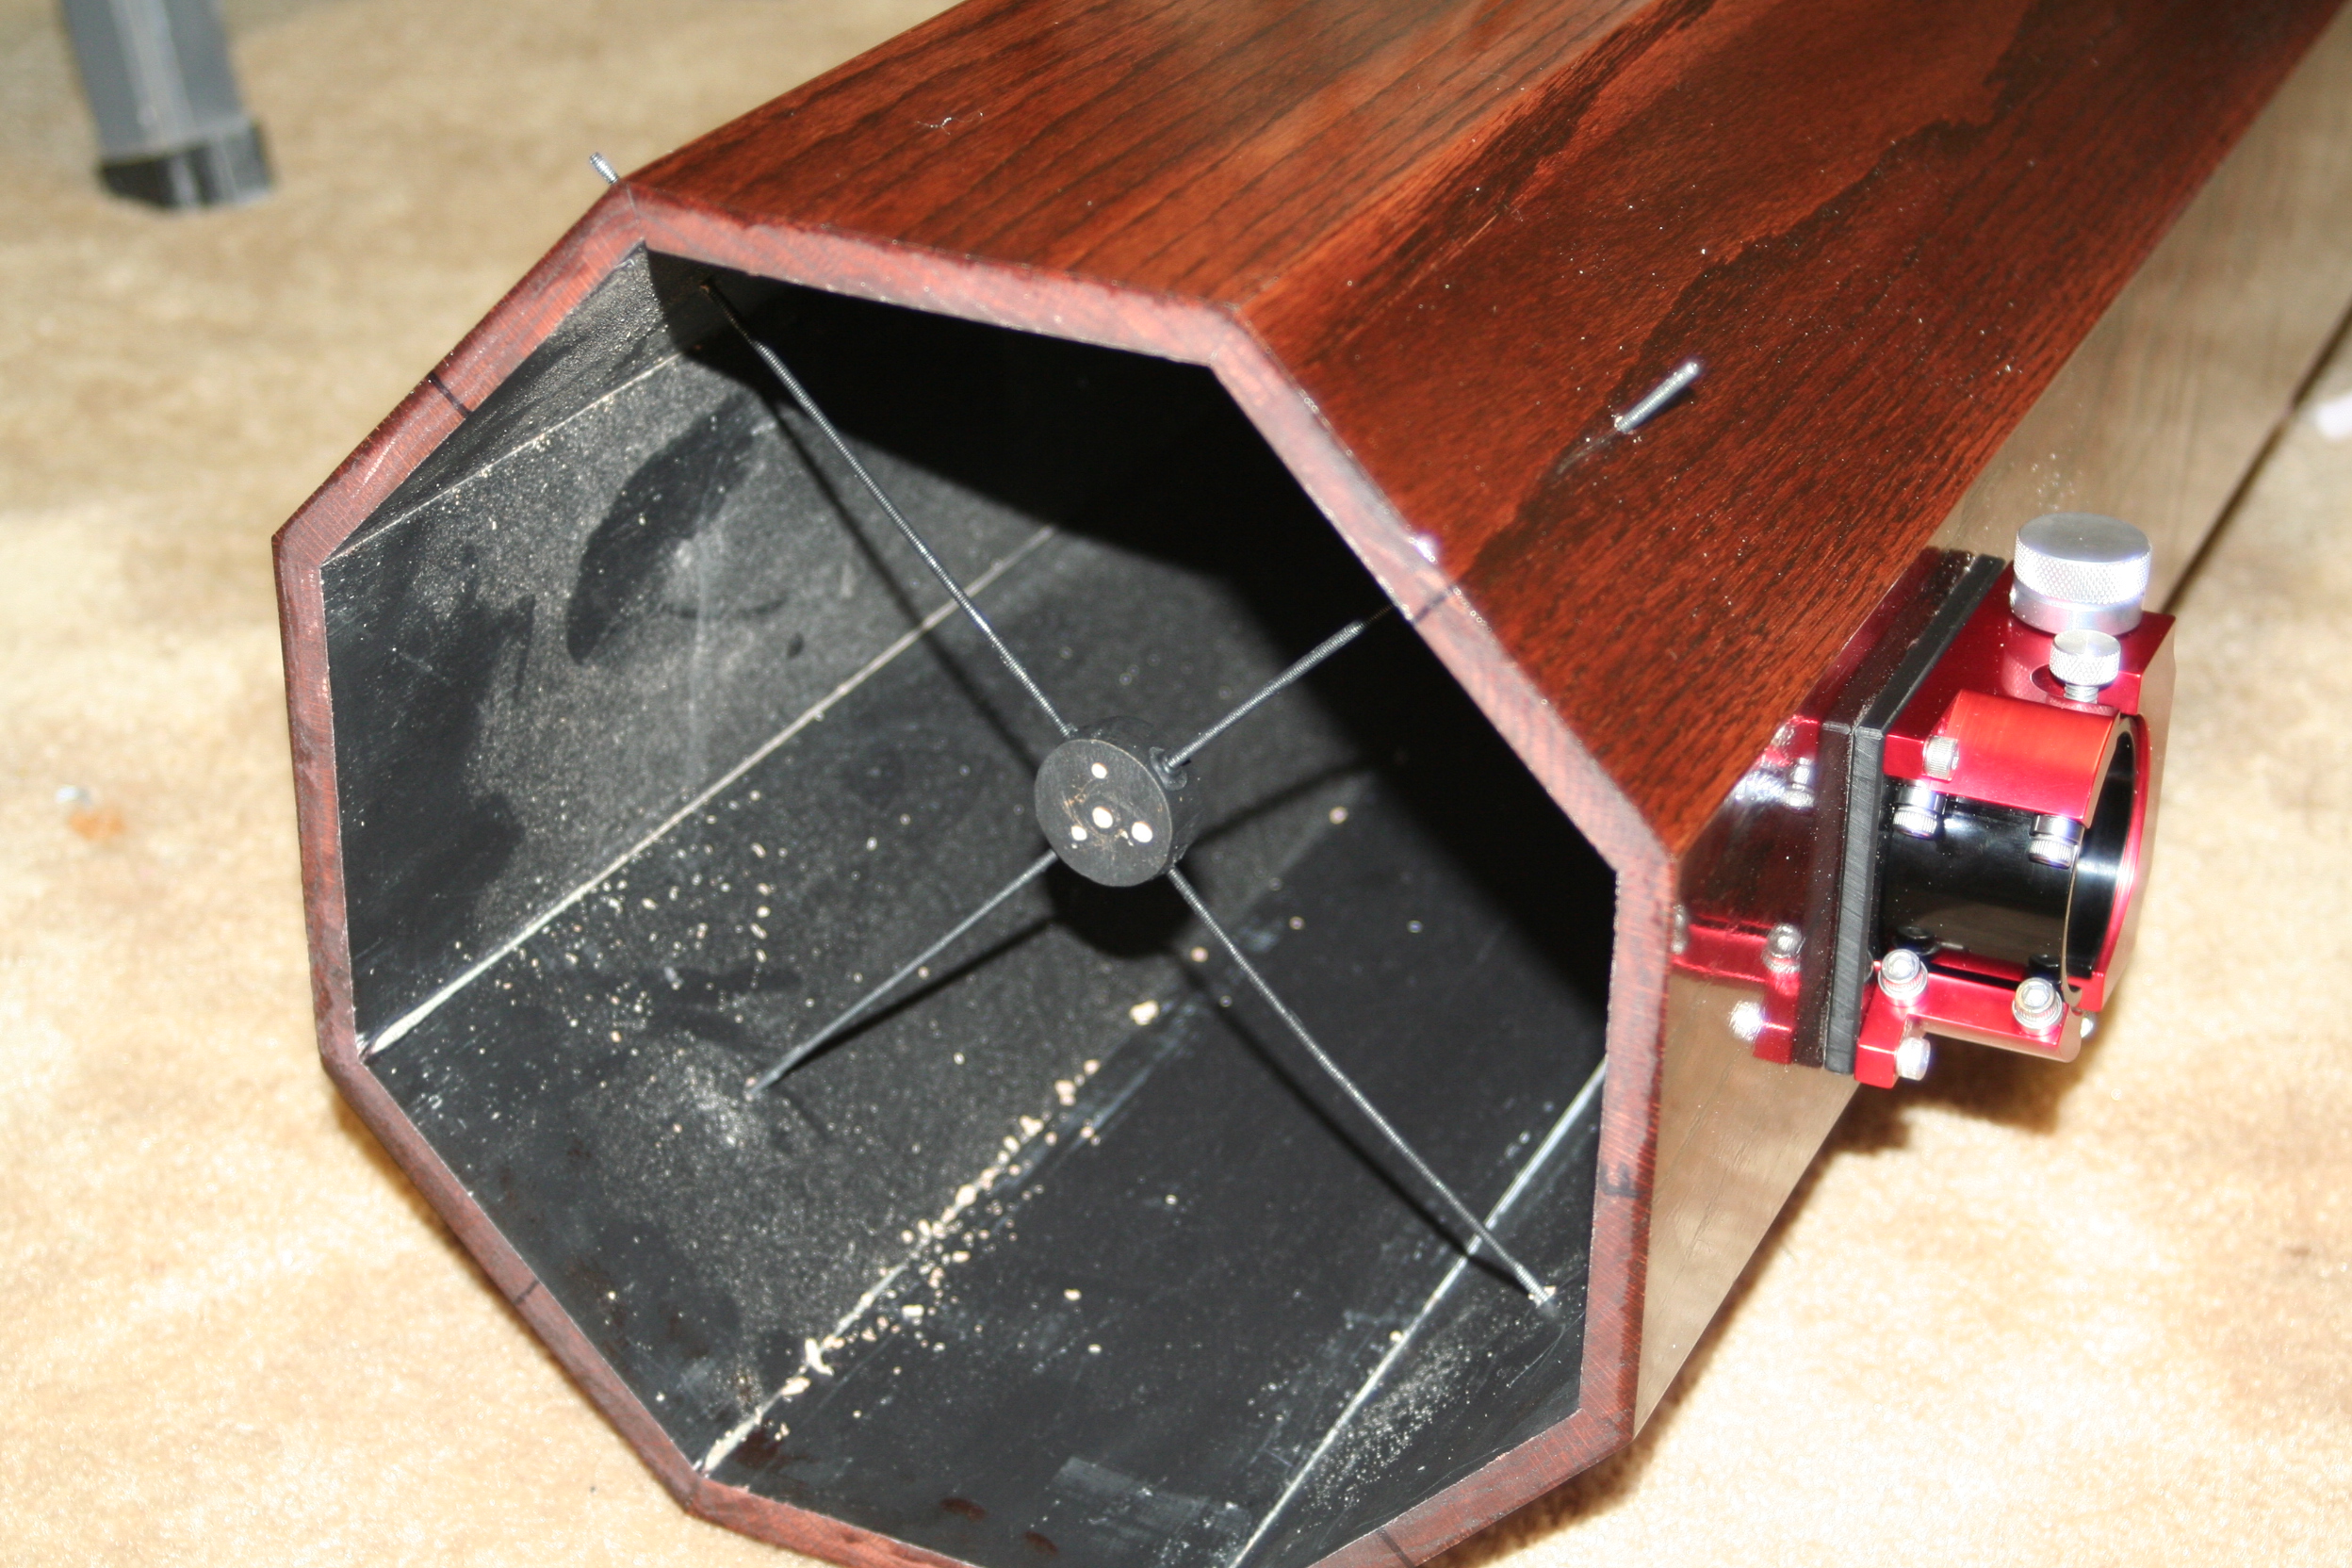
Construction of the spider (secondary mirror support): Before getting into the construction process I took to make my spider. You should know that this is probably the worst part of my entire design. Around one of my first times using the telescope I was doing some adjustments during collimation and one of the legs snapped off. After seeing how I build it you’ll think to yourself, “Well Duh!” :) Also, I’ve found it extremely difficult to adjust properly as the mirror wobbles around a bit and it wont stay in place after collimation. Some day I’d like to rebuild this piece.
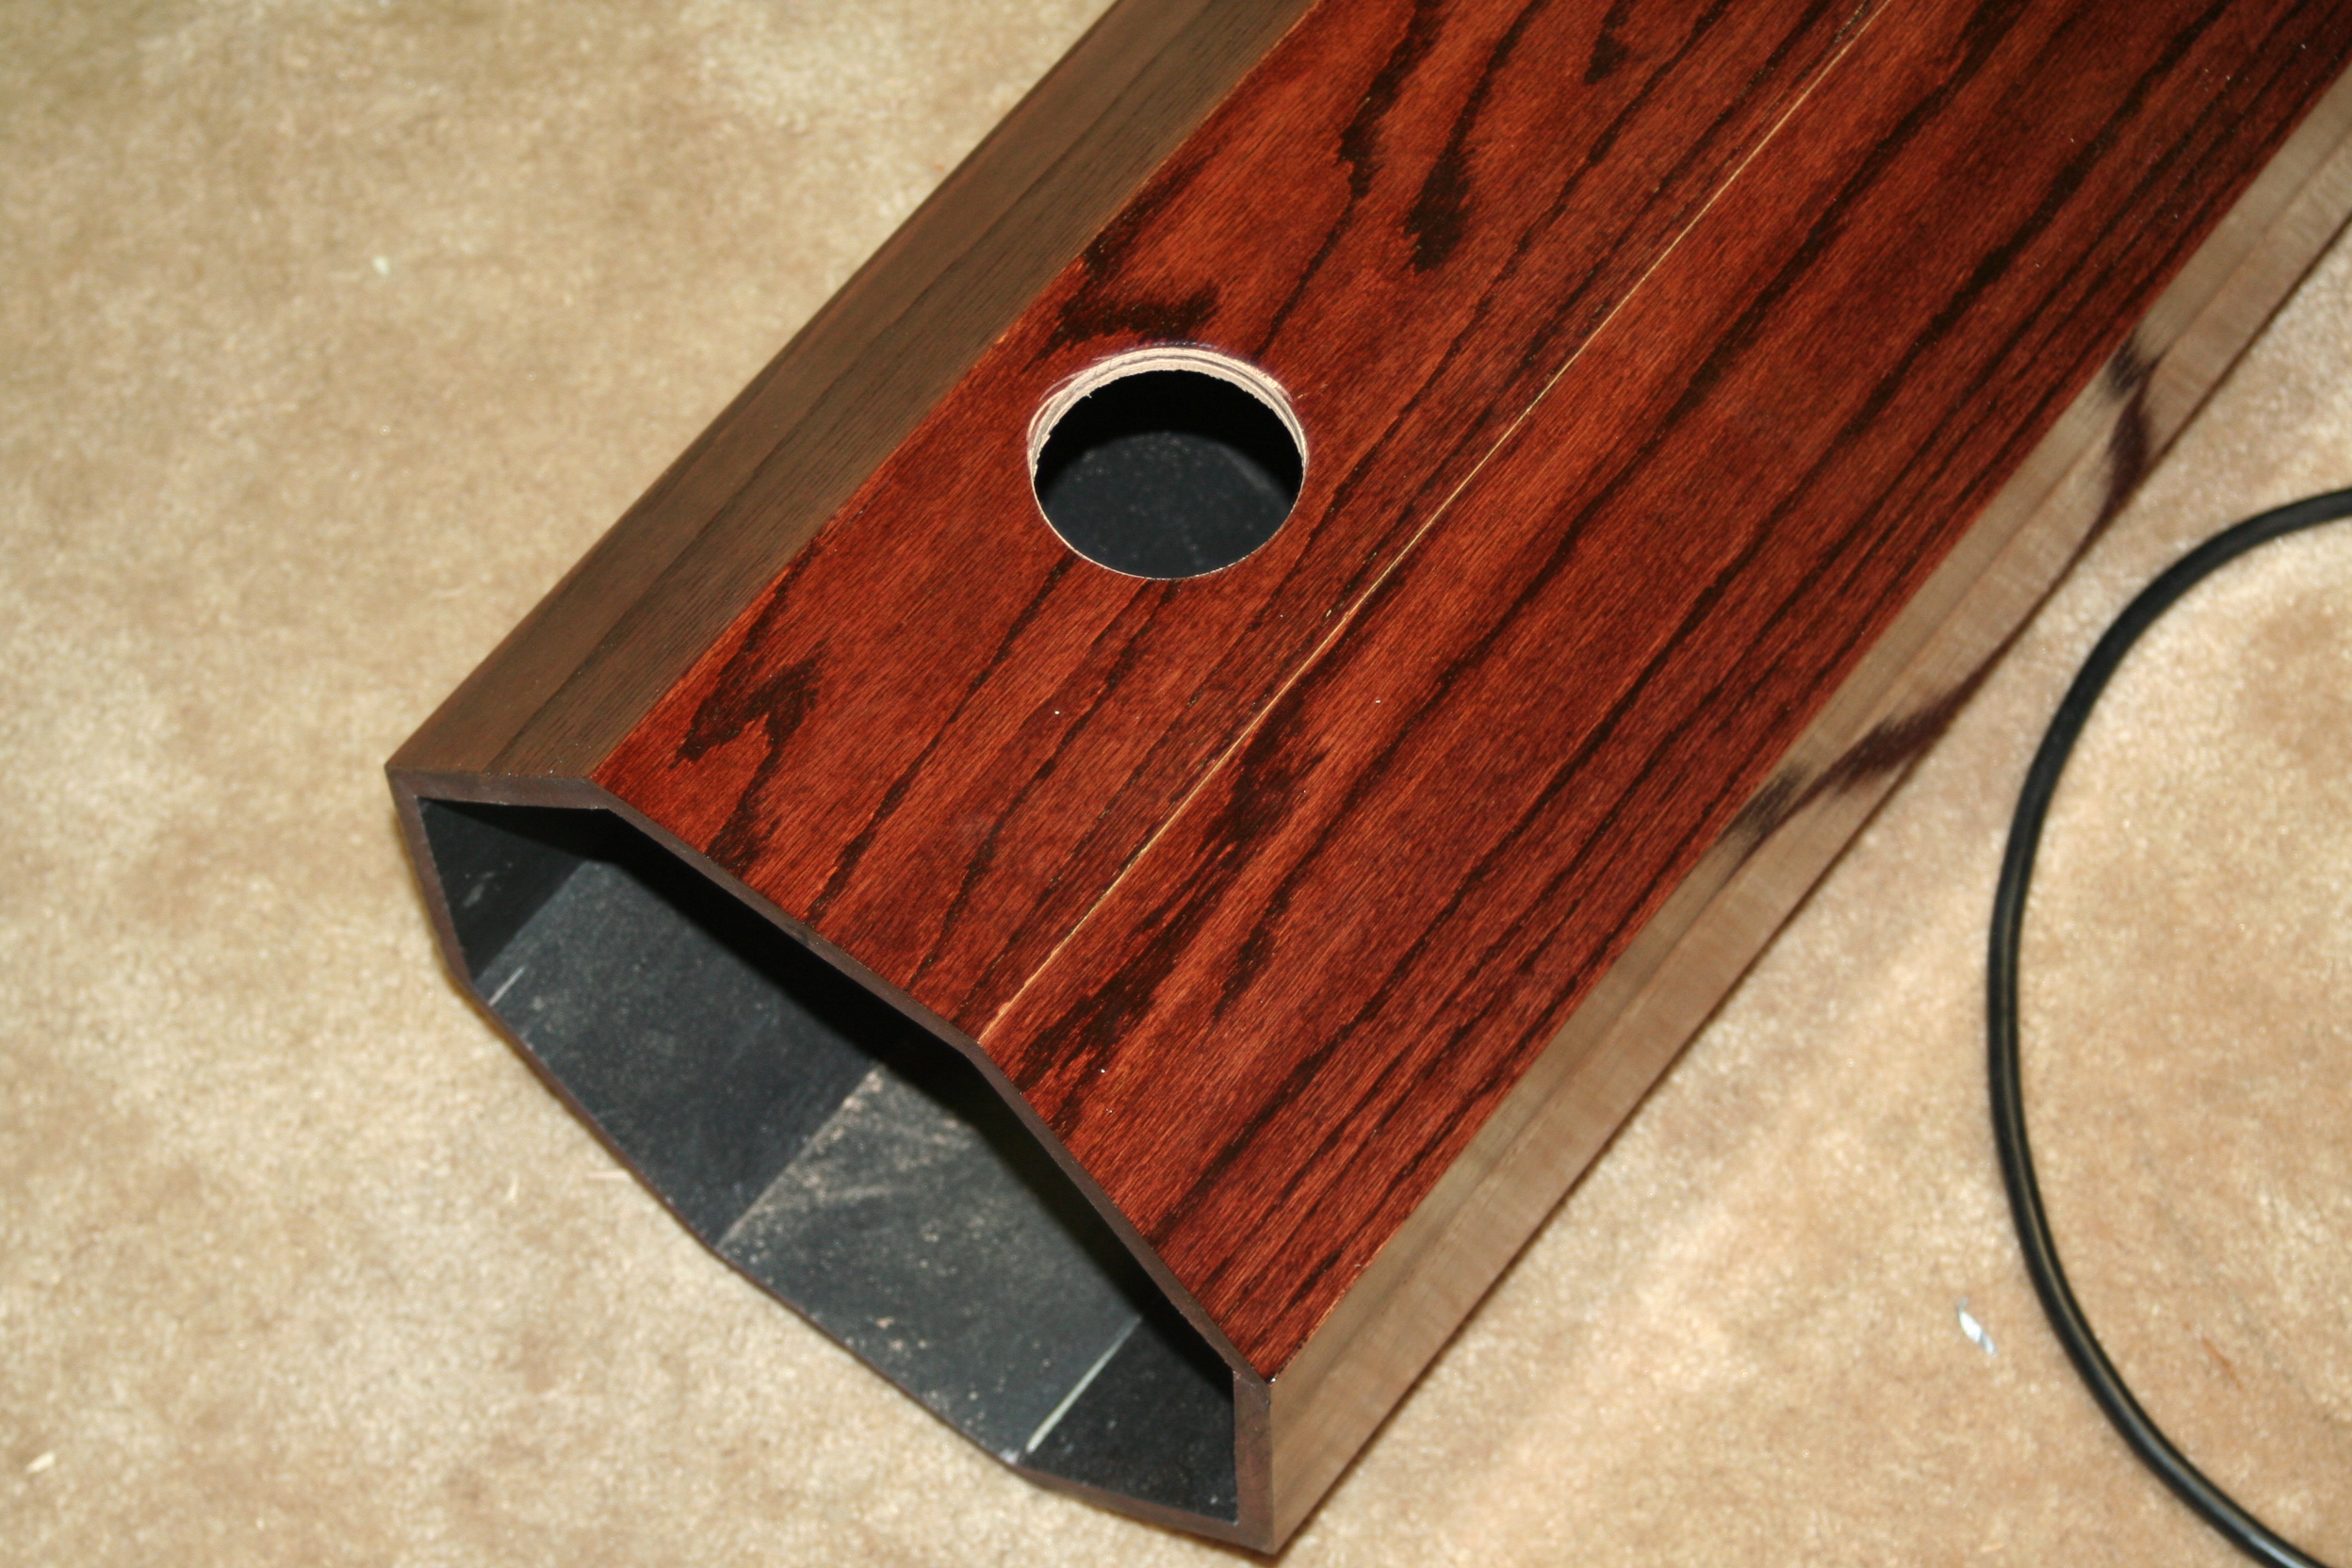
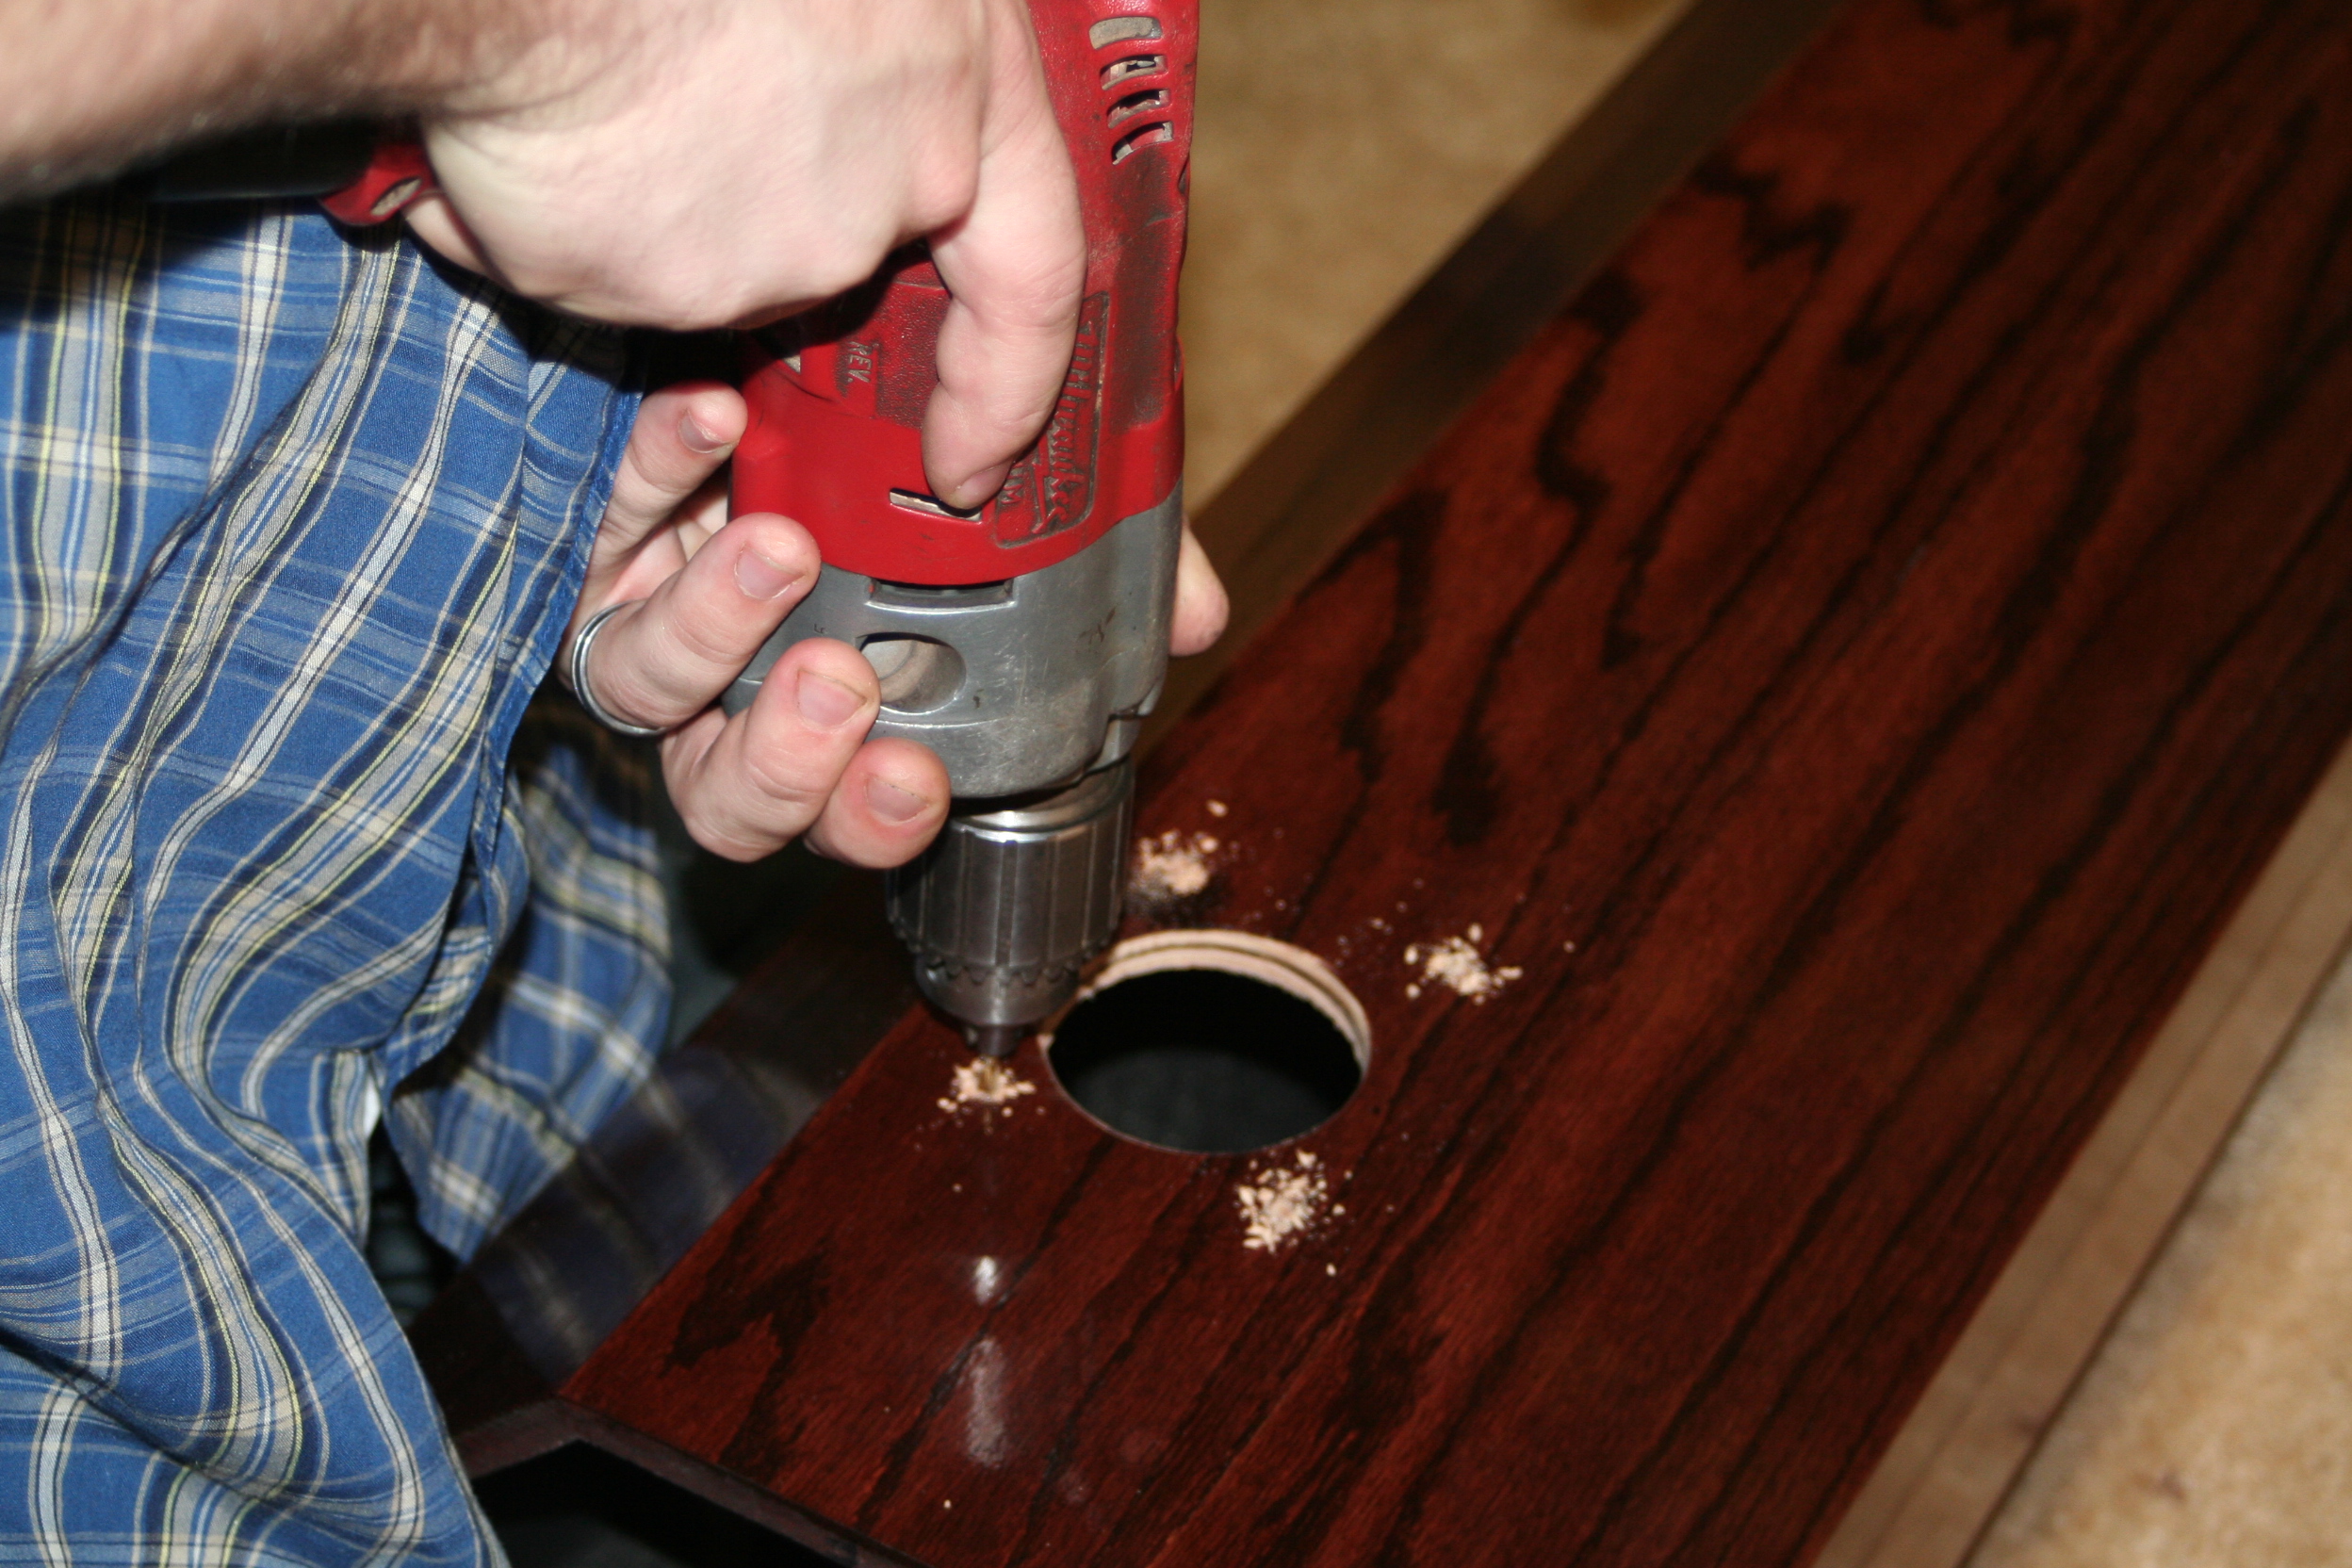
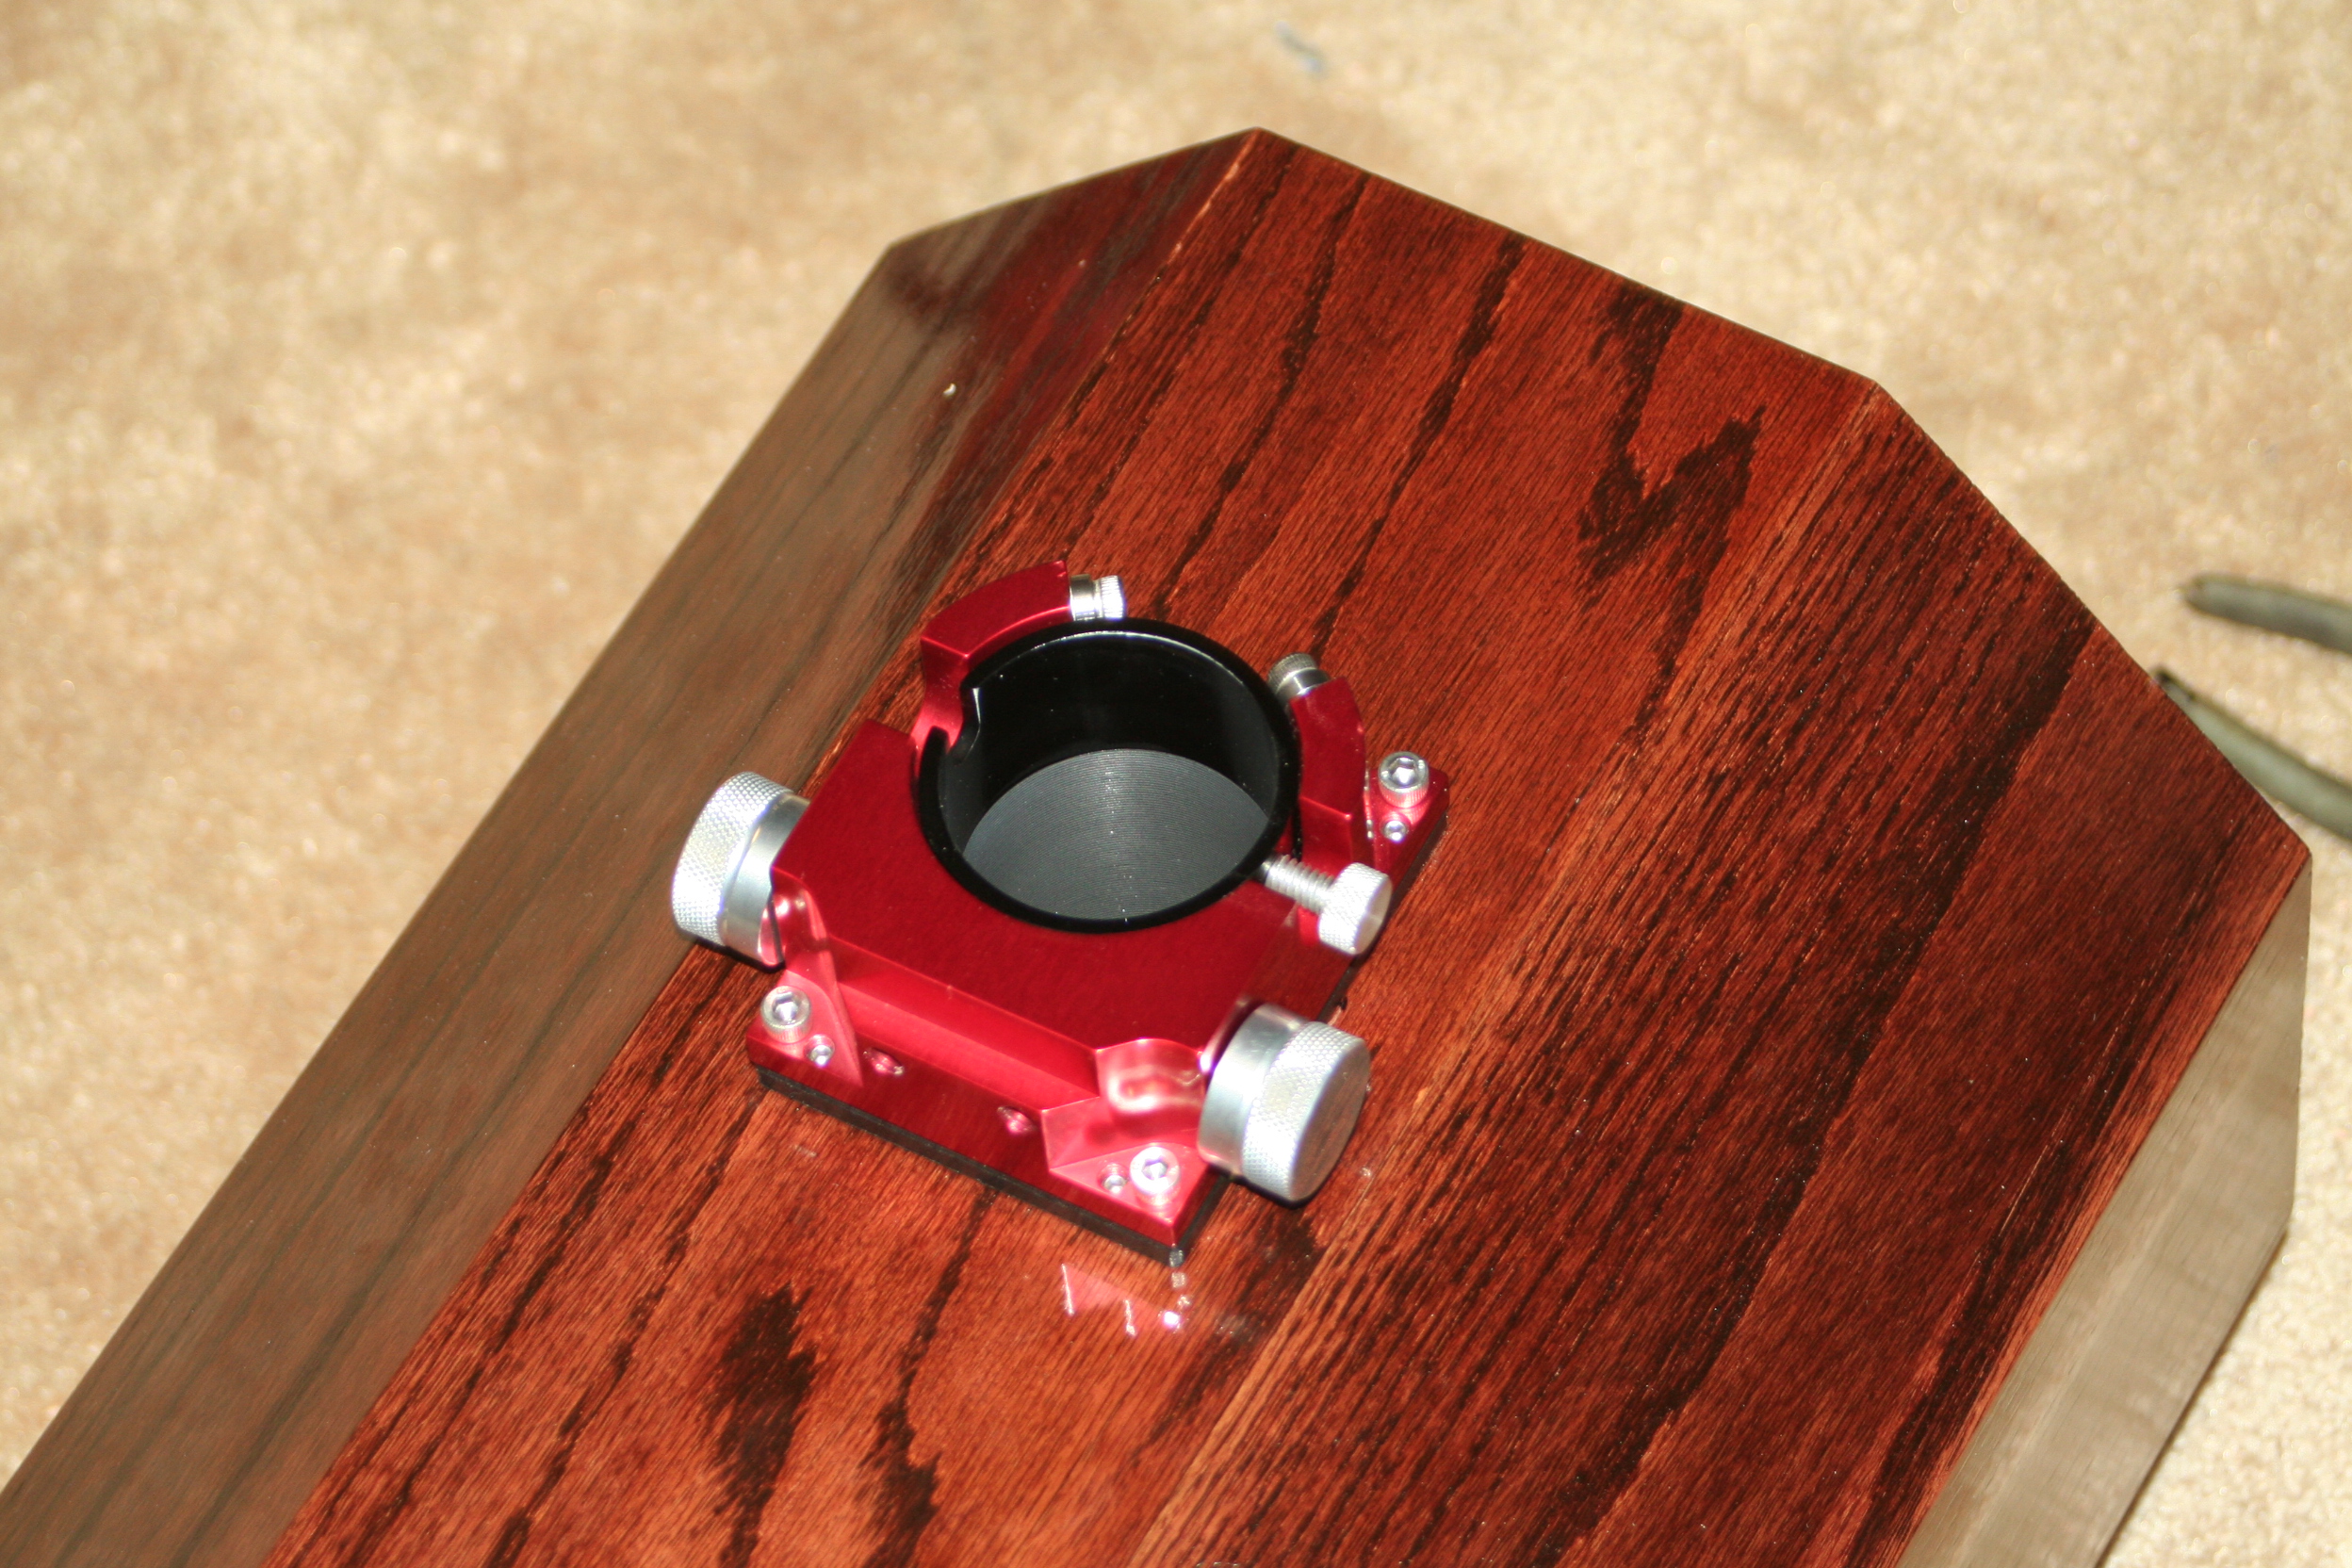
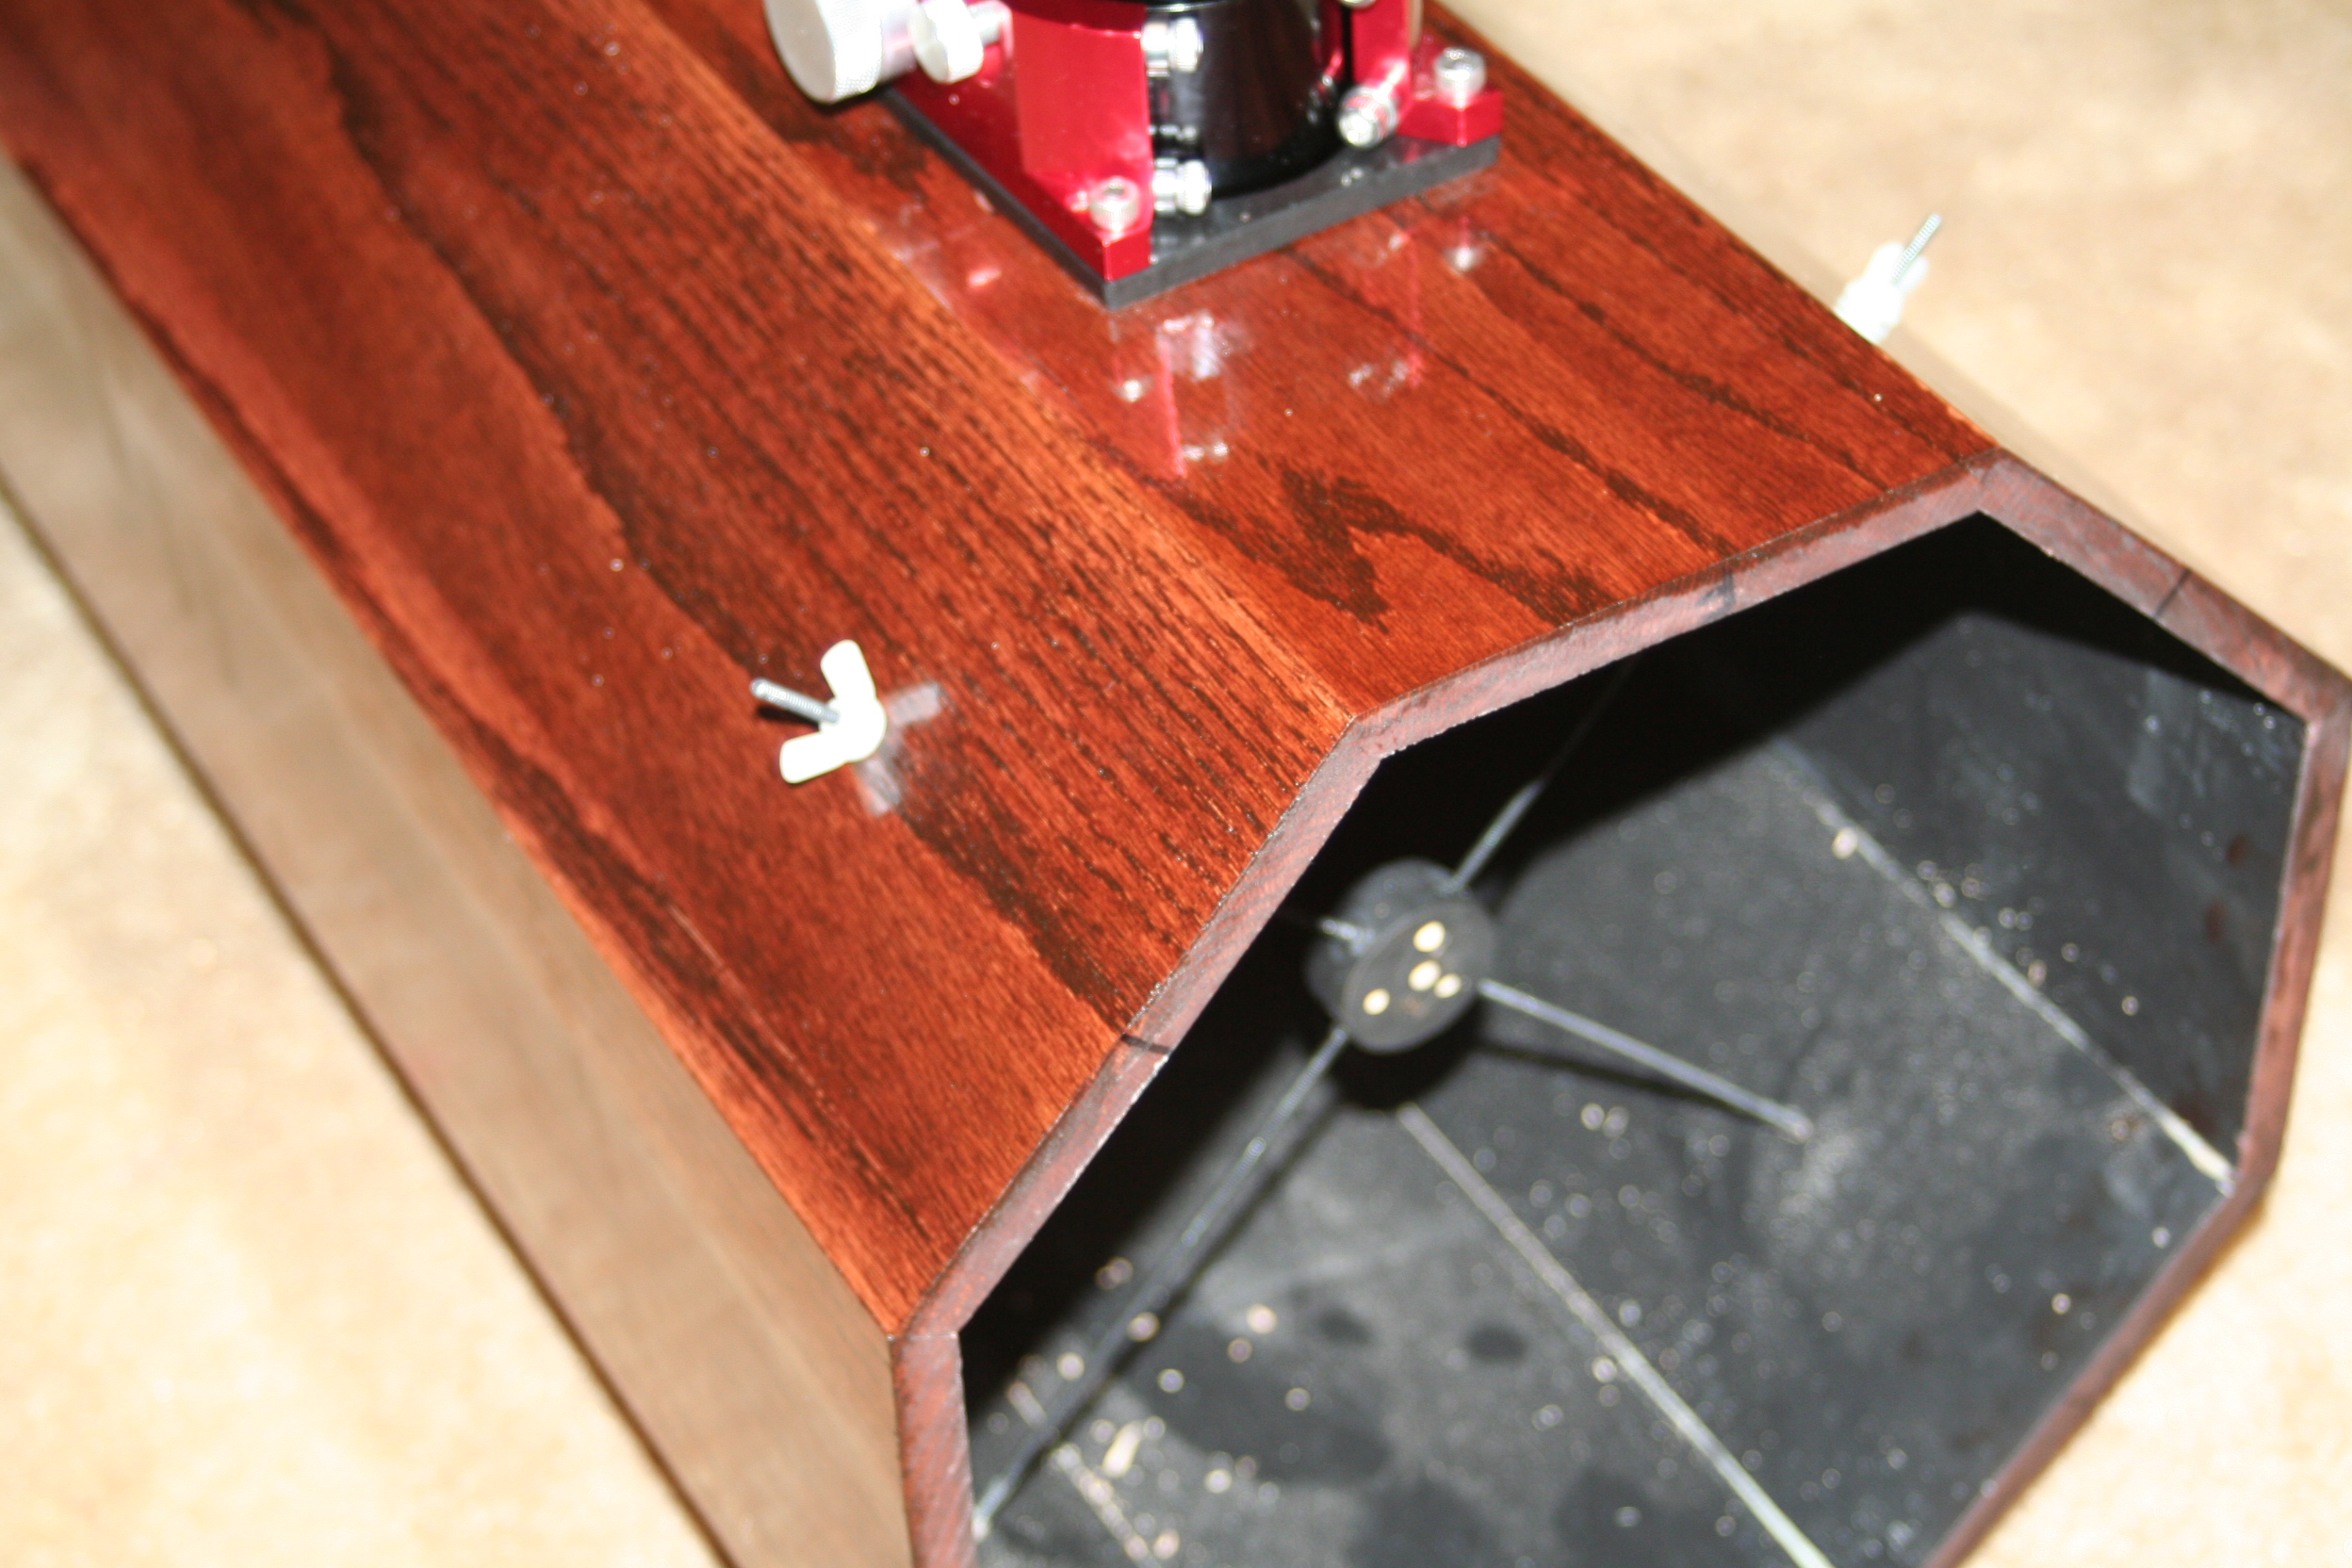
Installing the focuser:
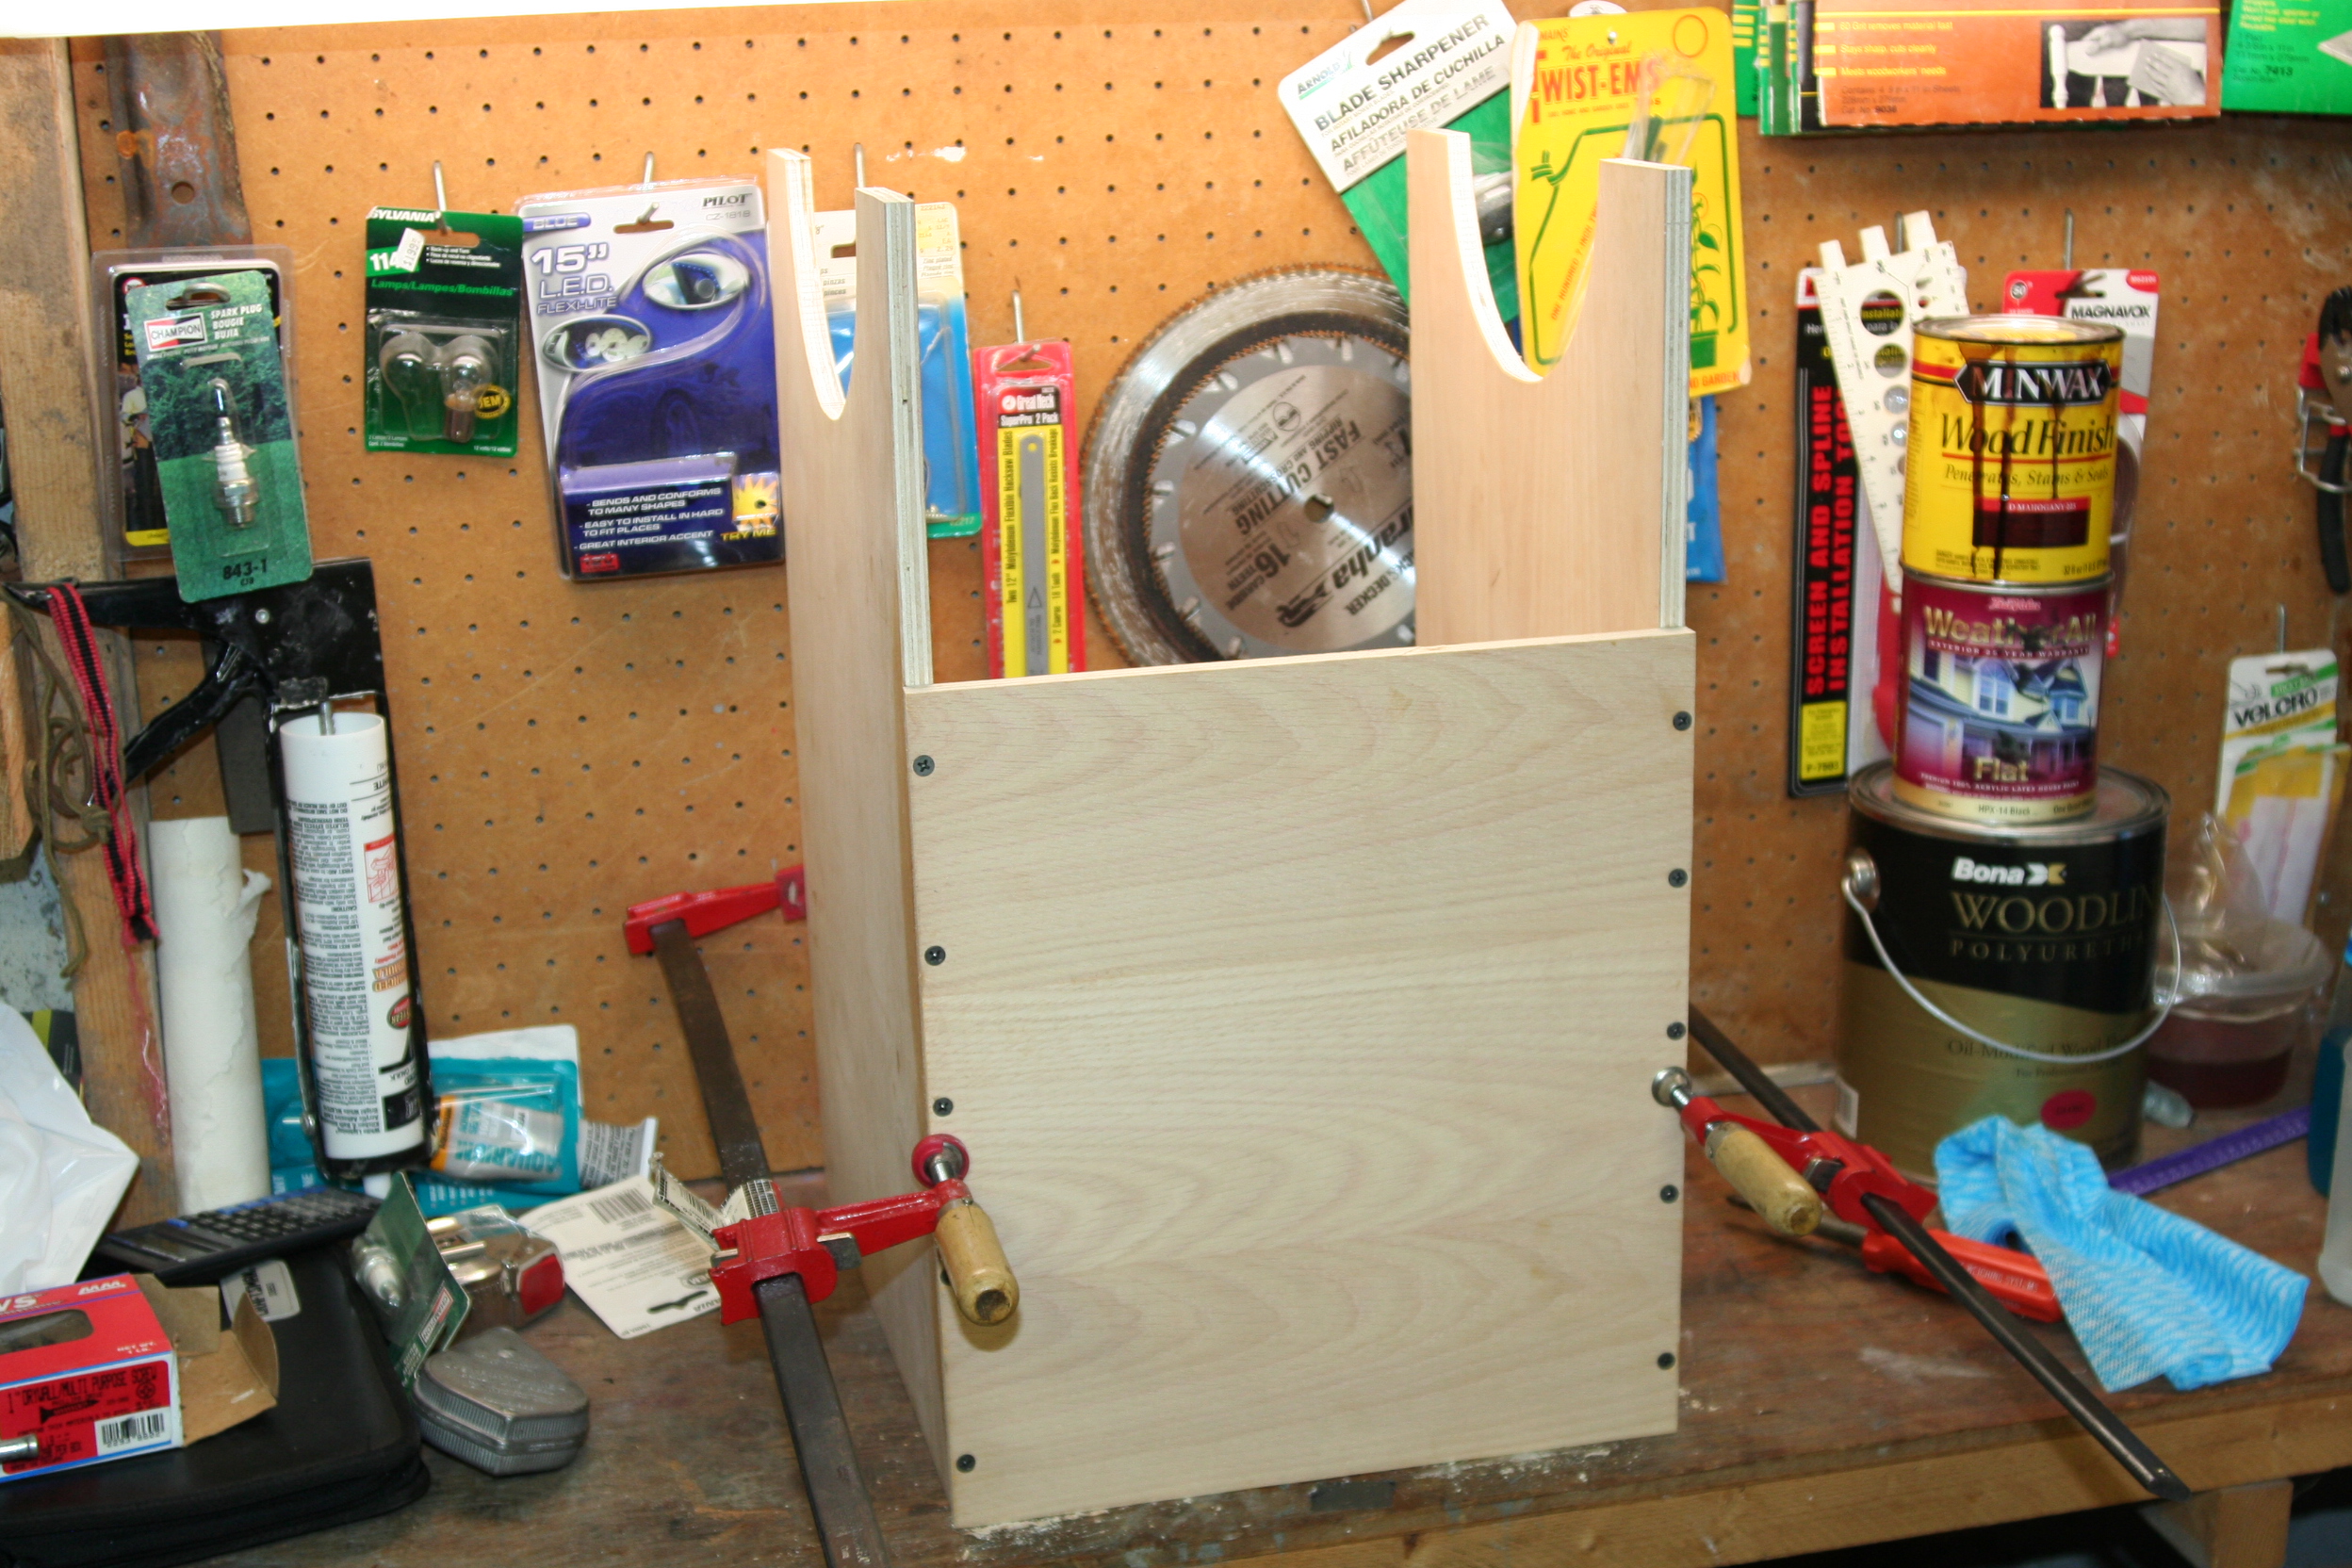
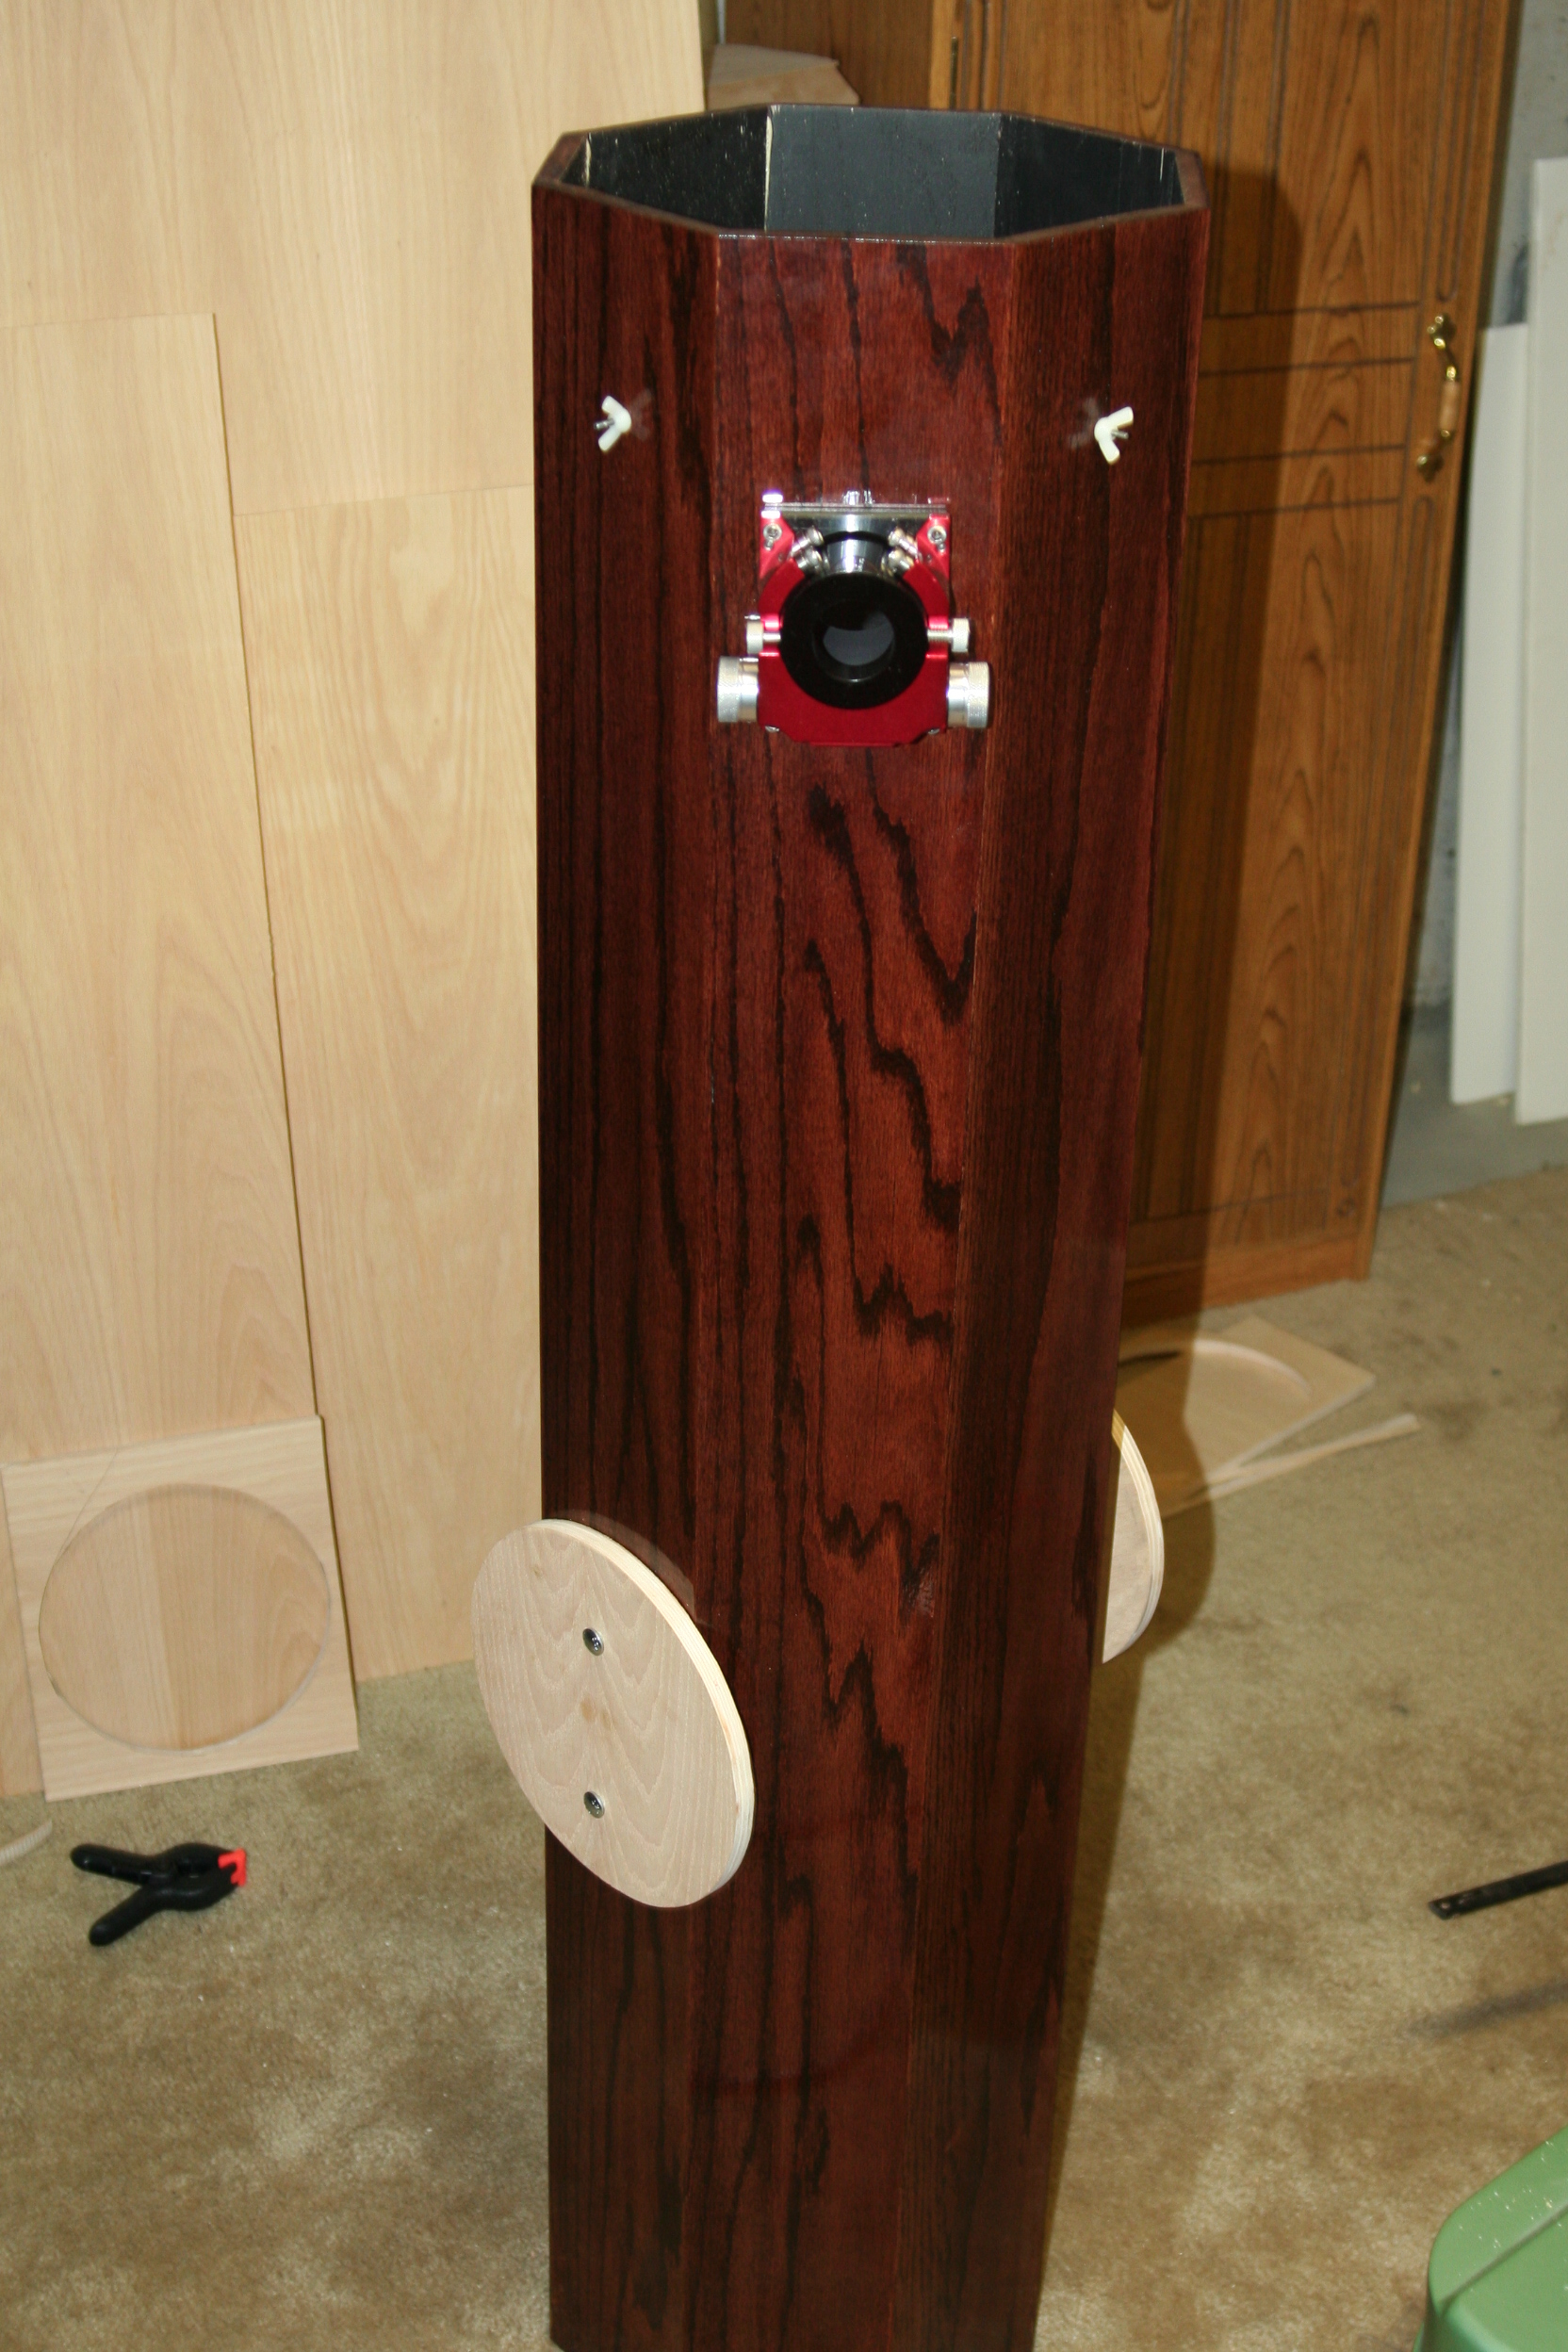
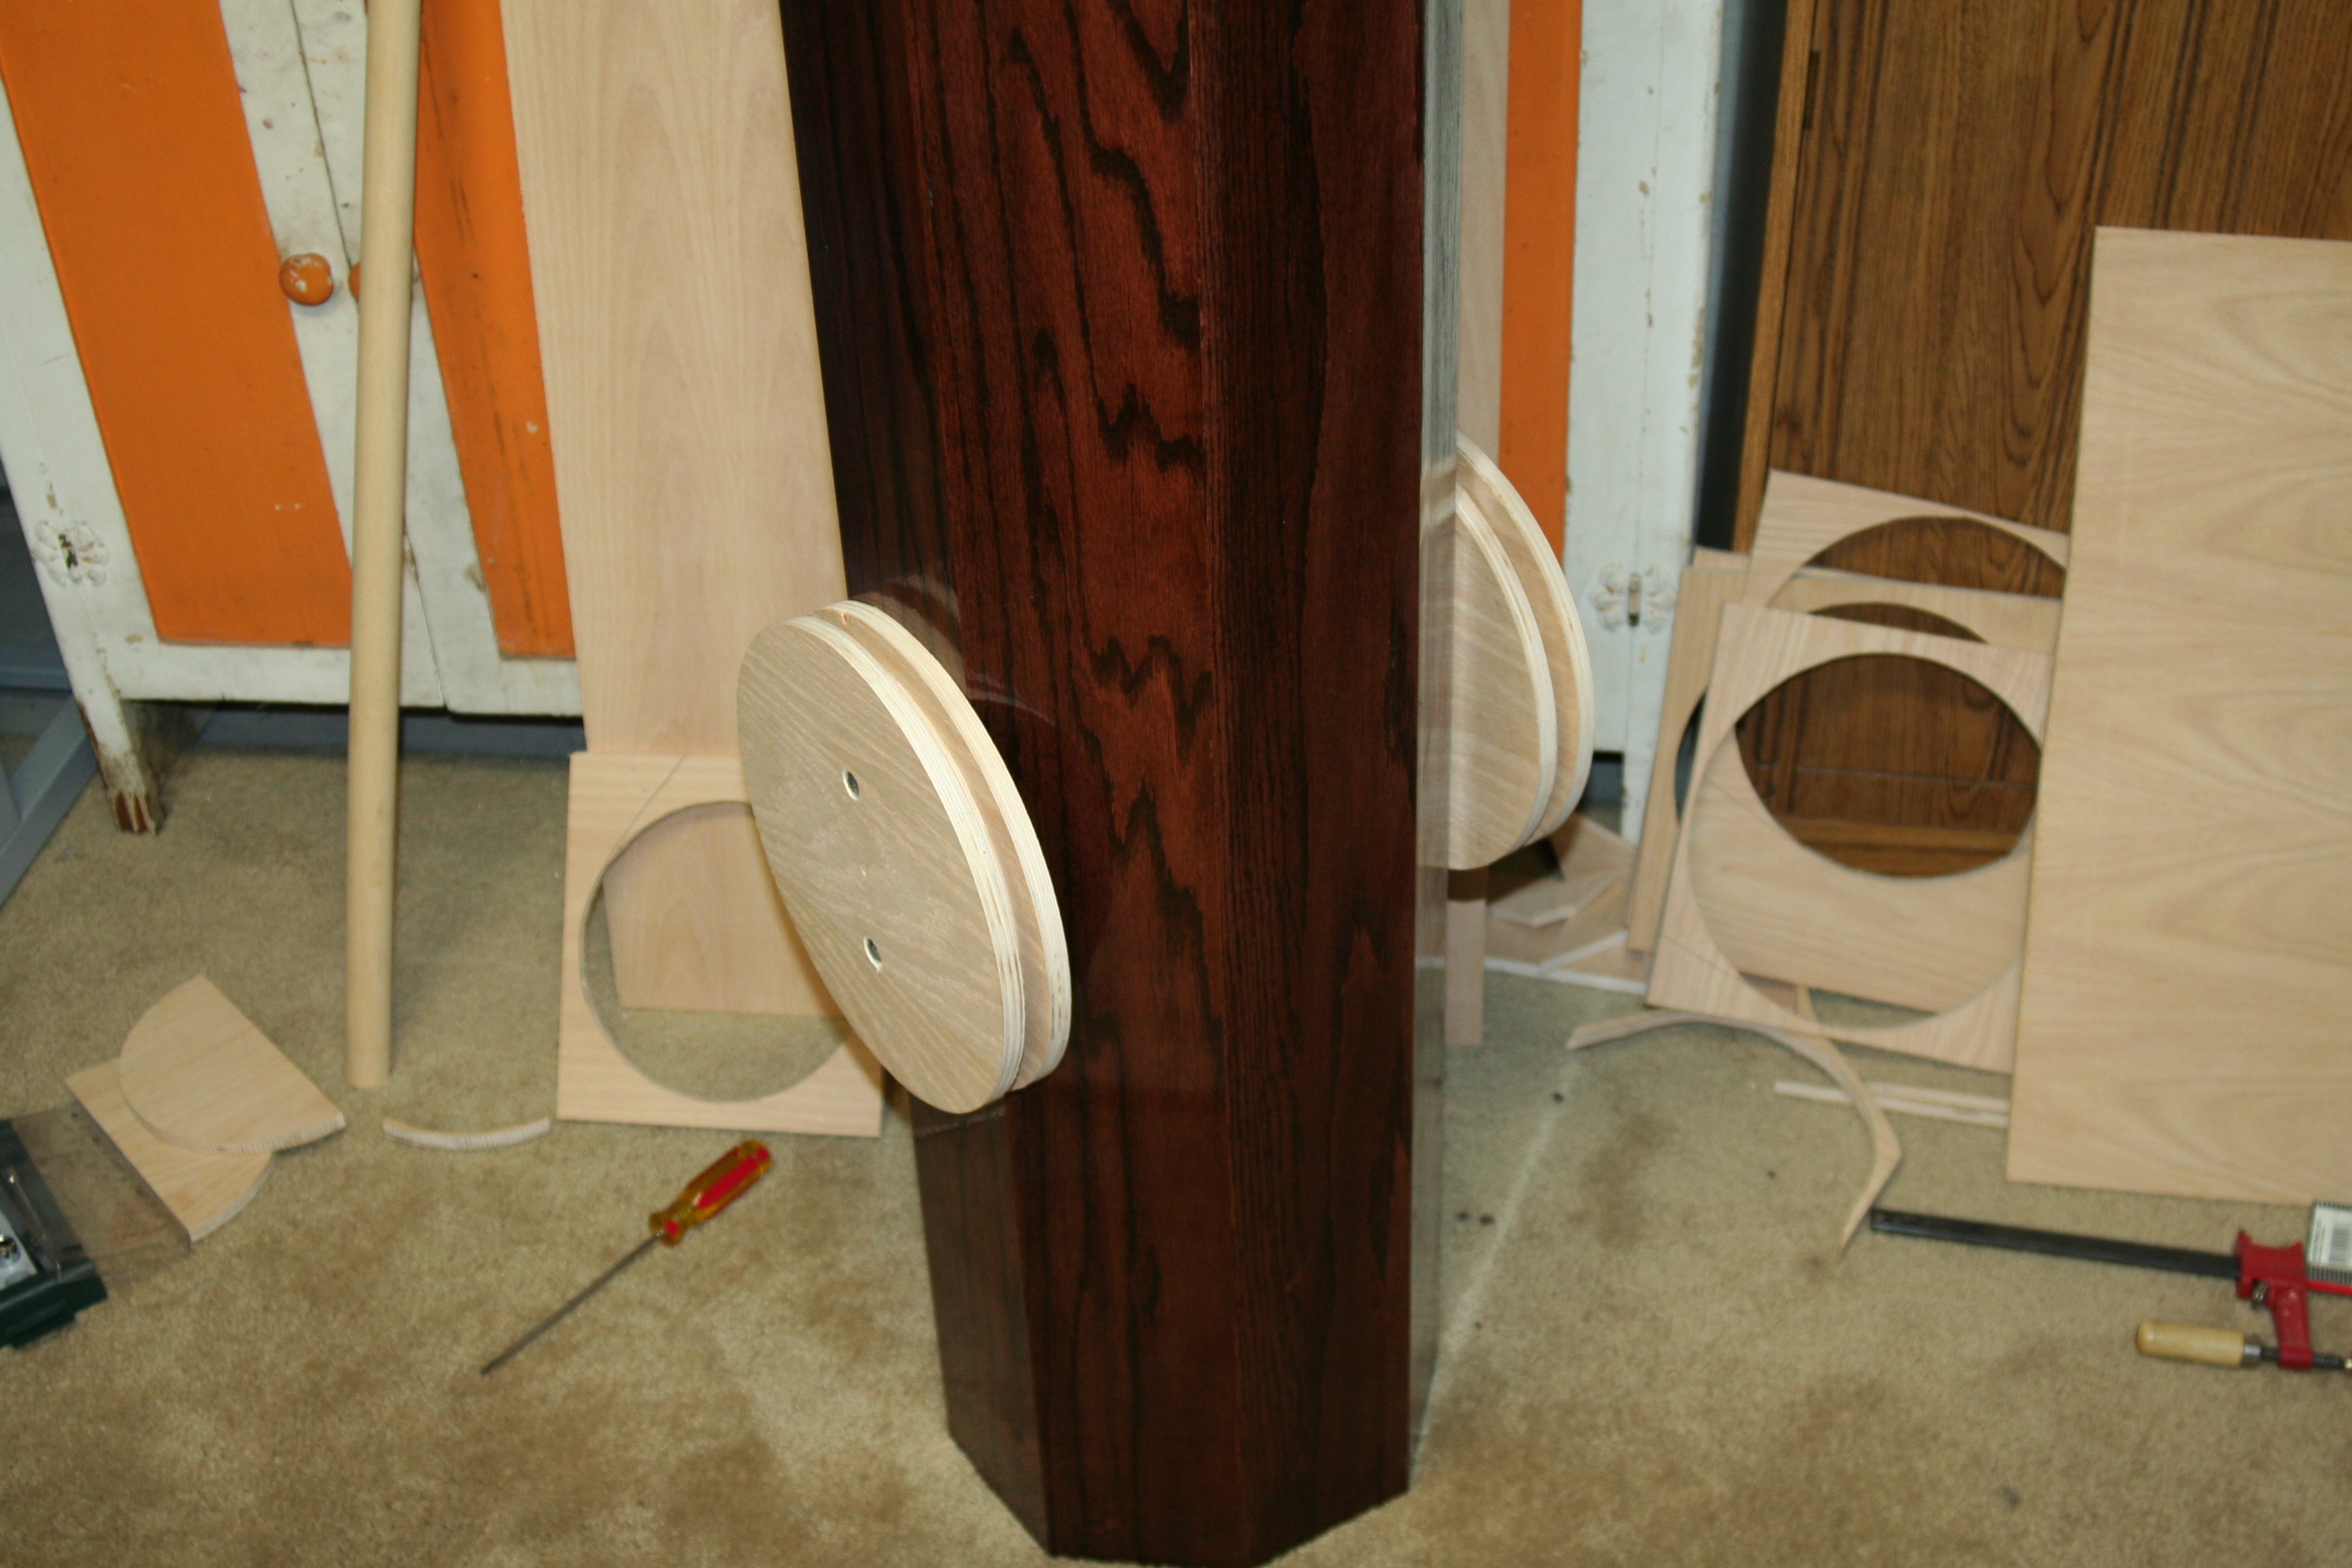
Construction of the Dobsonian mount: This is also another piece of the telescope I would like to reconstruct at some point. It works, and works well. However, I would like some more design and style.
I don’t have pictures but I’ve recently made some modifications to this to allow it to move more fluidly. I removed the outside wheel on both altitude bearings. I’ve also supported the OTA on four rollers (which you would find in a cabinet).
The Completed Scope:
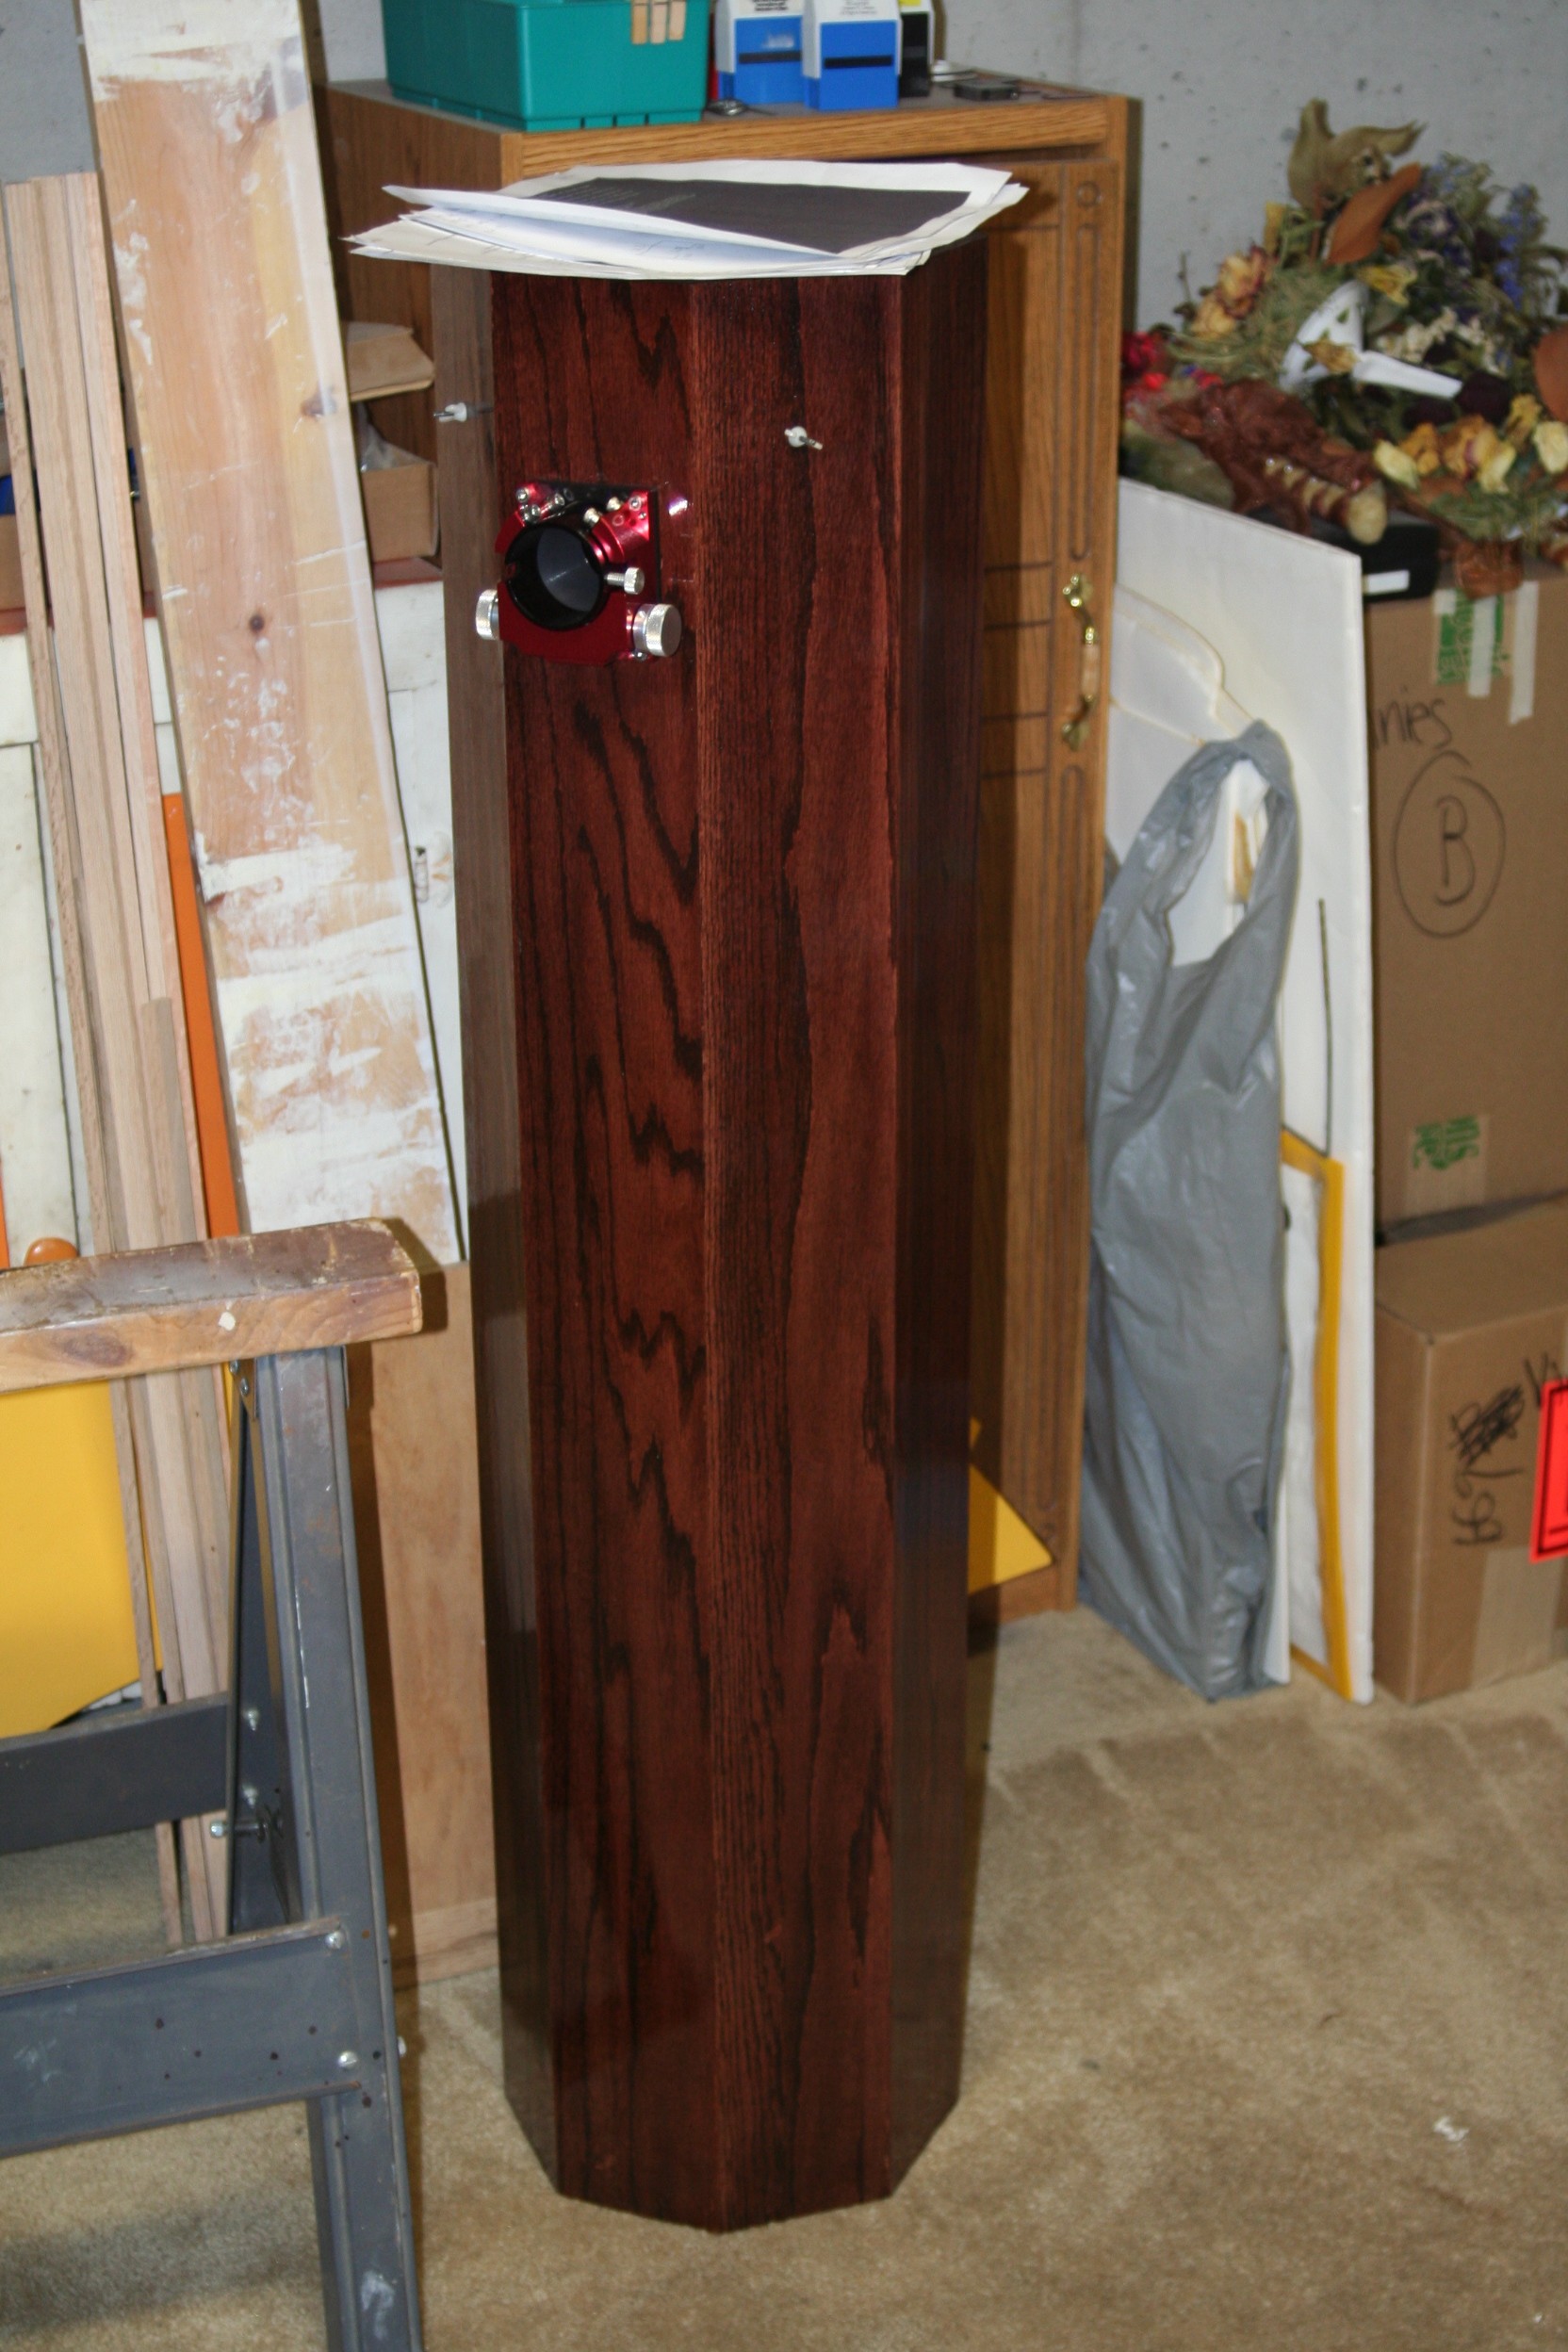
| The completed telescope. | 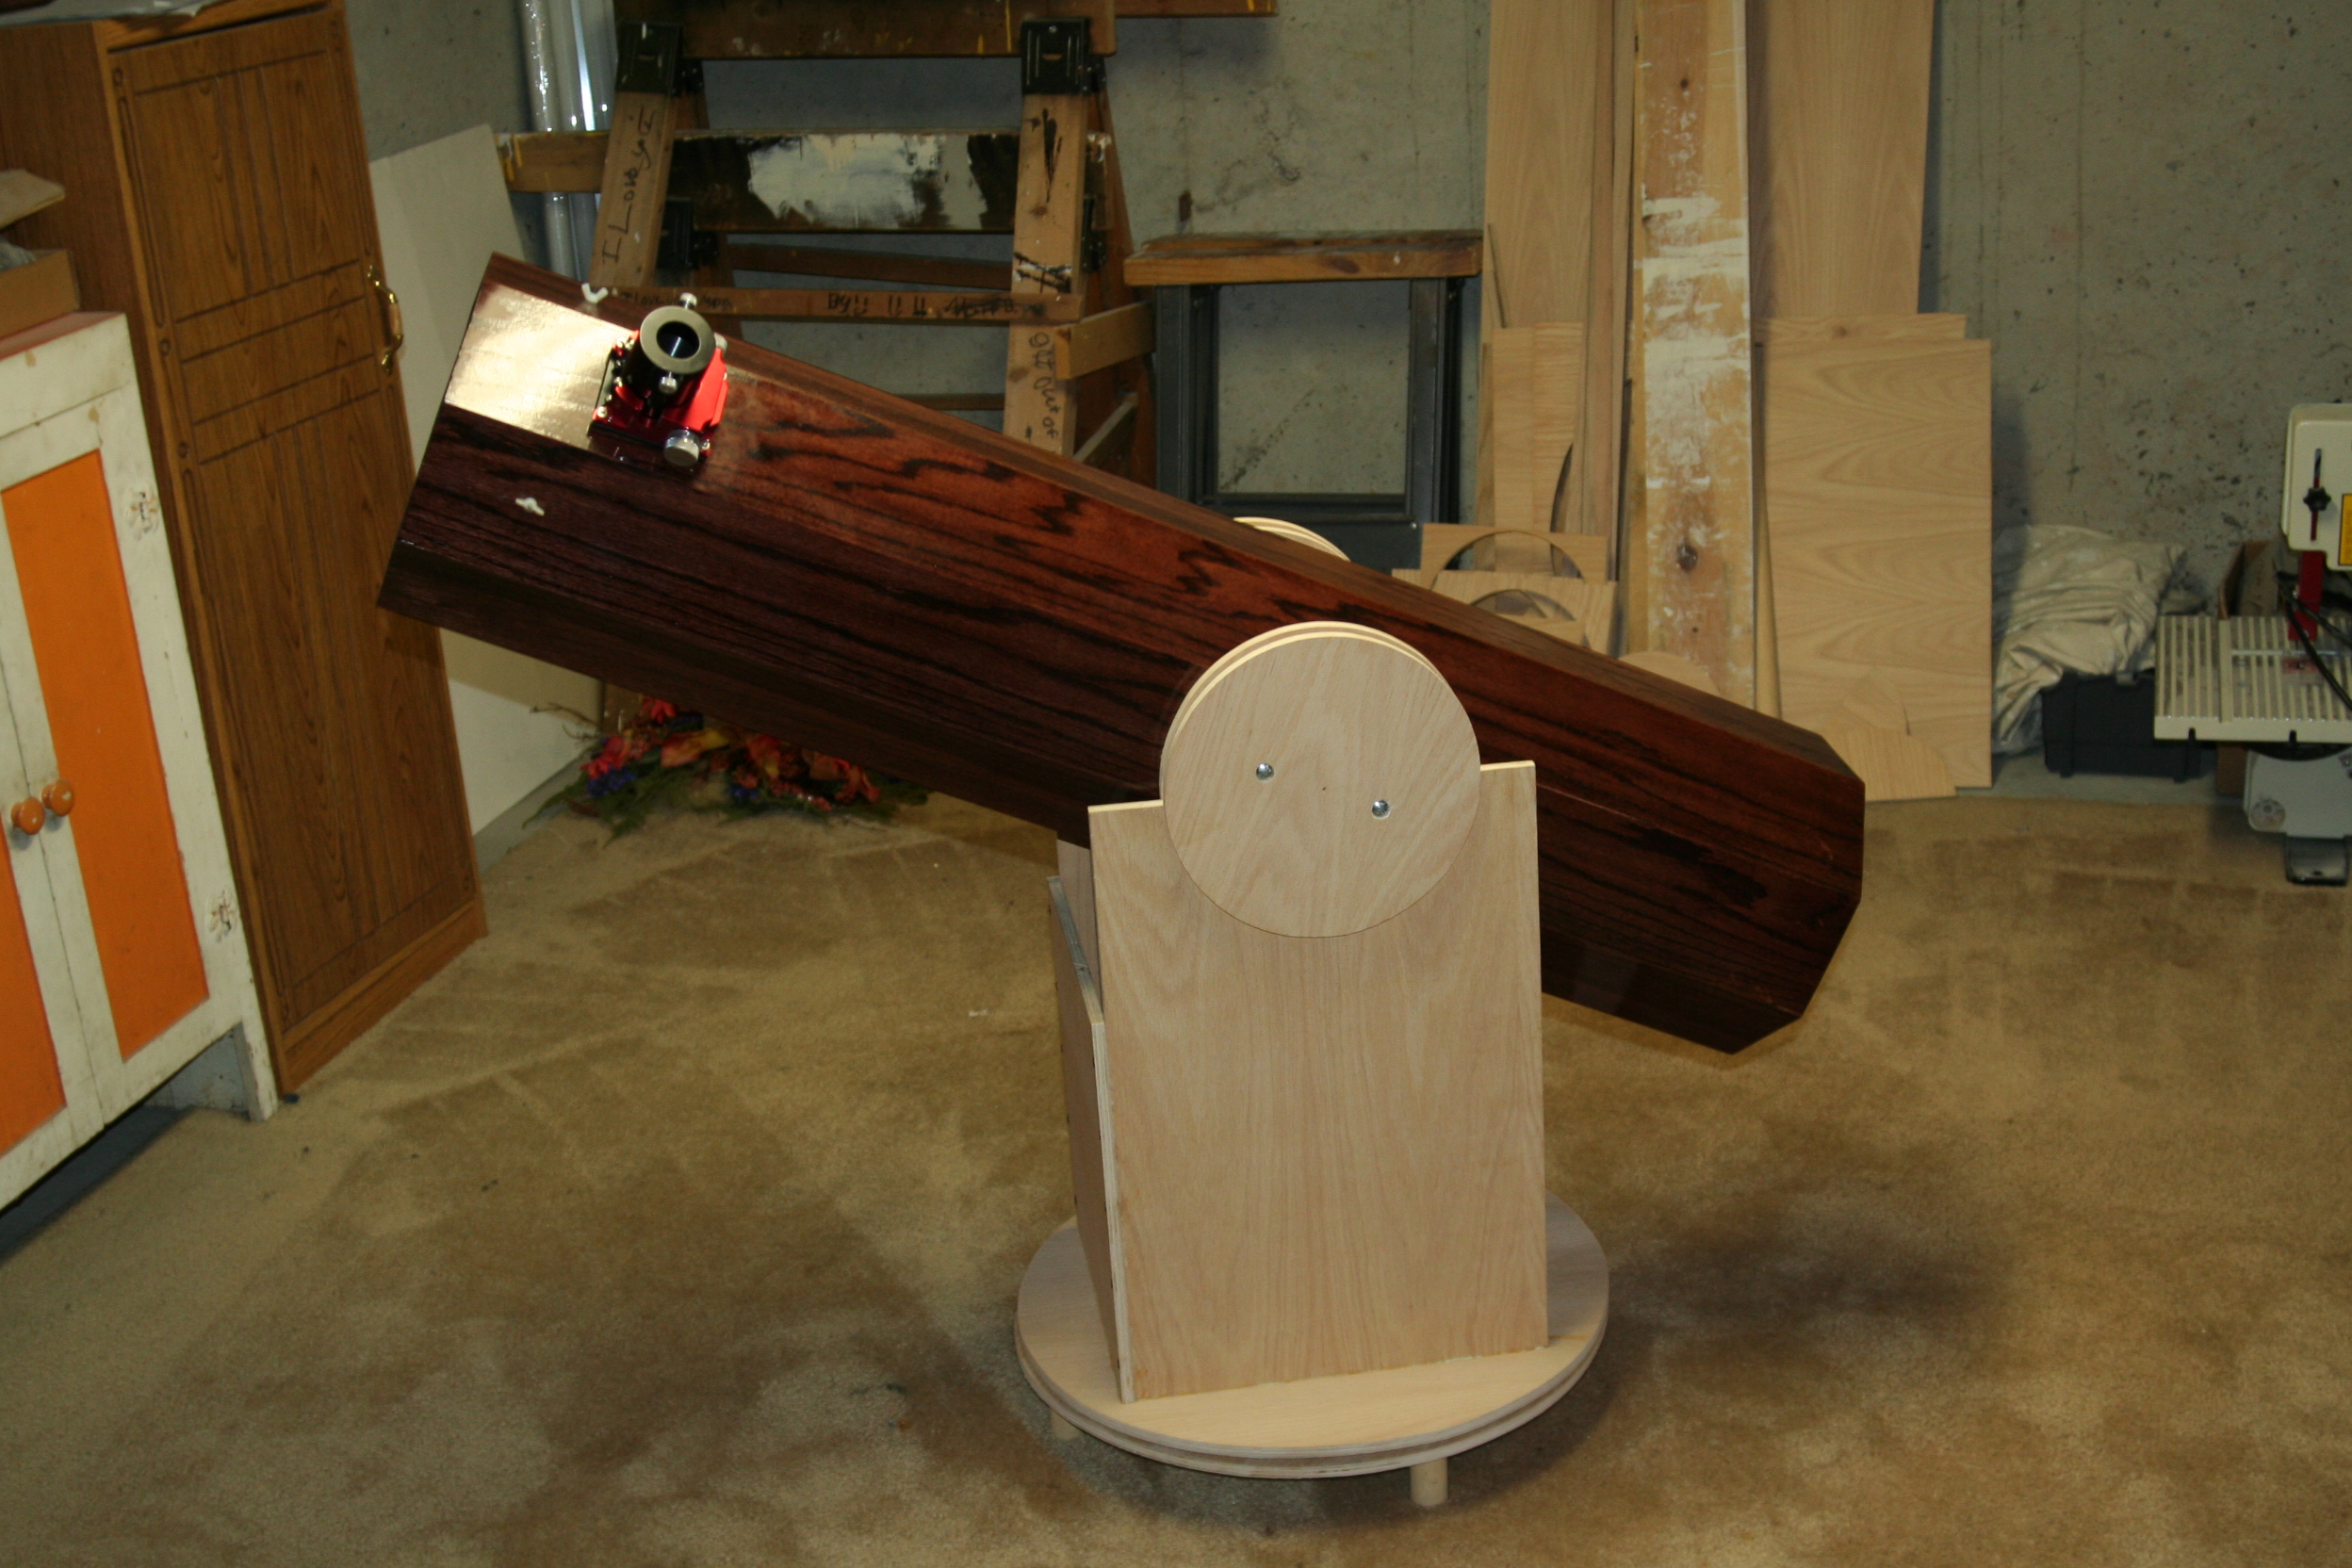 |
| My wife and the telescope! I love them both! | 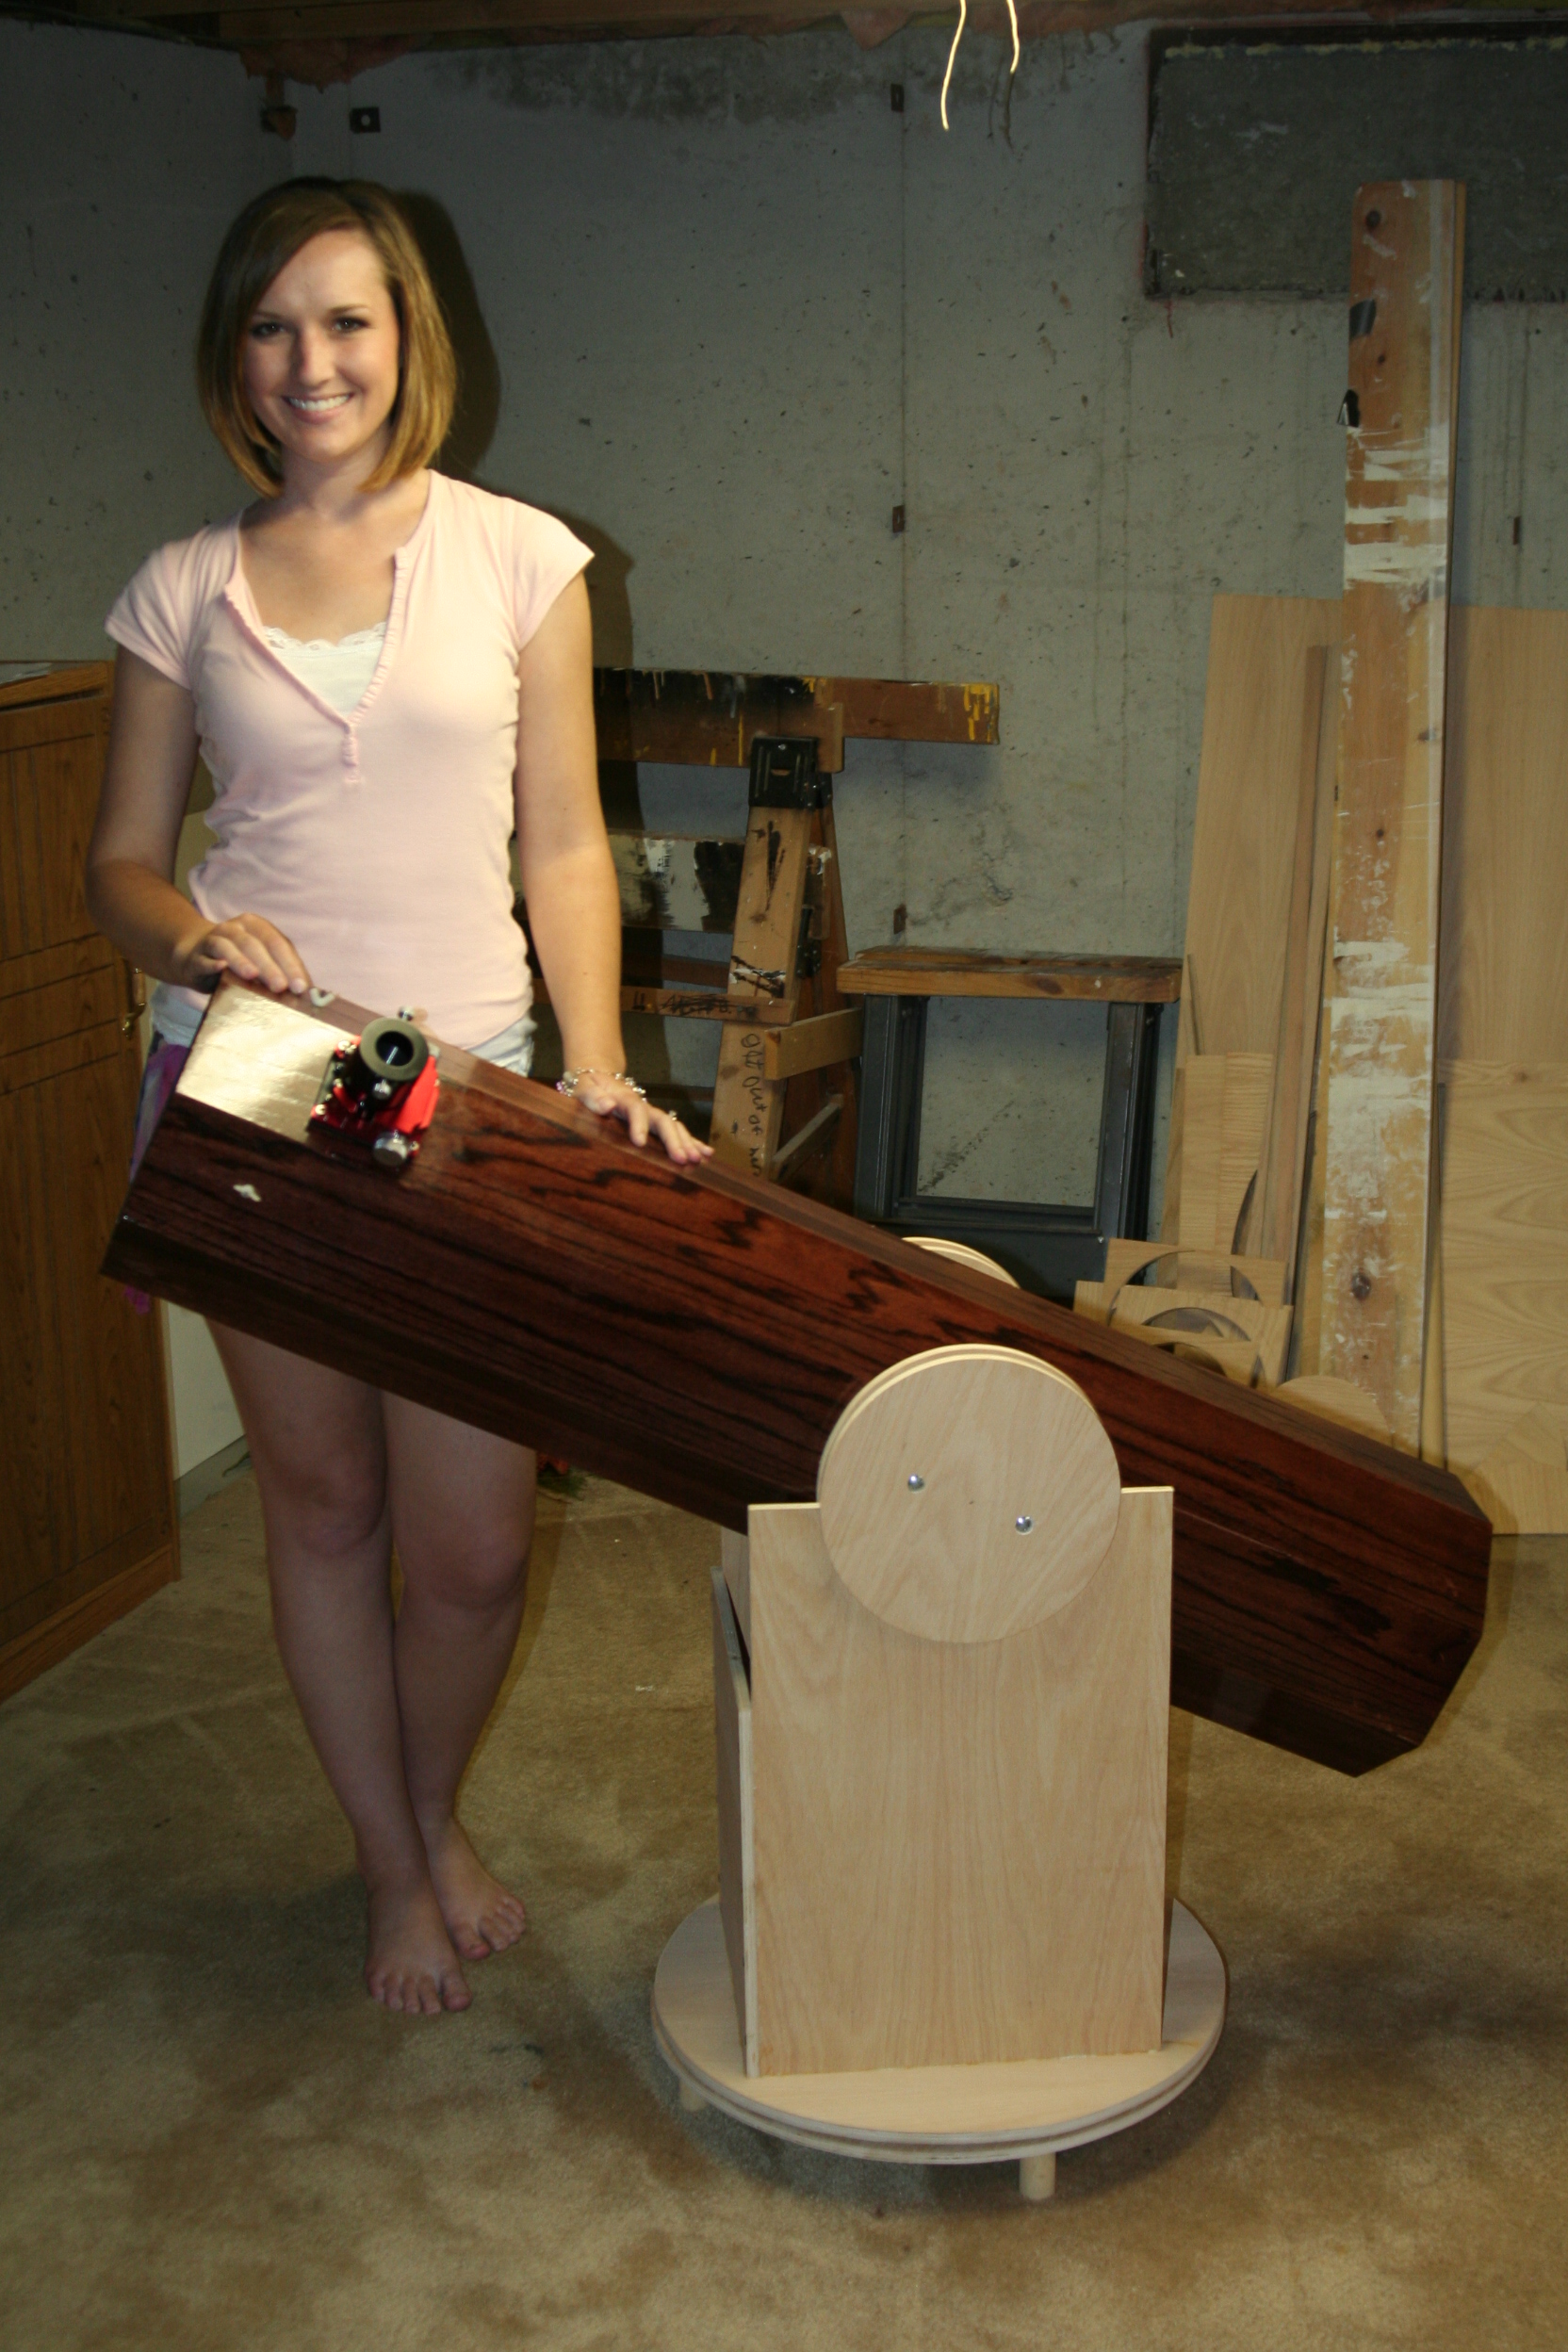 |
| The completed telescope and its creator... ME! | 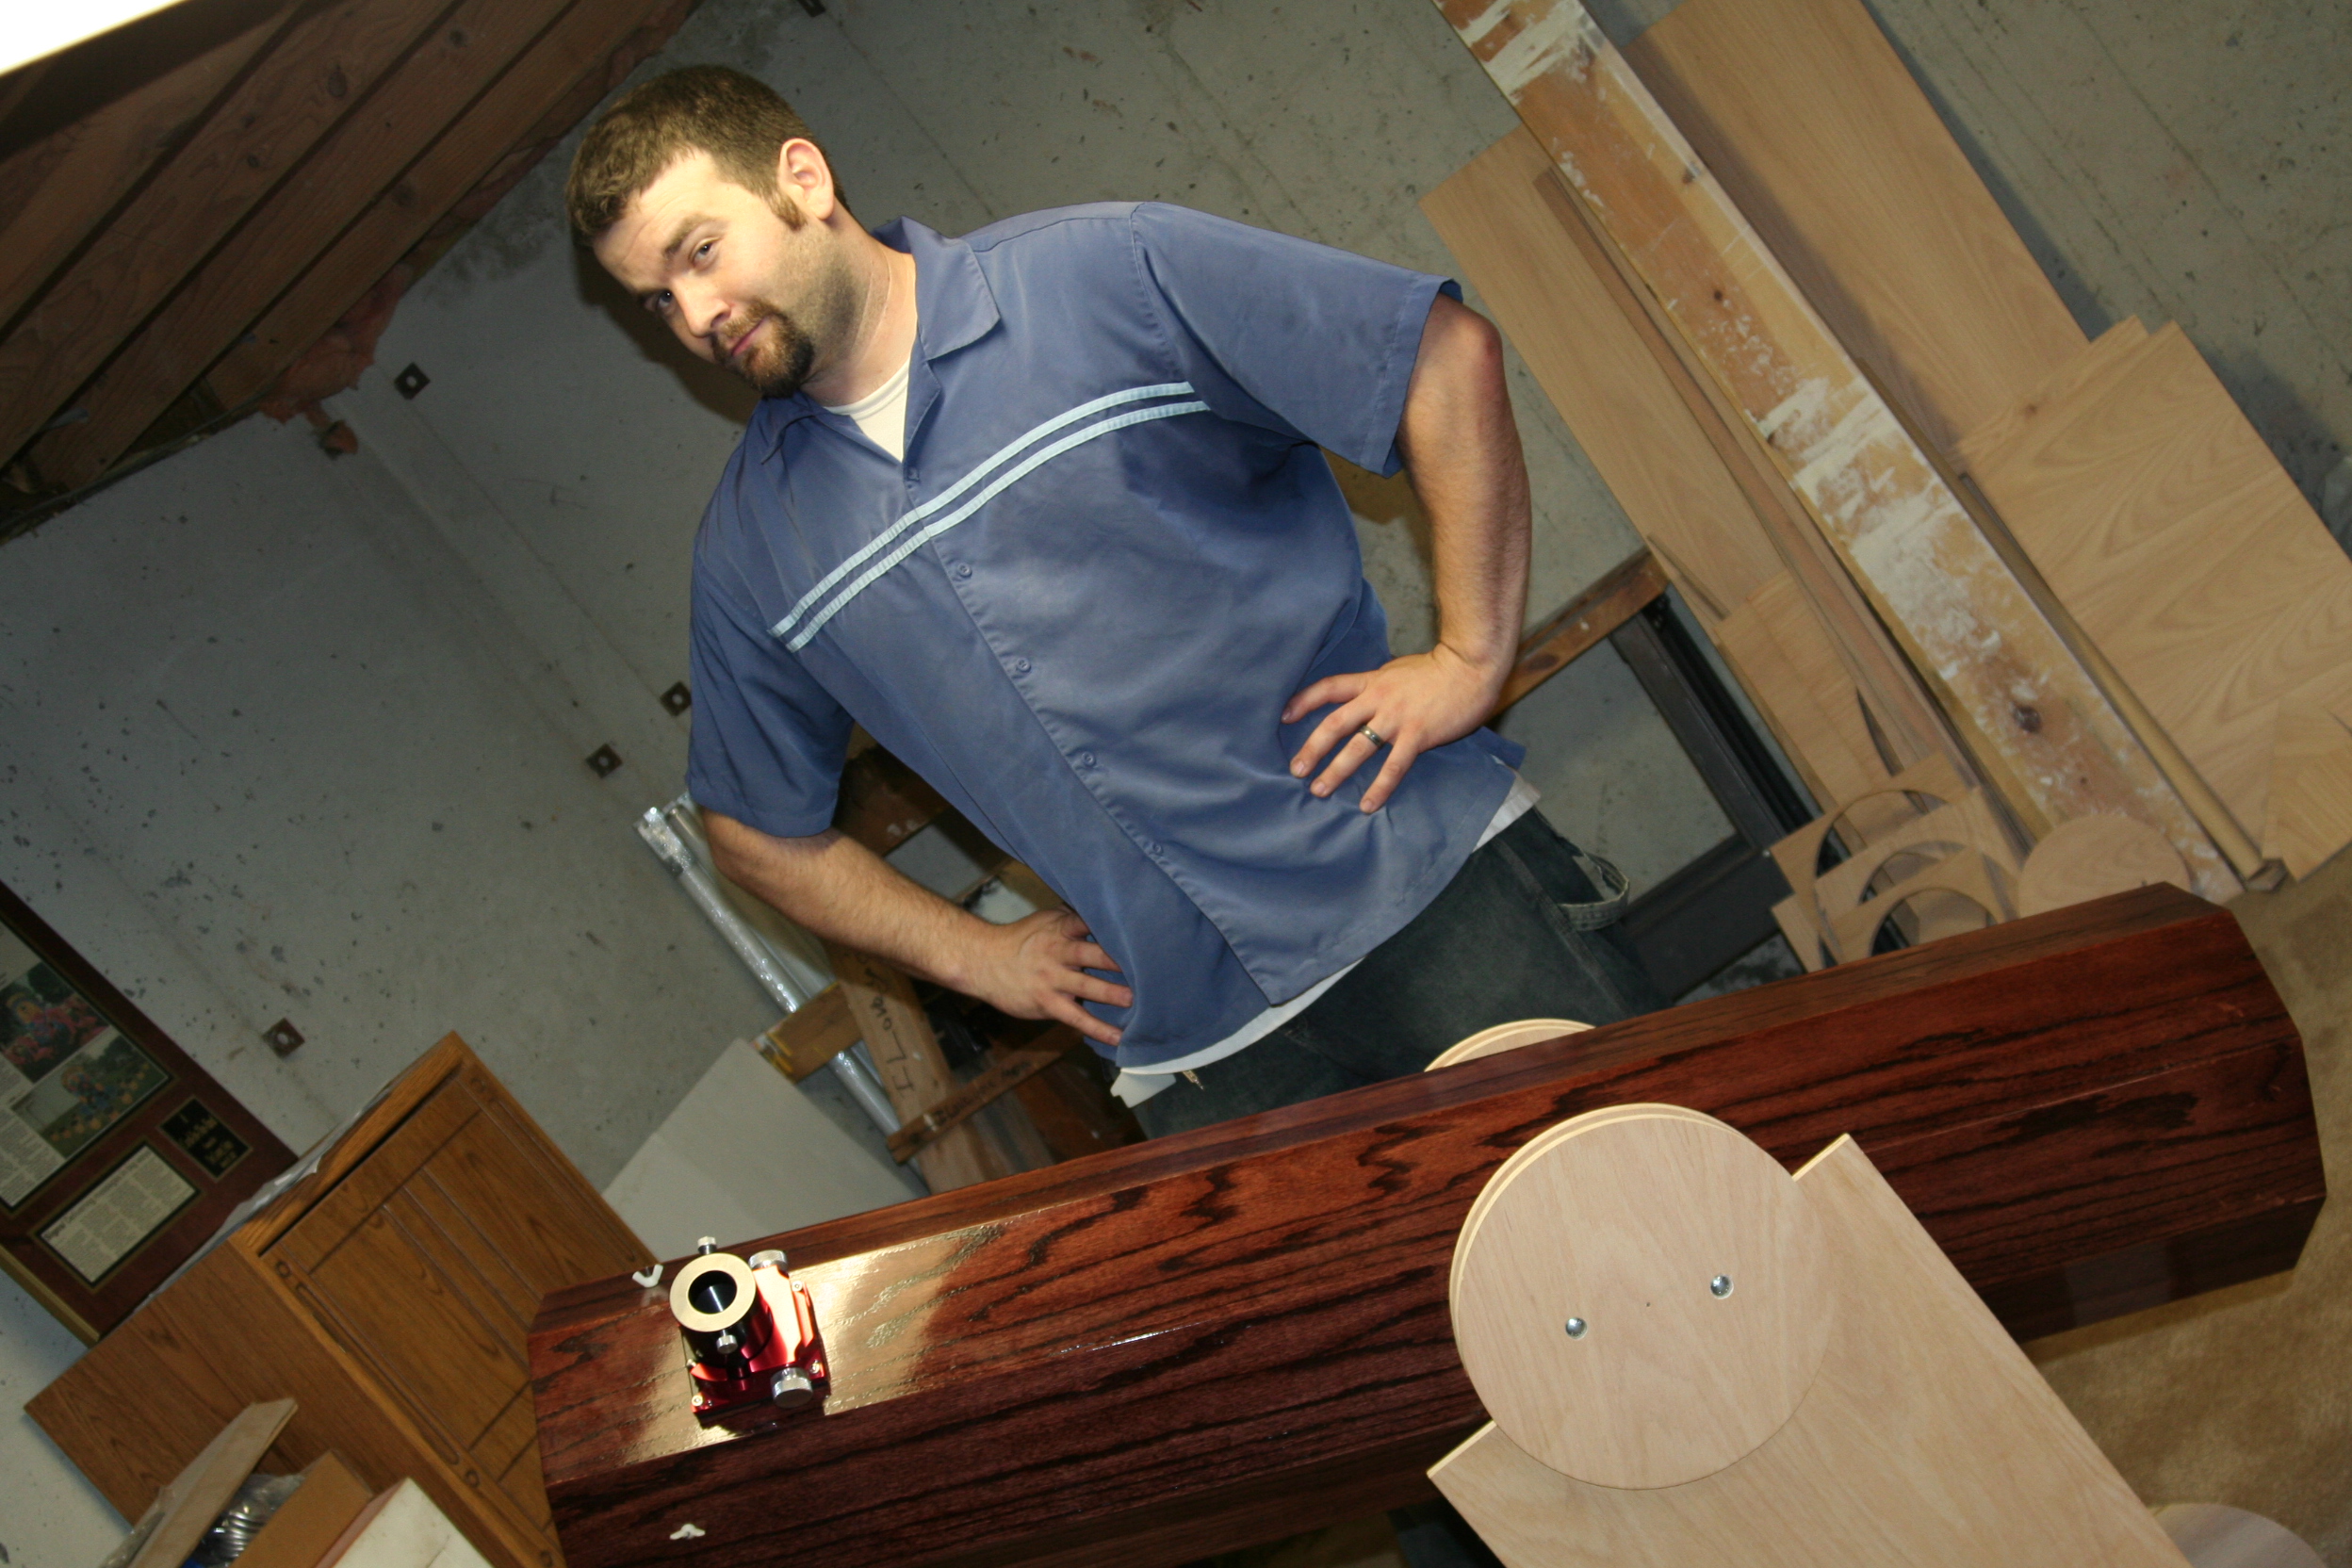 |
Some pictures I’ve taken with the telescope: Note that since this is a Dobsonian (Alt/Az) mount scope, it does not track the stars as needed with longer duration exposures. Therefore, I am limited to only brighter objects.
| The Moon (2007-06-24) | 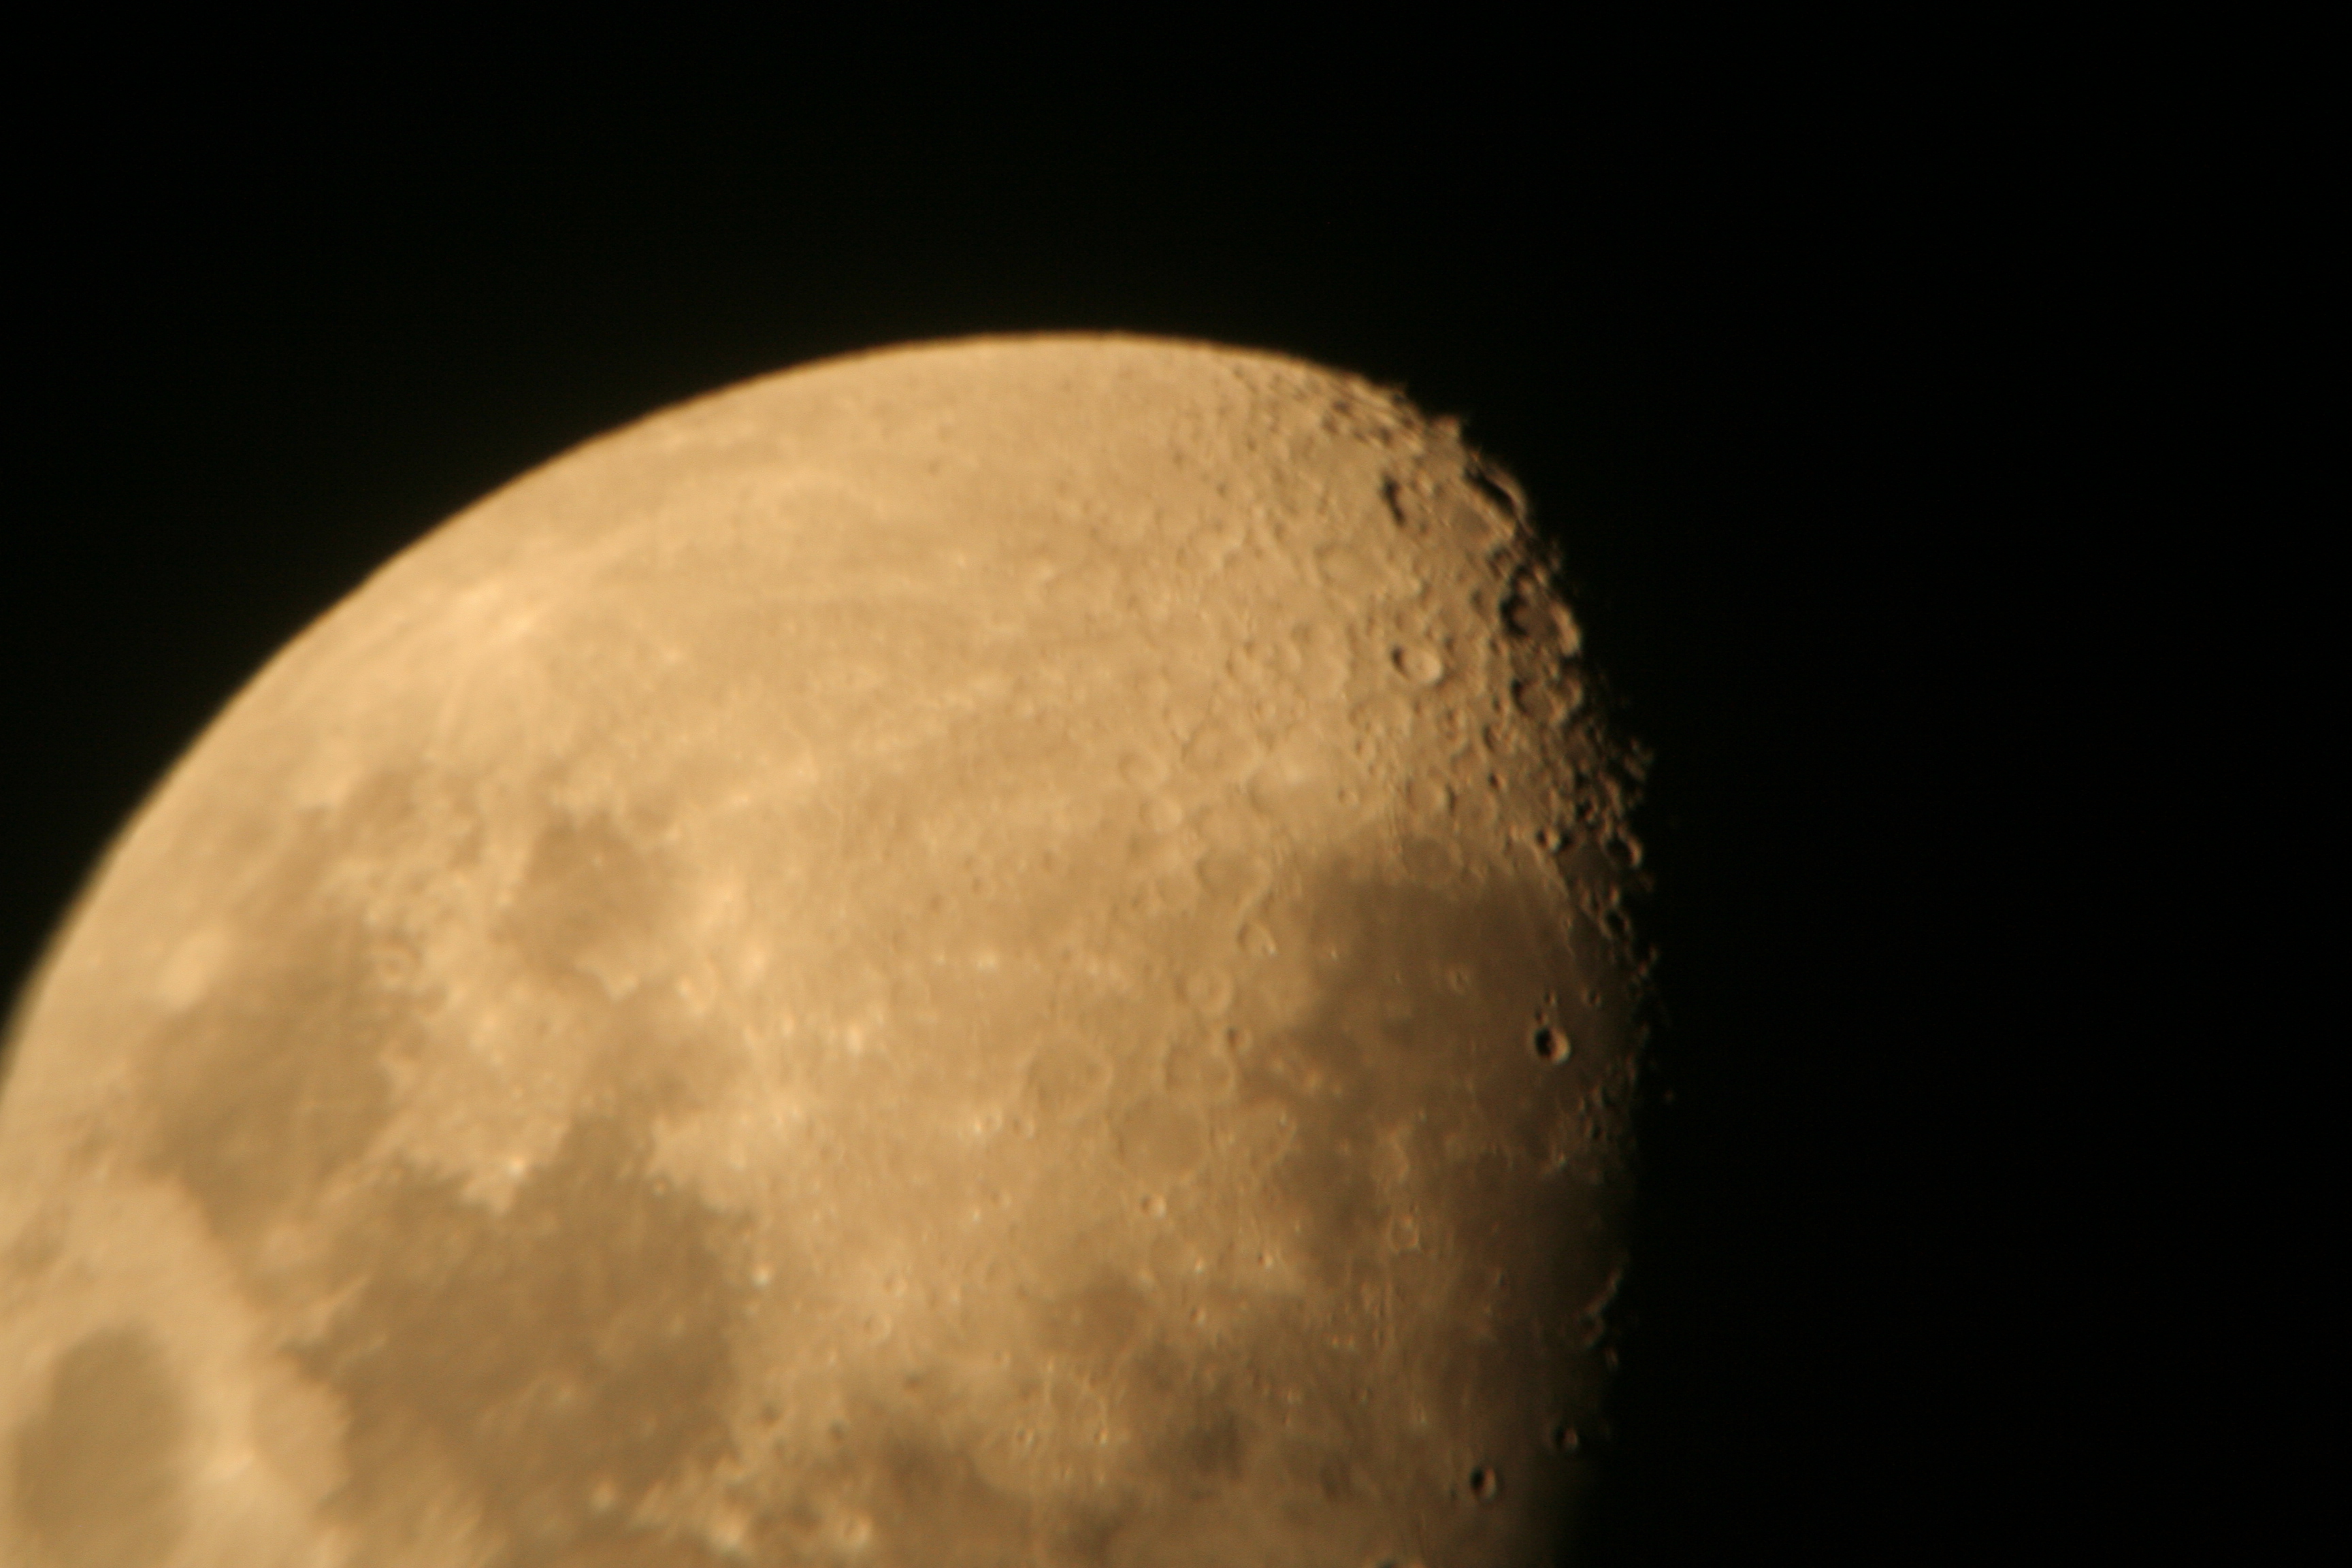 |
| Saturn (2008-03-10) |  |
| The Moon (2007-06-03) |  |
