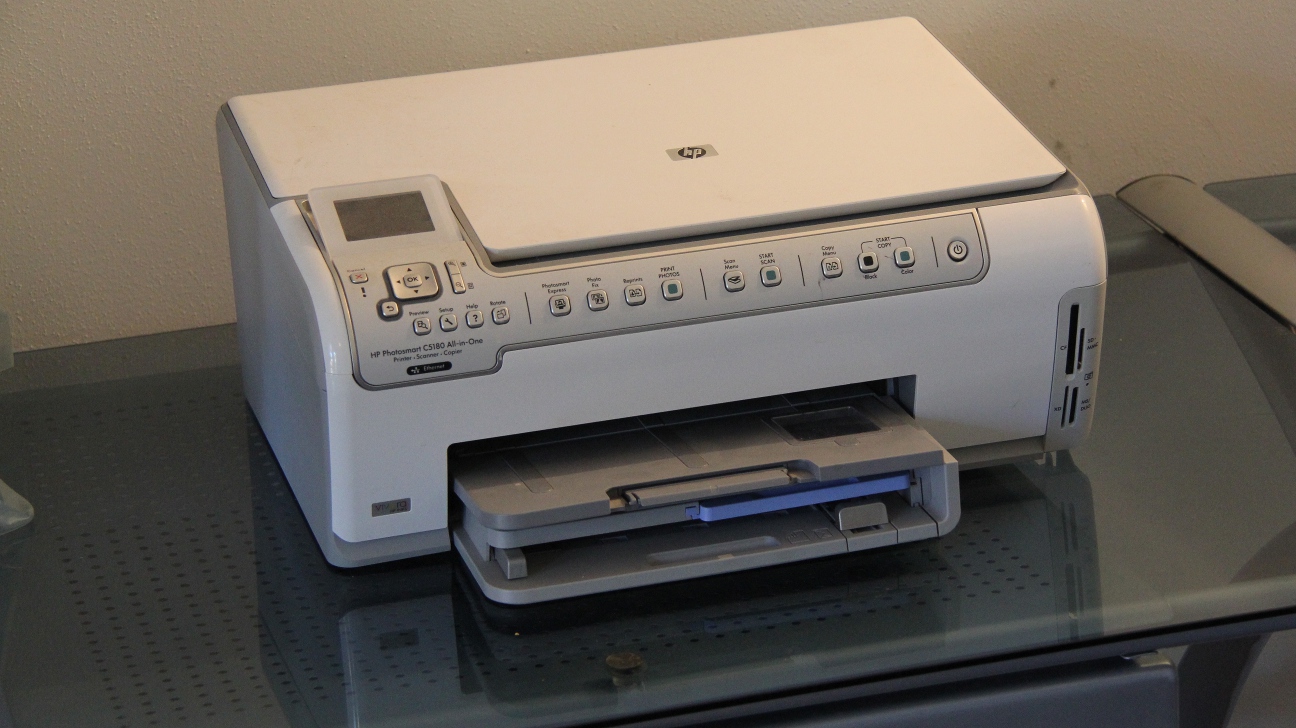
I really like our printer. The HP Photosmart C5180 was one of the first things my wife and I purchased when we got married. It does pretty much everything I want it to and the print quality is excellent if you use the correct paper. However, not too long ago our printer started acting rather strange. Every once in a while we would get this message
Ink System Failure
We would have to unplug the power from the printer and plug it back in to get things working again. As irritating as that was, we were ok with it for the most part. However, then things took a turn for the worse and I had no way of getting rid of the message. The stupid error kept coming back.
I’ve done my fair share in research to see if there was anyway I could resolve the issue. One of the steps was to perform a hard reset on the printer. In the long rung this did not fix my problem, however, I share it here in case this applies to your situation.
- Hold down the HELP and the OK buttons.
- While holding those buttons in, unplug the power to the printer.
- Continue holding in the buttons and plug the printer back in.
- If the printer doesn’t power on, push the power button to turn it on. Again, continue holding in the buttons.
- The printer will eventually power itself off.
- Release the buttons.
- Power the printer back on.
Since that didn’t work for me I was forced to look for another answer. That’s when I came across this post and after reading through a couple pages I came across yet another potential fix involving replacing some bad capacitors on the board.
After opening my printer to see if I had some bad capacitors, I realized that my printer board was slightly different then others who’ve posted pictures of their boards. My board only had one 330uf capacitor while others had two. I looked over all the capacitors and sure enough I noticed a slight bulge on my 330uf. I’m posting this because of the differences I noticed and I want to help give some people out there some reassurance that this is fixable.
Though I do have more than the average person when it comes to soldering, I really want you to know that there is not much to this fix and almost anyone with eyes and hands (with thumbs attached) should be able to perform this fix.
After verifying I had a bad capacitor I purchased my replacement capacitor from Jameco (a place I purchase parts from regularly) to replace the bulging capacitor. You may notice that the voltage rating on the capacitor is actually higher than the part on the printer. I choose this to give some more wiggle room. As long as it’s the same or higher then the original, we’re fine.
Once I received the capacitor, here’s what I did.
So there you have it. It’s not too bad at all! Only seven screws and a little heat!
If this helped you out, please post in the comment section to let me know. If this didn’t help, sorry but it fixed my printer! :)


